Proxmox 101: Create Virtual Machine from ISO Images
In this guide, we will using Proxmox VE 8.0 that we deployed before. We will cover about how to start a VM and LXC instance, also about how to create template for VM from cloud-image files.
We will use Ubuntu 22.04 LTS as our base OS.
Import ISO files to Proxmox
From WebUI
- Go to Node -> Select storage node for images (local-zfs_images)
- Go to ISO images
We have 2 choice for importing ISO files, either upload it from our local machine or download from internet URL
Upload from local machine
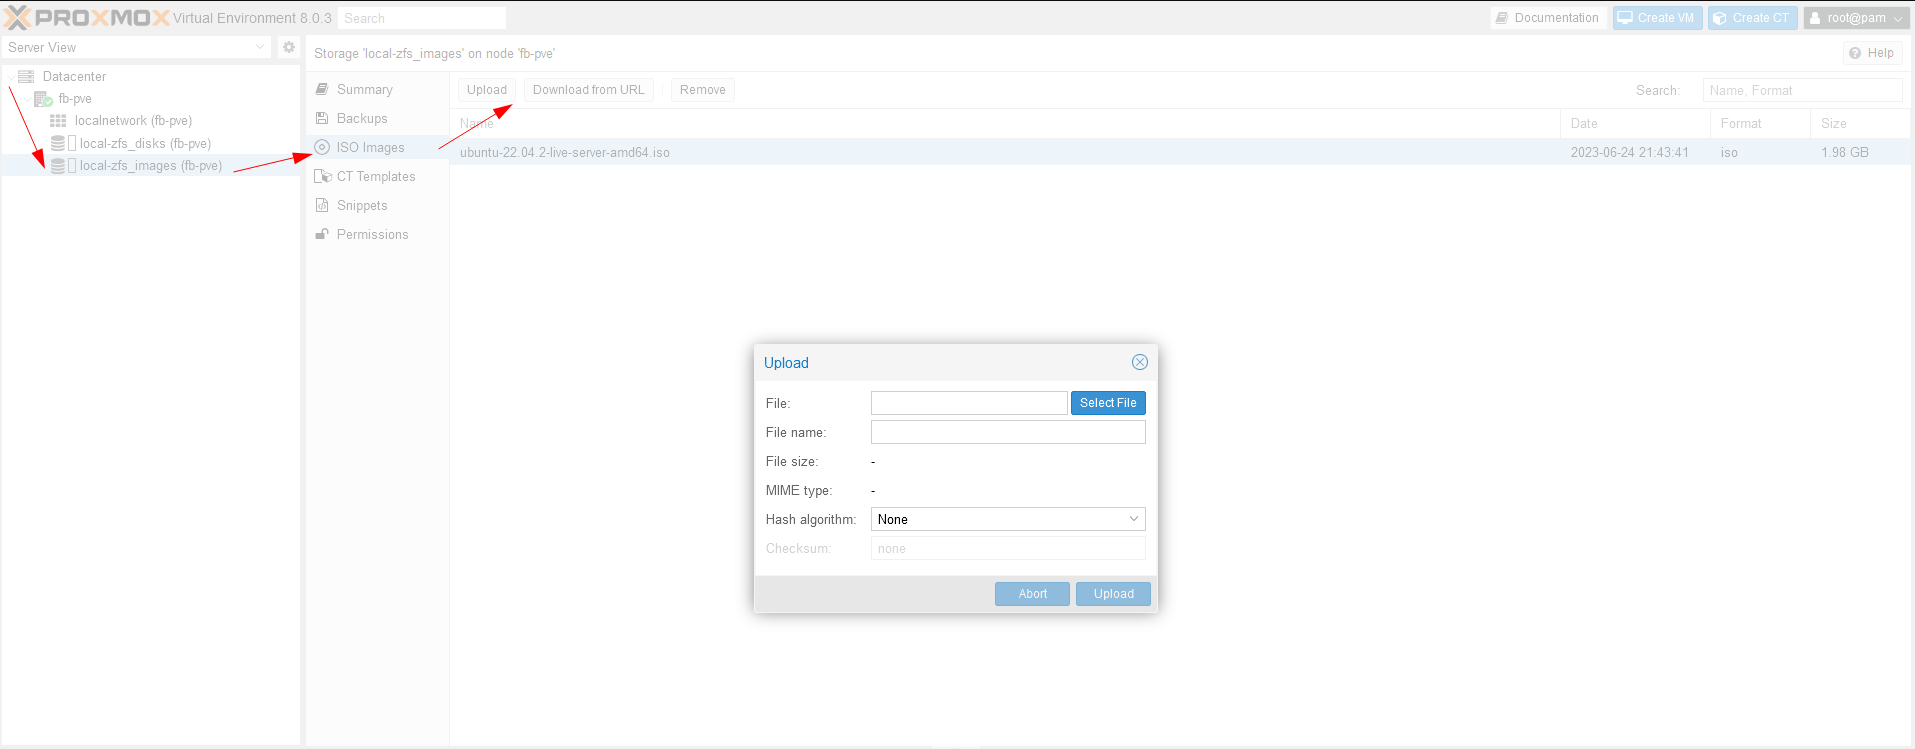
Download from URL
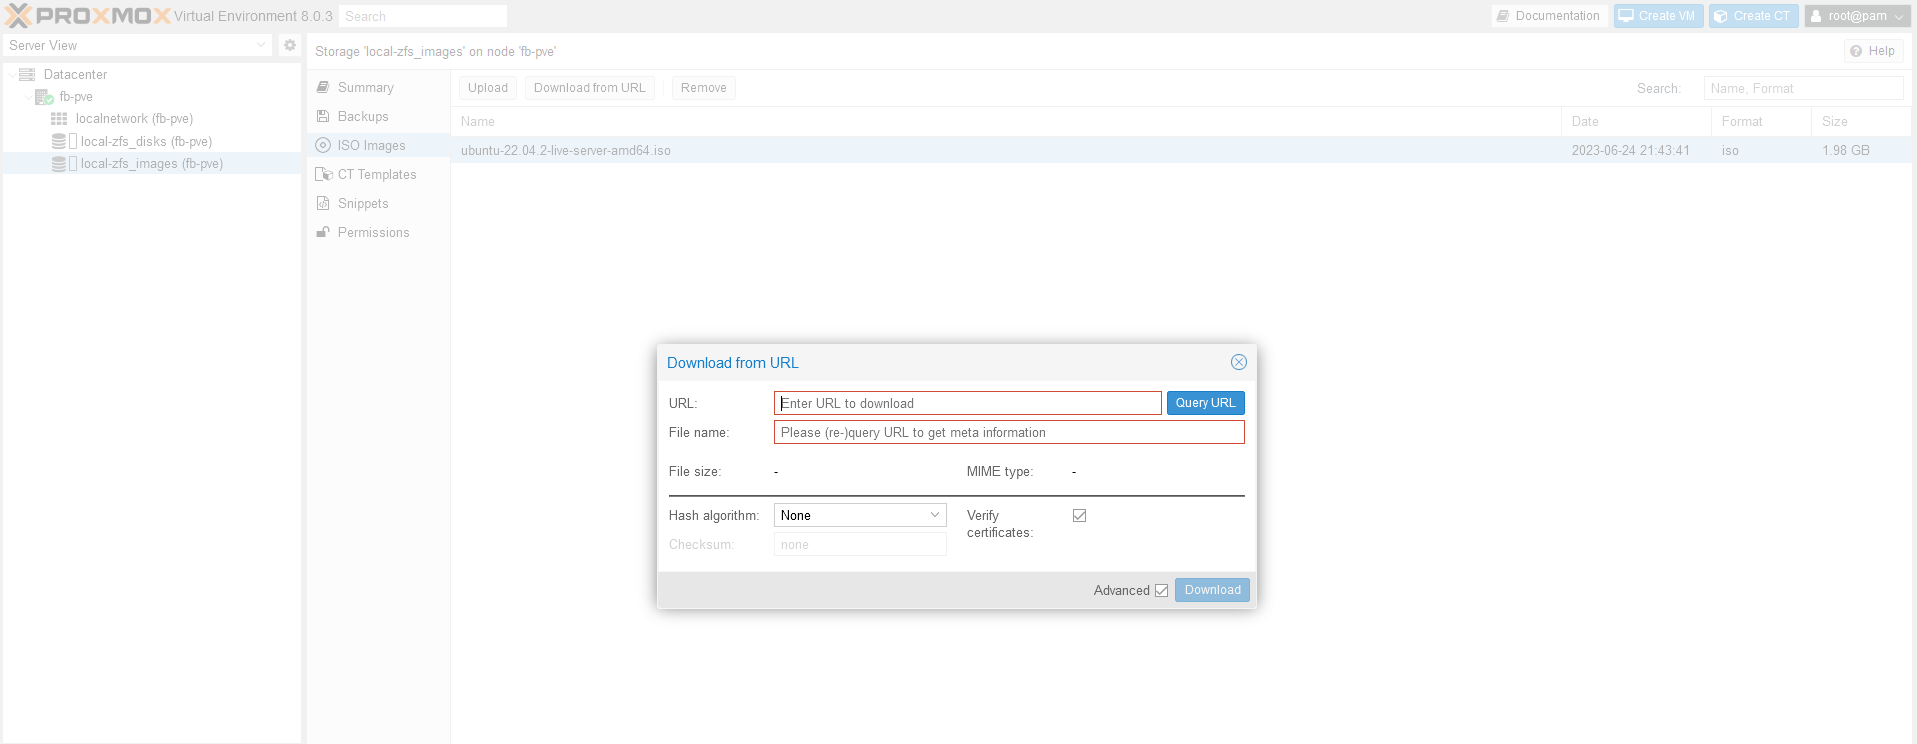
- After we successfully import the ISO files, they will appear on menu

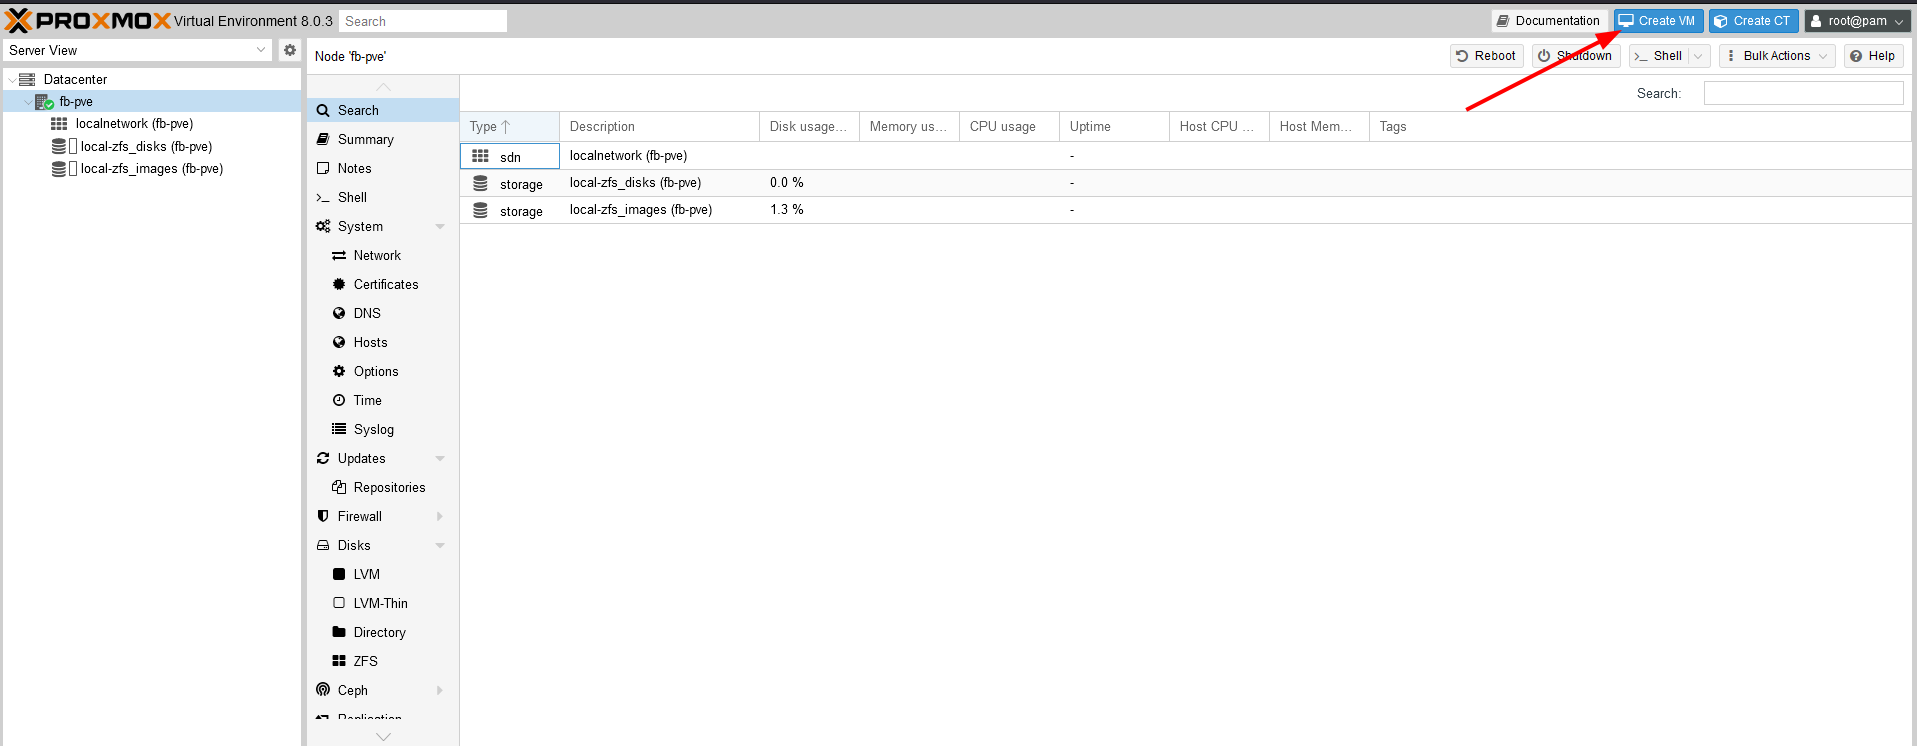
Start VM from ISO file
We can create Vm from anywhere inside Proxmox because the menu is on the top right bar
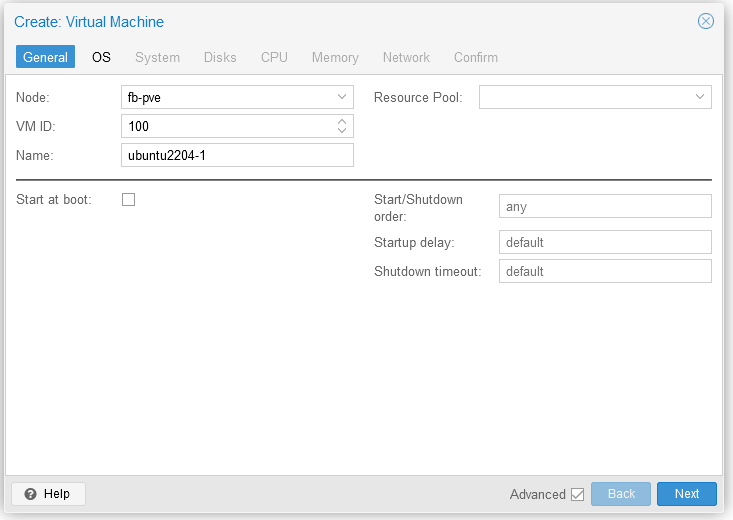
Select Create VM
Insert PVE Node, VM Name, VM ID, check if we want to start the VM right after creation, and optional parameter for start and shutdown command
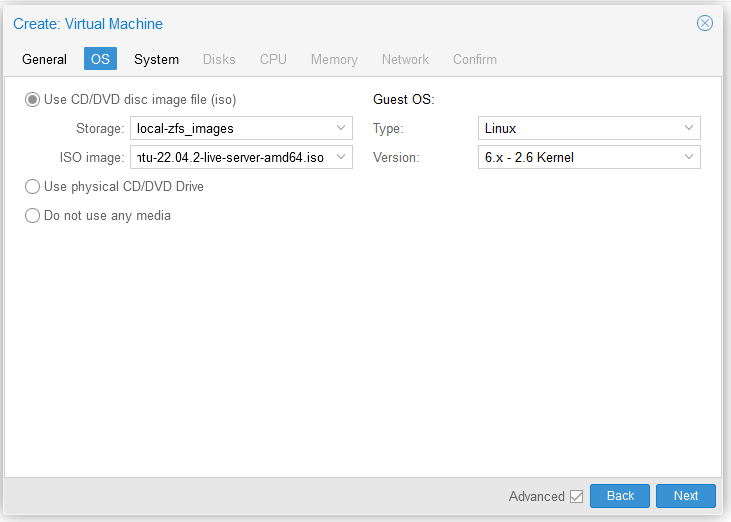
Select storage location and ISO image that we import earlier
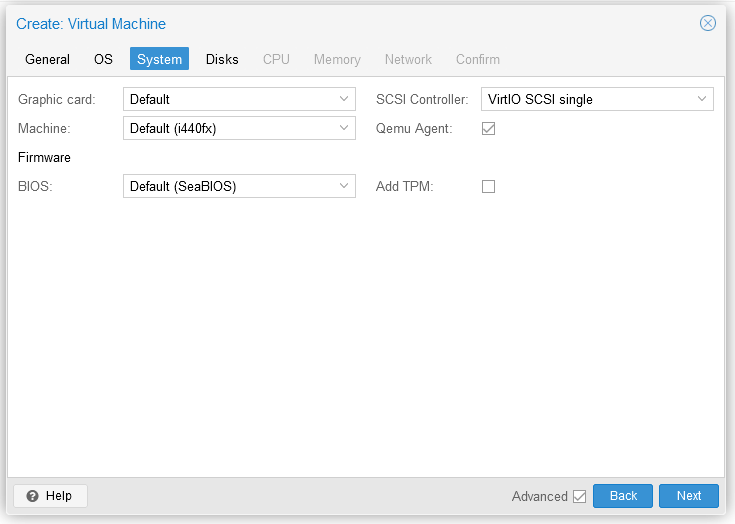
Select driver for graphic card, SCSI controller, and machine type that we want to use. We can also check qemu guest agent to add additional features for integrating VM with Proxmox later
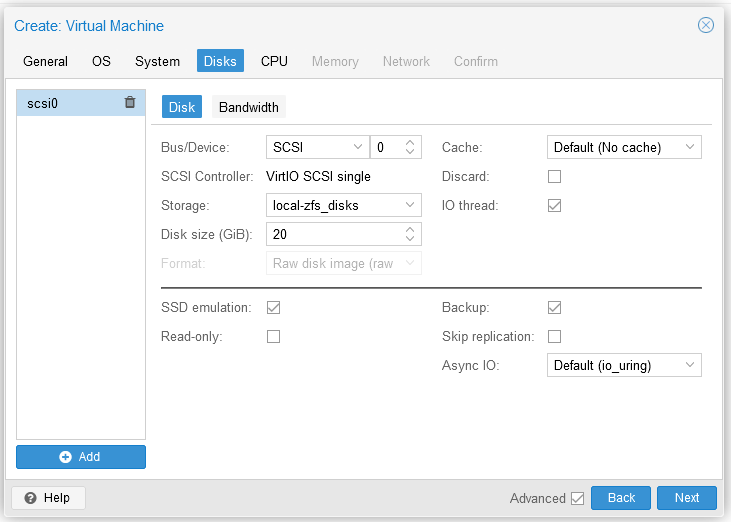
Add disk for our VM. Here we can choose our VM disk storage, disk size, and other configuration. We can also add secondary disk here. If your disk storage is SSD-based, we recommend to check the SSD emulation box for better performance
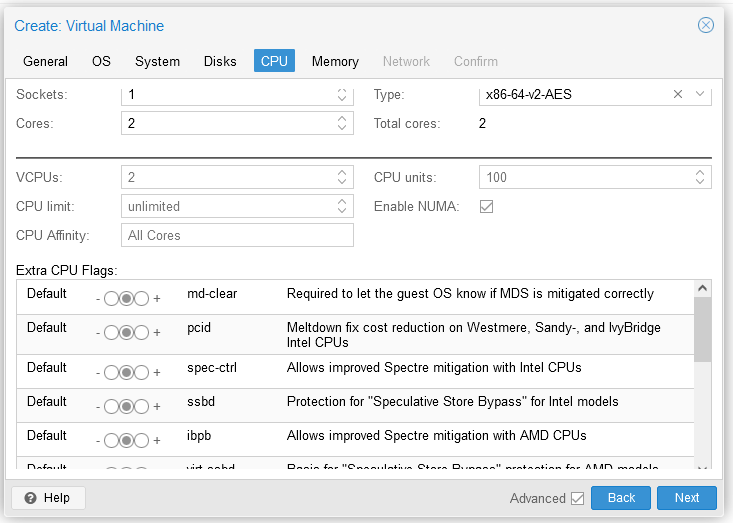
Next we can configure how much vCPU we want for VM to use. We can also configure some optional parameter related to CPU like NUMA, AES encryption, and many more
Next step is to configure how much memory (RAM) we want to use for our VM
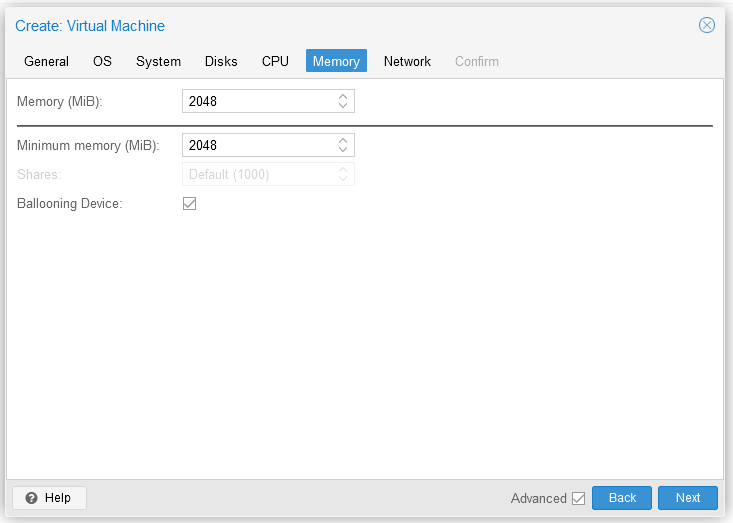
Make sure to not overestimated CPU and memory to avoid high resource usage and resource fighting between VM and Host
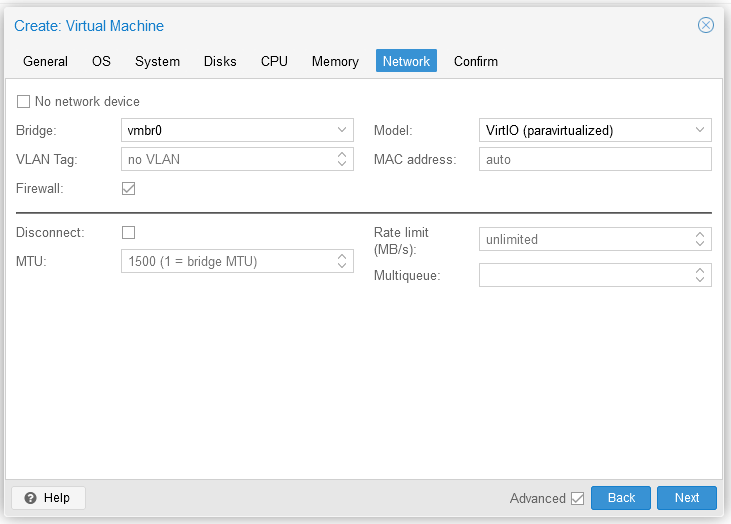
Last step, we can configure network device for our VM here. We can choose which bridge NIC and if we need to use VLAN
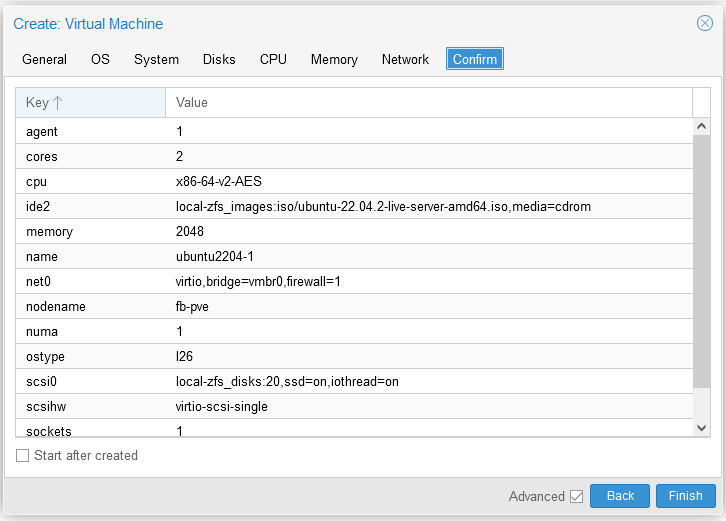
Overview before we start the VM creation. If you are sure about your configuration, start create VM by clicking Finish
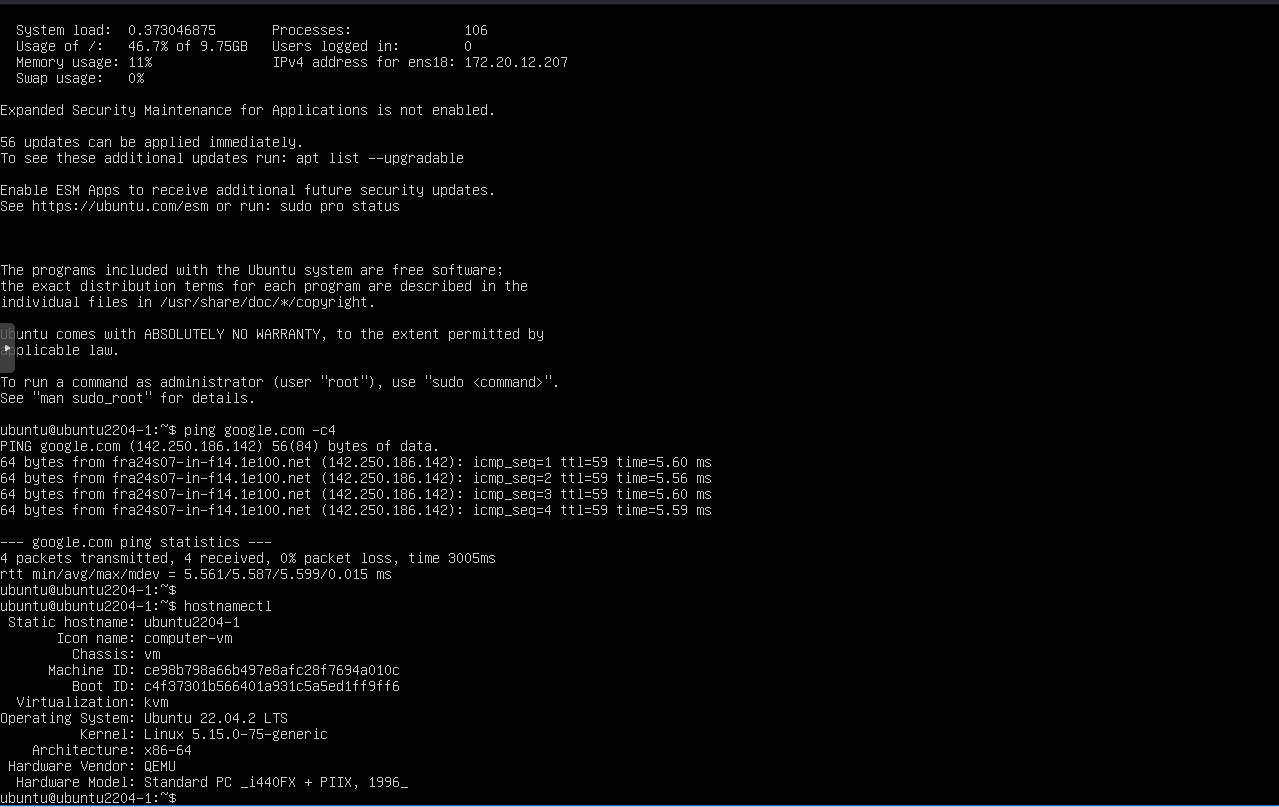
Now our VM is ready. We can start it by clicking Start on top right menu or from Console menu.
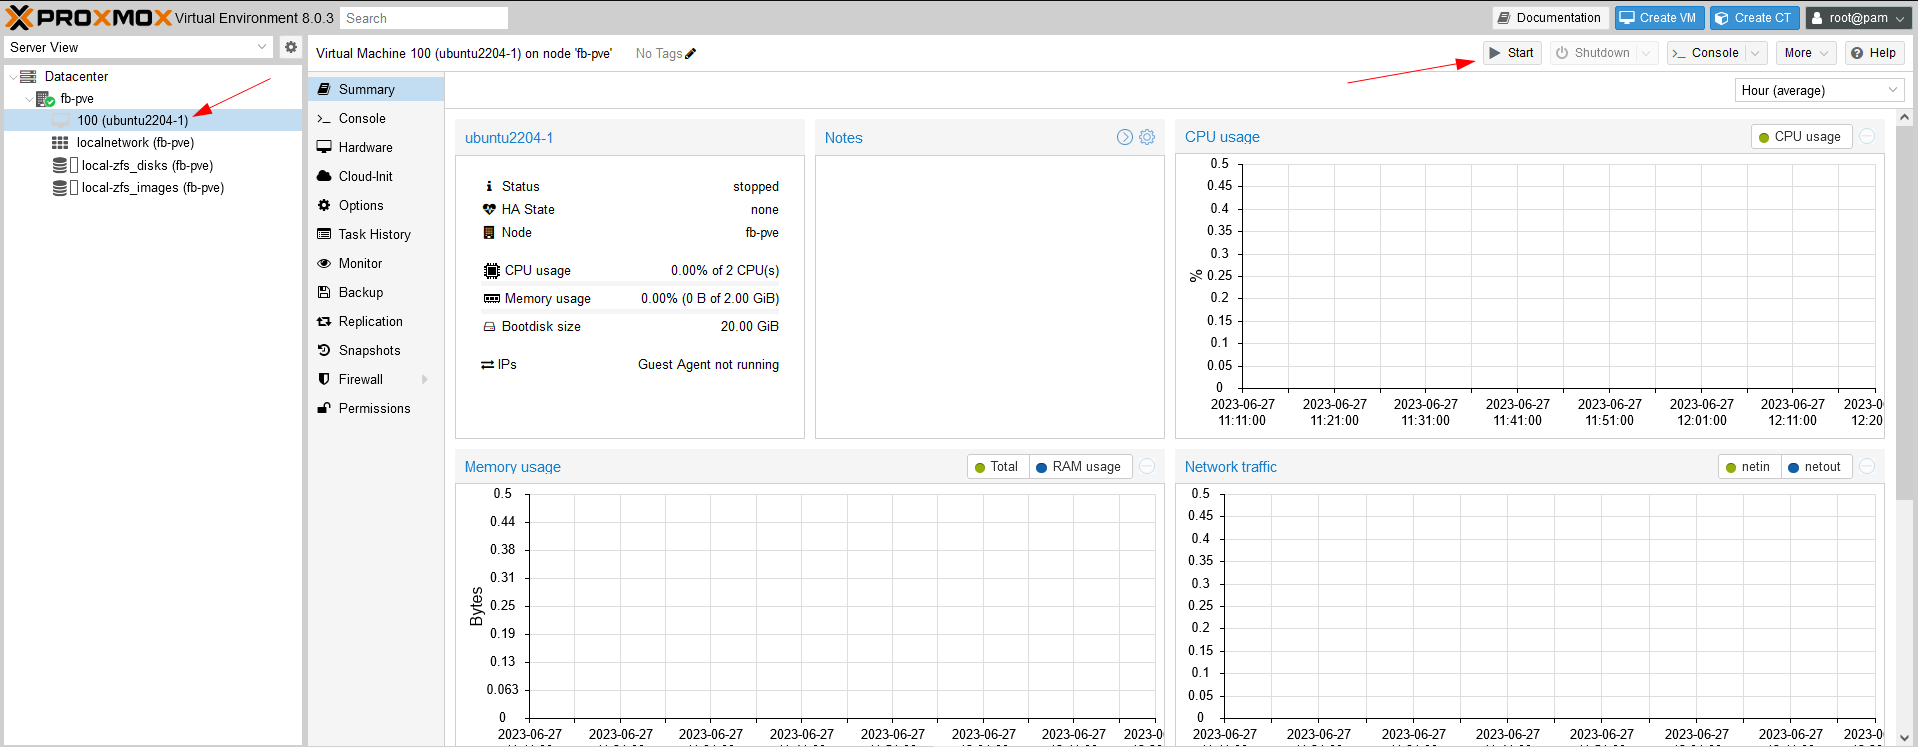
Because we create VM using ISO files, we still need to install our OS using conventional way. In the next section we will cover about using ready to use cloud-image file to create a VM template that doesn’t need OS installation steps.
Comments powered by Disqus.