Setup RAID 1 OS Disk on Ubuntu Server 22.04 LTS
Environment
| Component | Value |
|---|---|
| Hostname | ubuntu22 |
| OS | Ubuntu 22.04 LTS |
| Specification | 2 vCPU / 4 GB RAM |
| Boot Disk | 2 x 32 GB |
| IP Address | DHCP |
| UEFI/Secure Boot | Supported |
| User/Pass | ubuntu/password123 |
- All is done in Hyper-V virtual machine on Windows 11, any configuration setup is the same as baremetal installation with some name changes.
- Using Hyper-V Generation 2 Virtual Machine to enable UEFI and Secure Boot support
Setup
Choose Try or Install Ubuntu Server

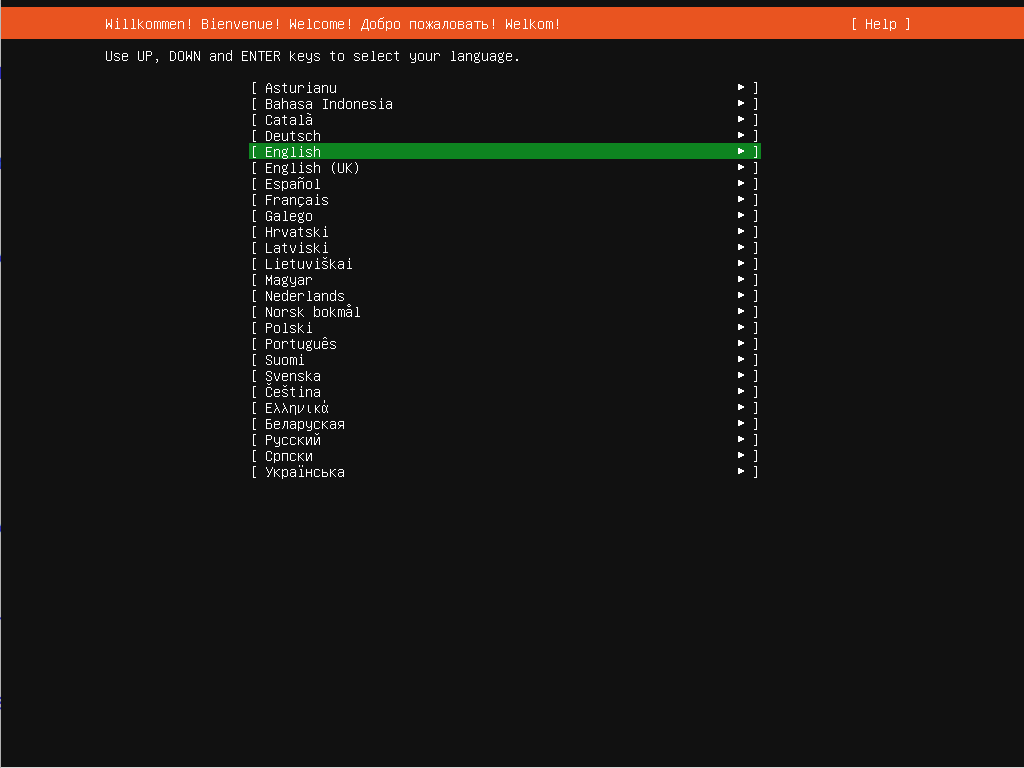
1. Select Language
Choose your desired installation language:
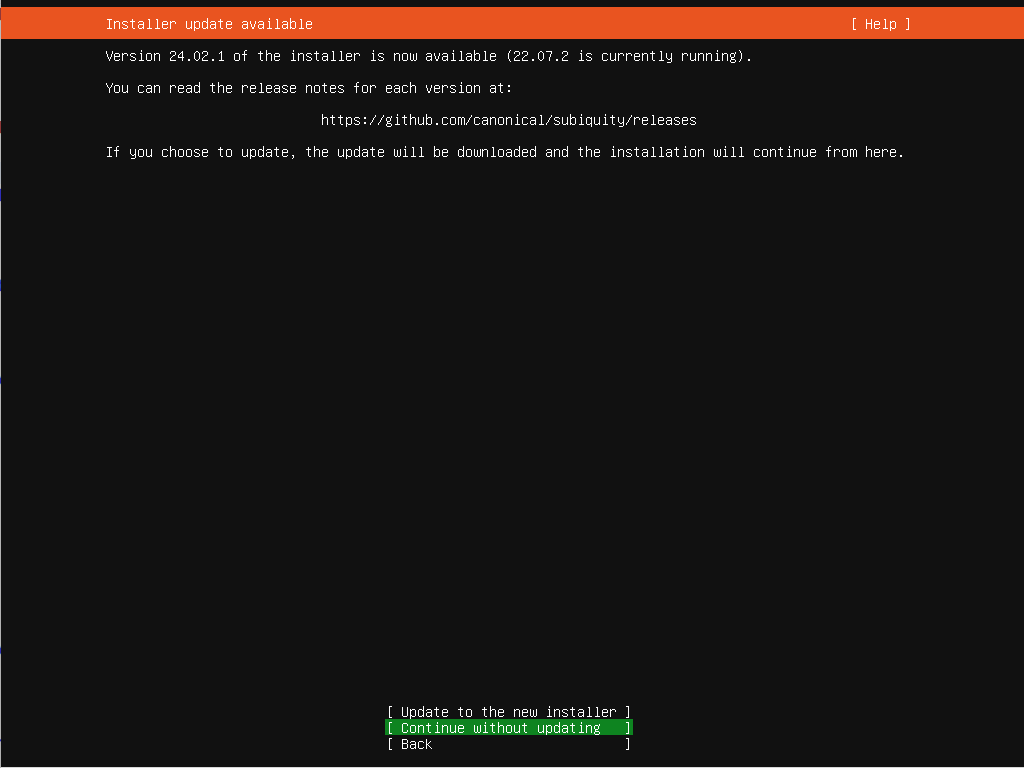
2. Continue Without Updating Installer
Skip updating installer to minimize installation time:
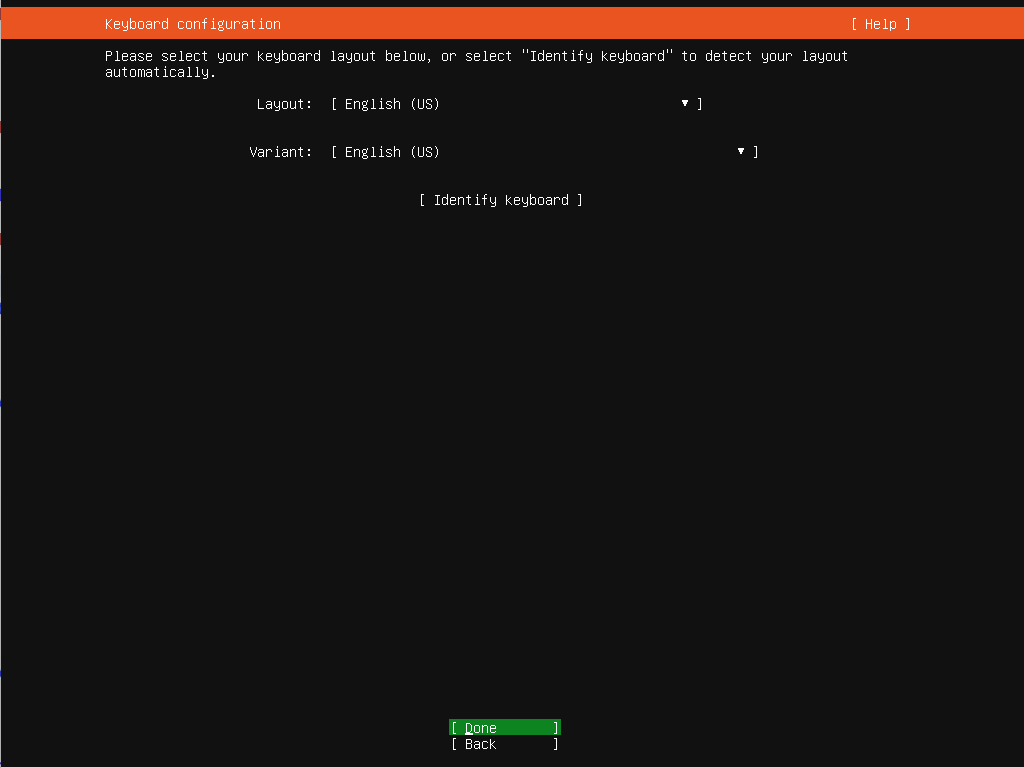
3. Keyboard Layout & Variant
Select desired keyboard layout for installation:
4. Choose Ubuntu Server for Type of Install
Choose standard Ubuntu Server, unless you know what you are doing with minimized ubuntu server 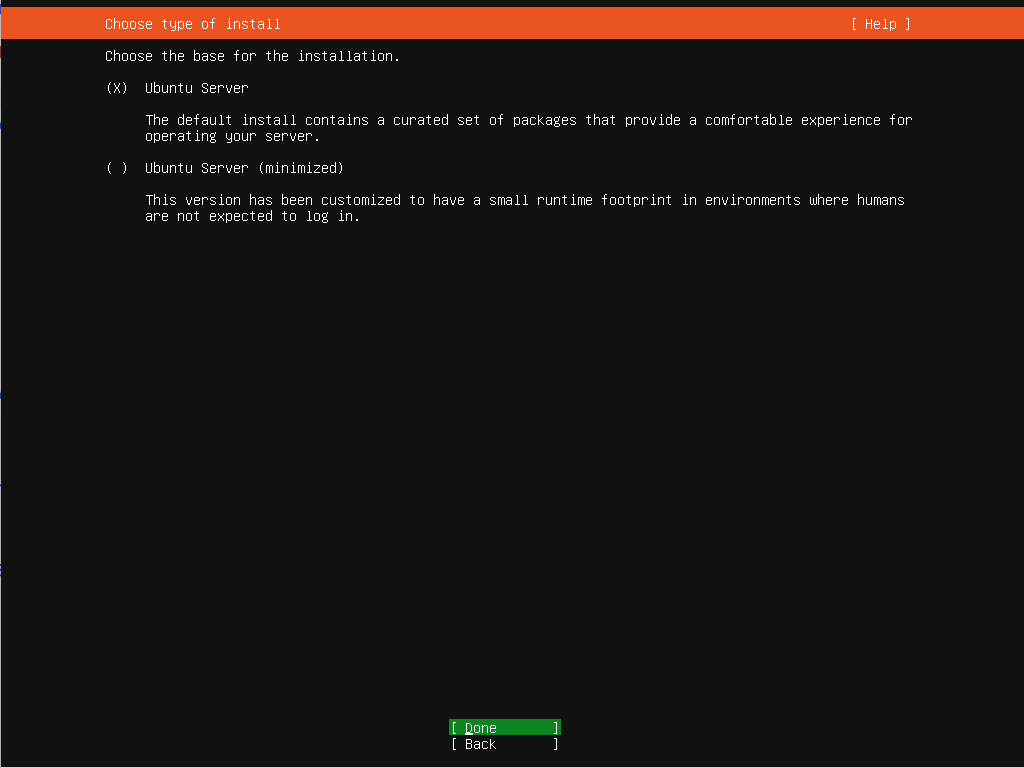
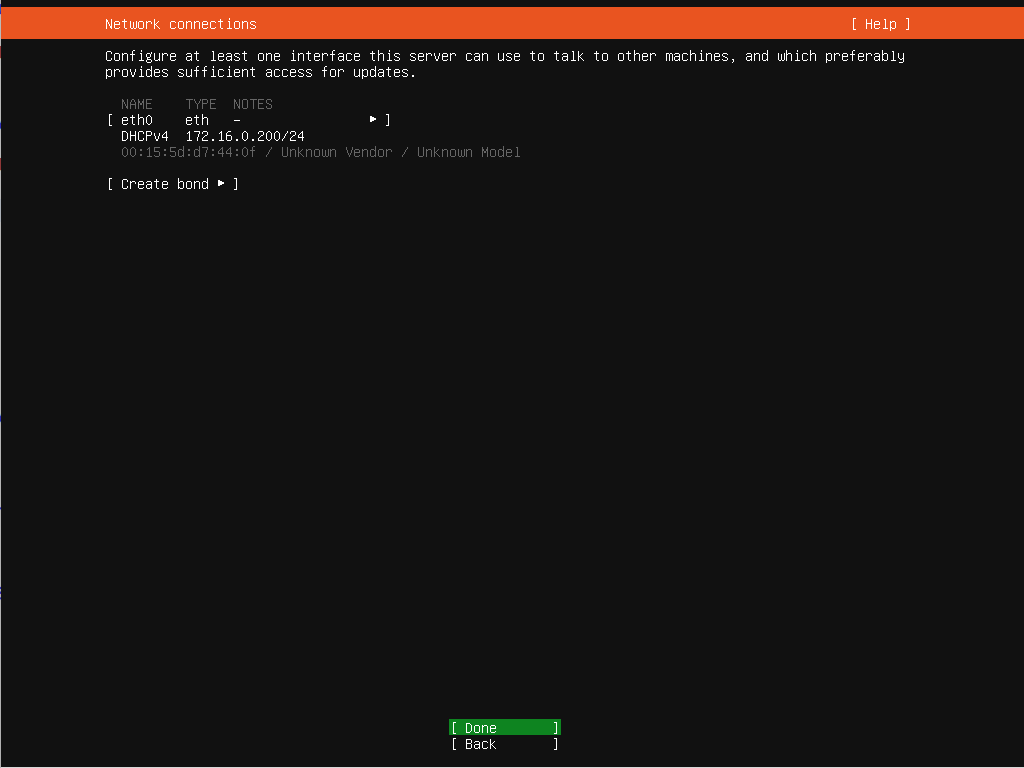
5. Edit Network
For this time, we will just use DHCP client to get IP Address. If your network doesn’t have DHCP server or you want to setup IP Address manually, select the NIC name and edit it to match your preferences:
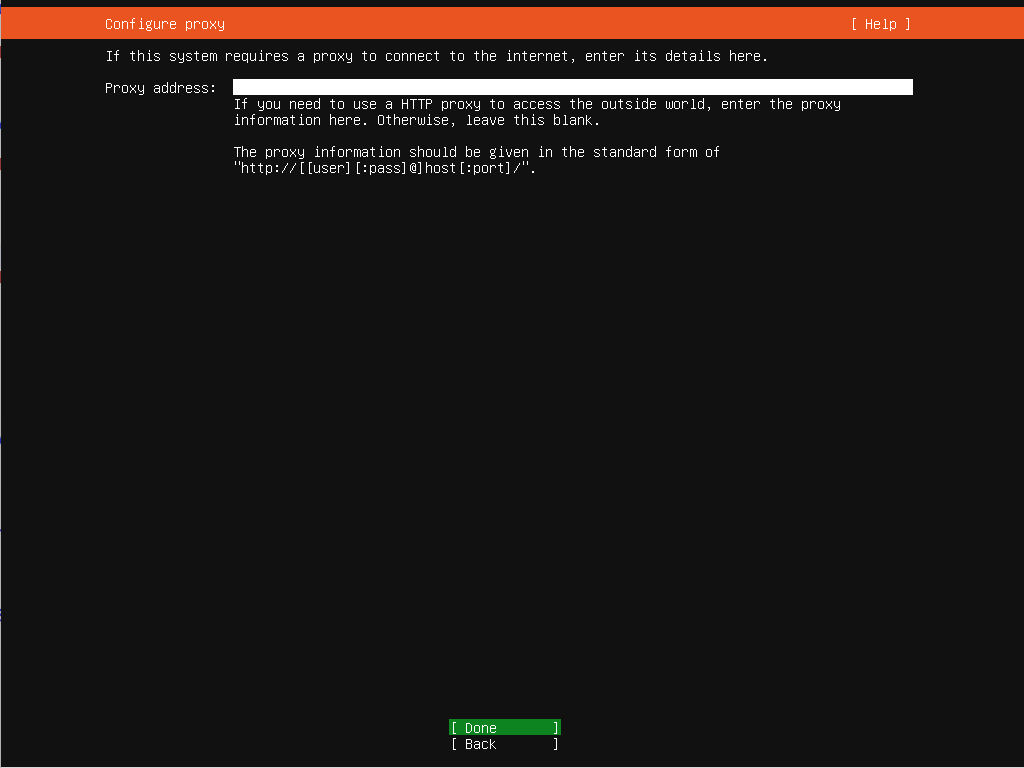
6. Skip Proxy Address
We don’t have proxy server and not behind proxy network, so we can skip it. Unless your server is behind proxy or need to access proxy, then you should configure it:
7. Configure Ubuntu Repository Mirror
Use nearest Ubuntu Repository Mirror server to reduce latency and increase download speed:

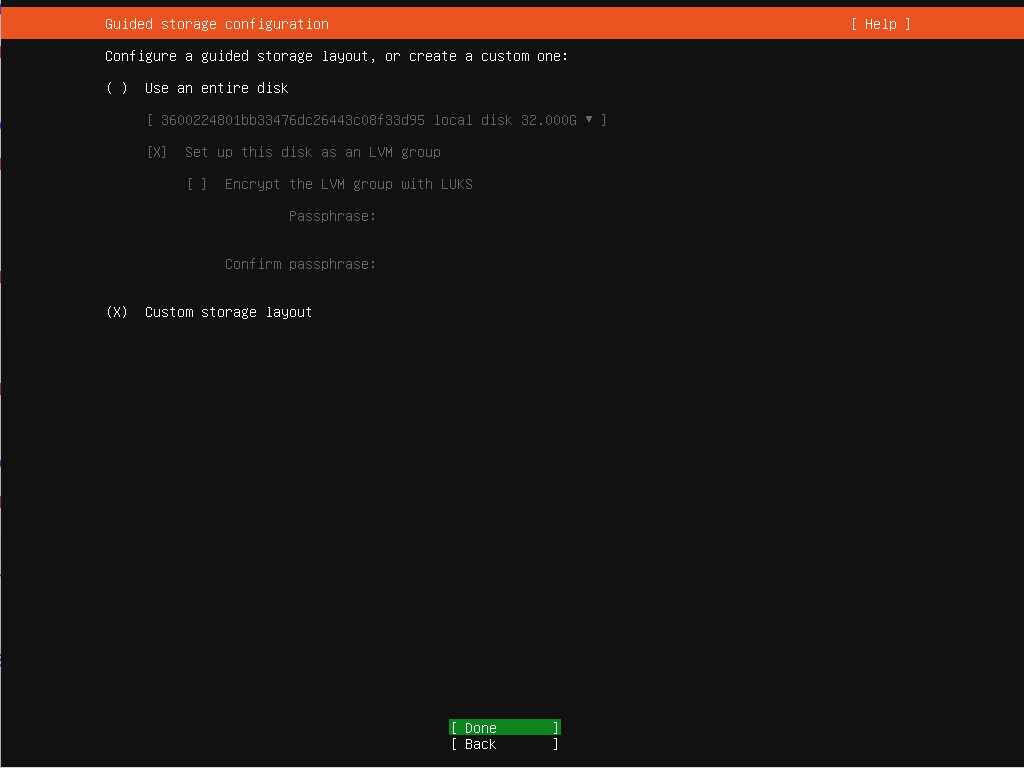
8. Select Custom Storage Layout for Storage Configuration
Now we starting to configure our disk for OS installation, select Custom storage layout to configure it by ourself:
9. Storage Configuration for Software RAID 1
Before configuration:
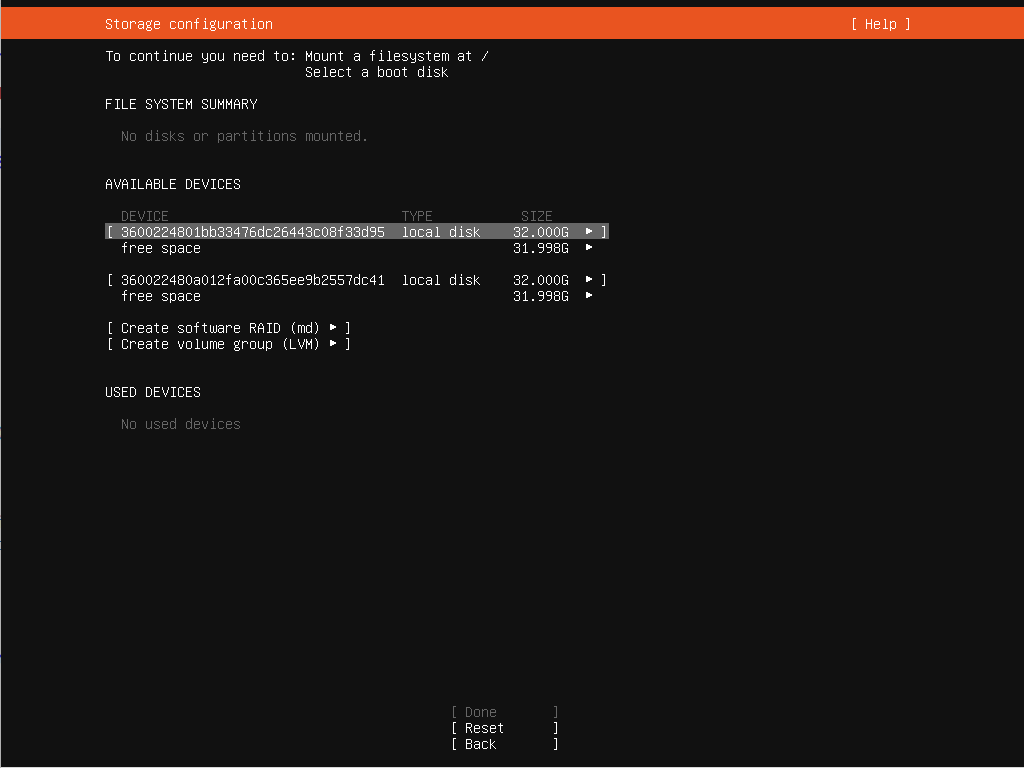
9.1. md0 for Boot disk
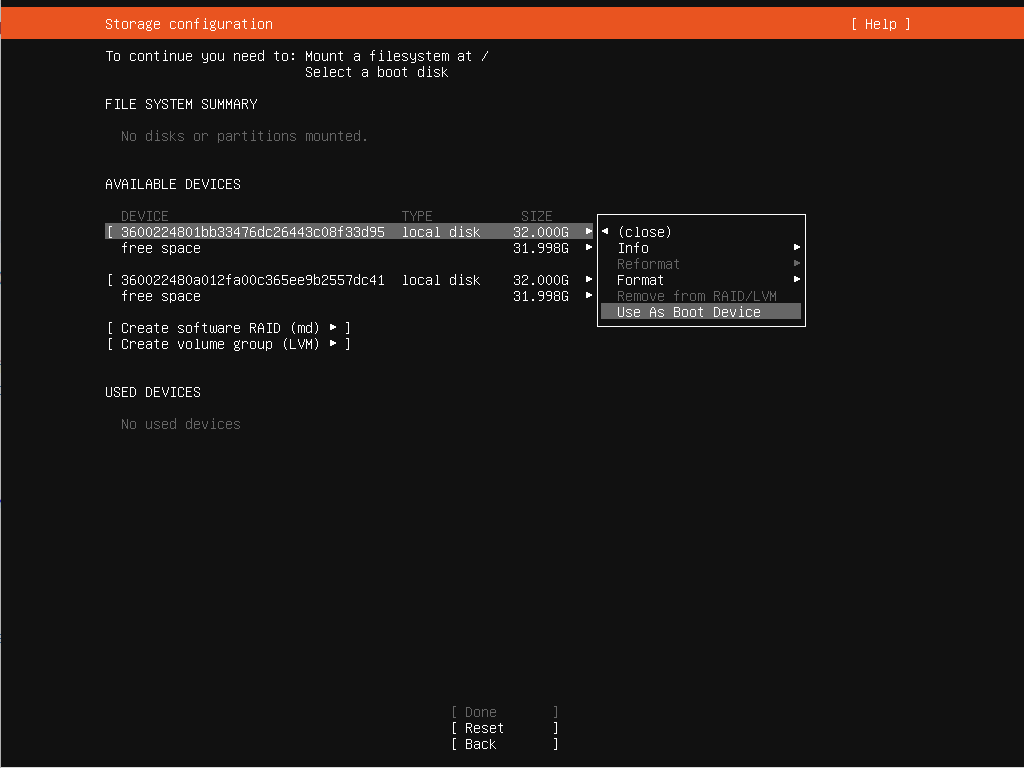
9.1.1. Create Boot Device
Select first boot disk (32 GB) from Available Devices and set
Use As Boot Device
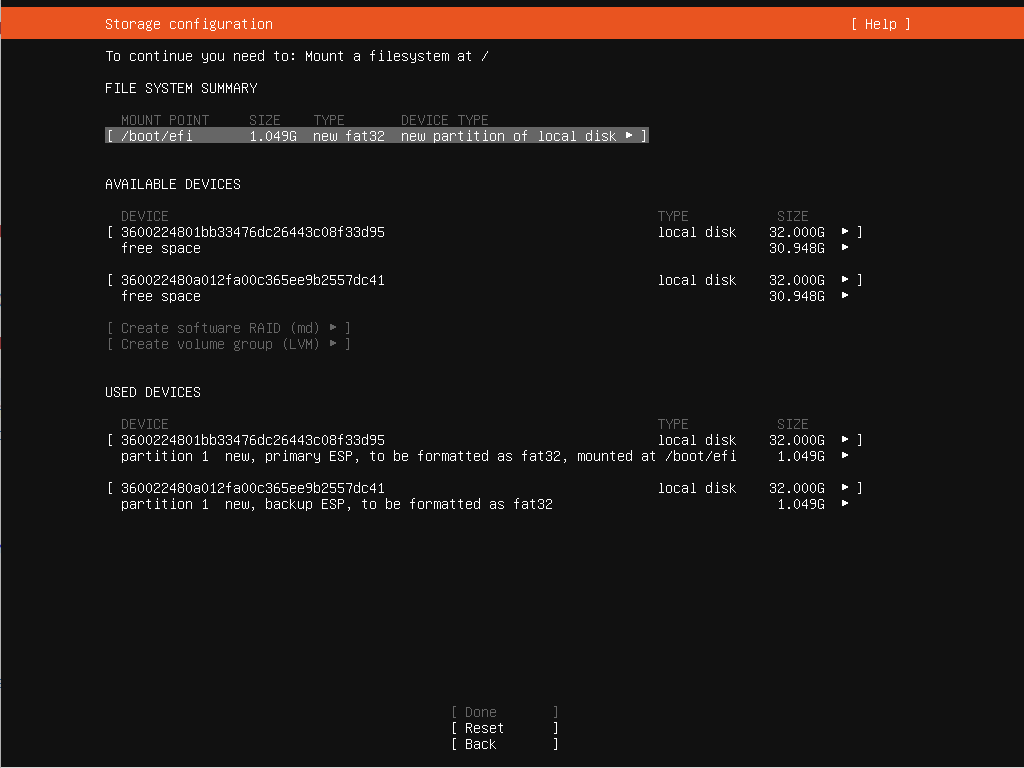
Select second boot disk (32 GB) from Available Devices and set
Add As Another Boot Device
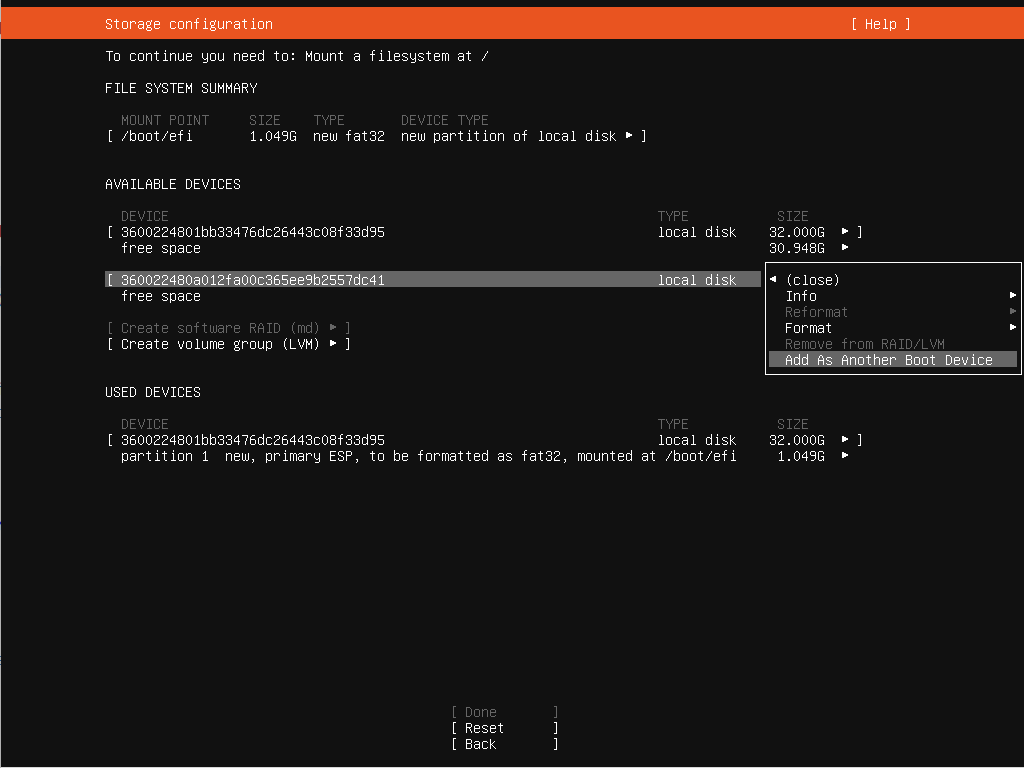
- ESP Partition for EFI boot device (
/boot/efi) will automatically created on both device (primary and backup) with recommended size of 1 GB, let’s leave it as is. - Storage summary
9.1.2. Create Unformatted partition for RAID
Select first boot disk -> Free space -> Add GPT Partition
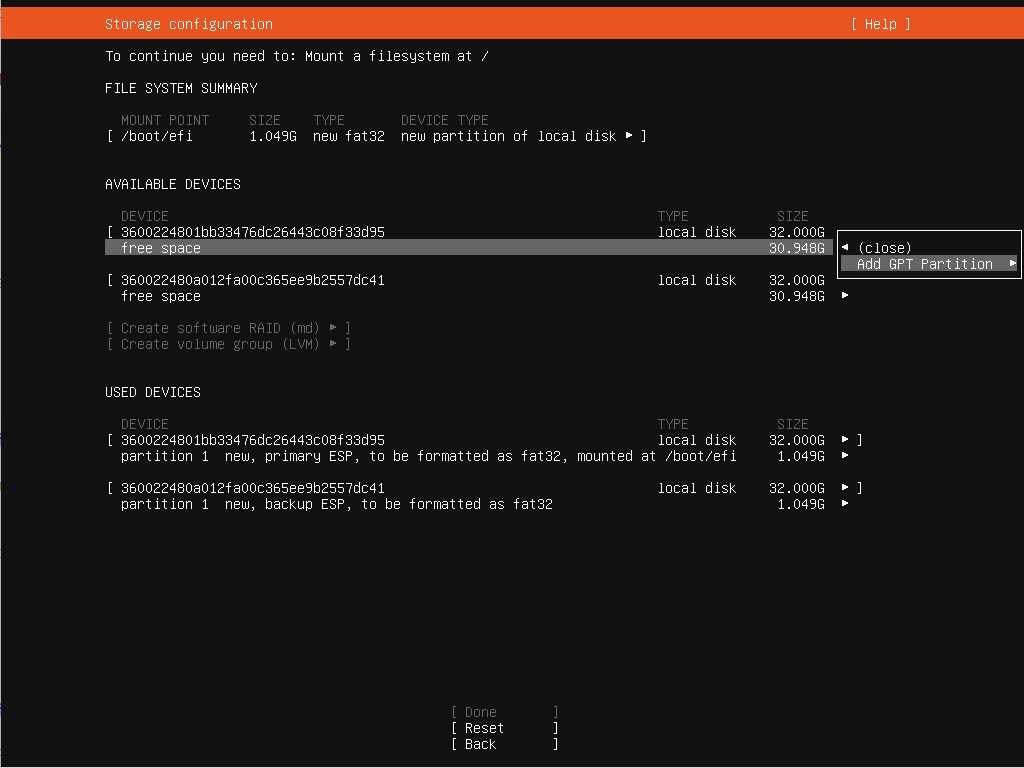
Set Size=blank and Format=
Leave unformatted

Select second boot disk -> Free space -> Add GPT Partition
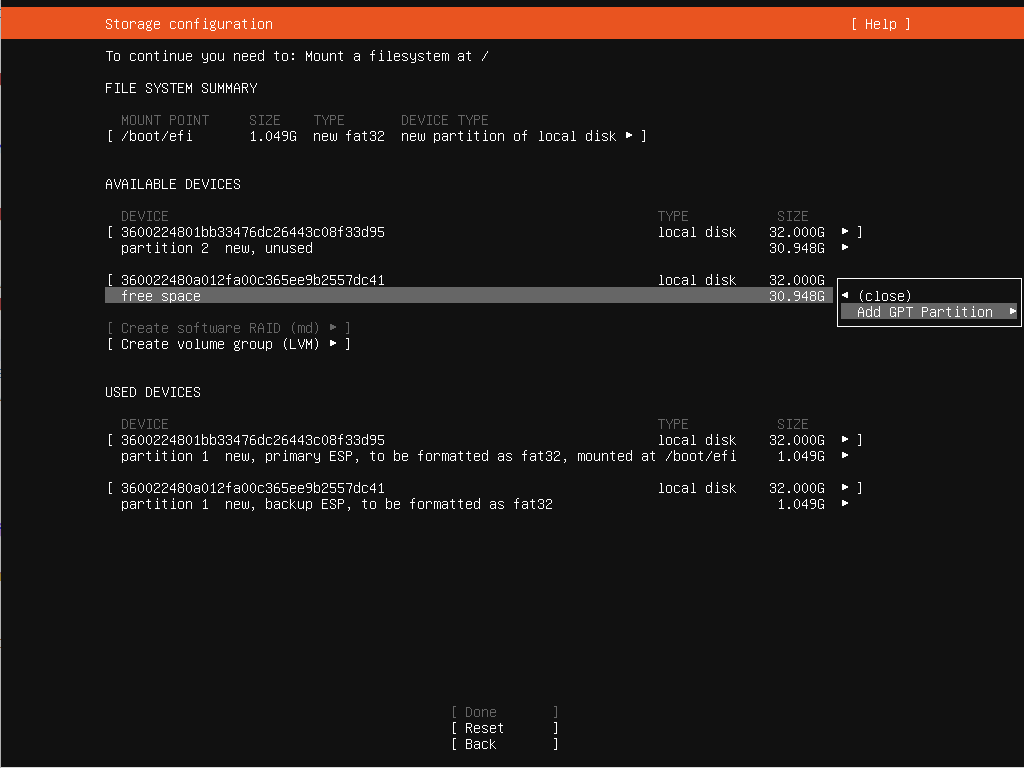
Set Size=blank and Format=
Leave unformatted

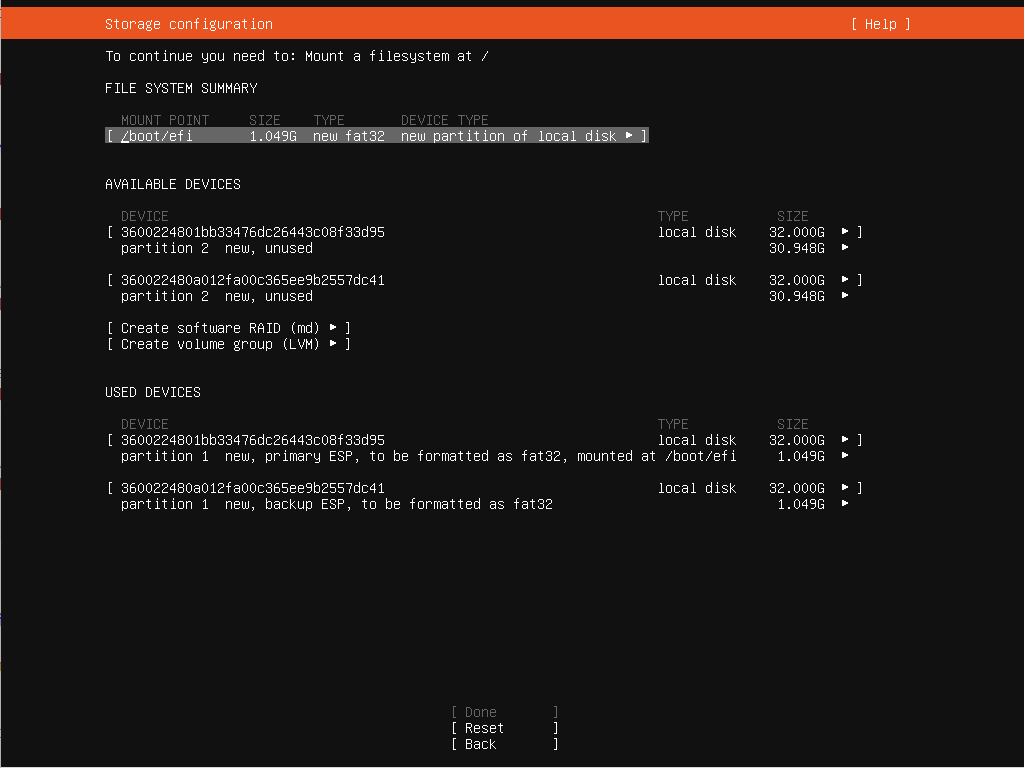
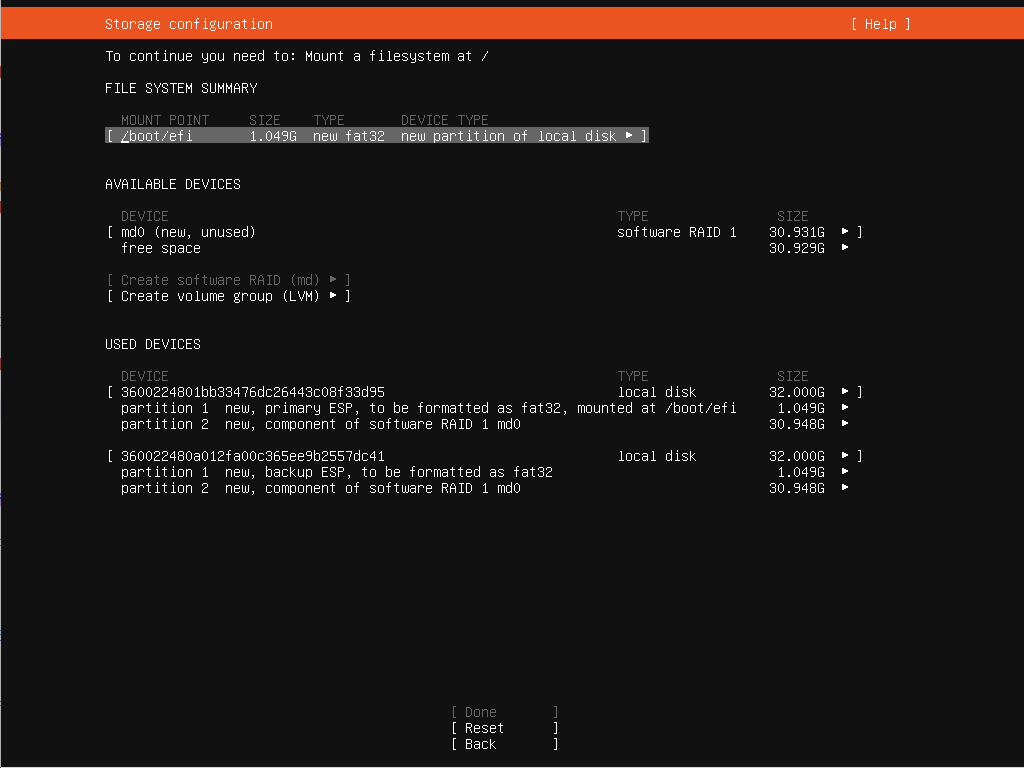
Storage summary
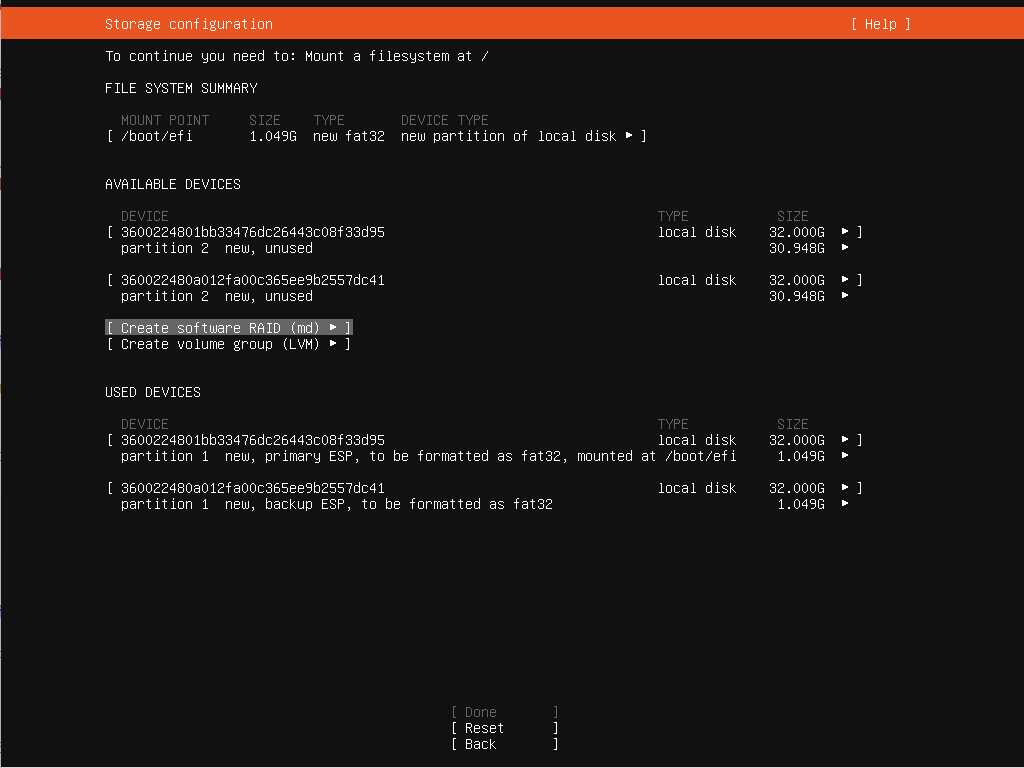
9.1.3. Create md0 RAID 1 Device
Select
Create software RAID (md)
- Set name to
md0 - Choose RAID Level 1 (mirrored)
- Select both the 32 GB
partition 2and set as active Click
Create
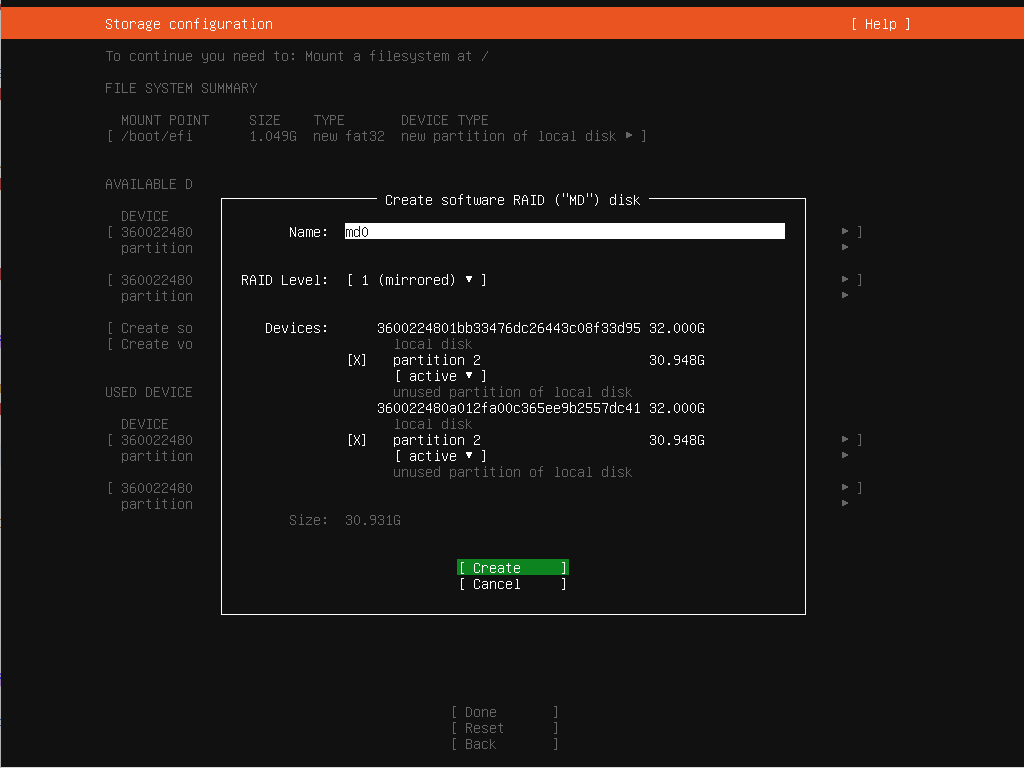
- Storage Summary
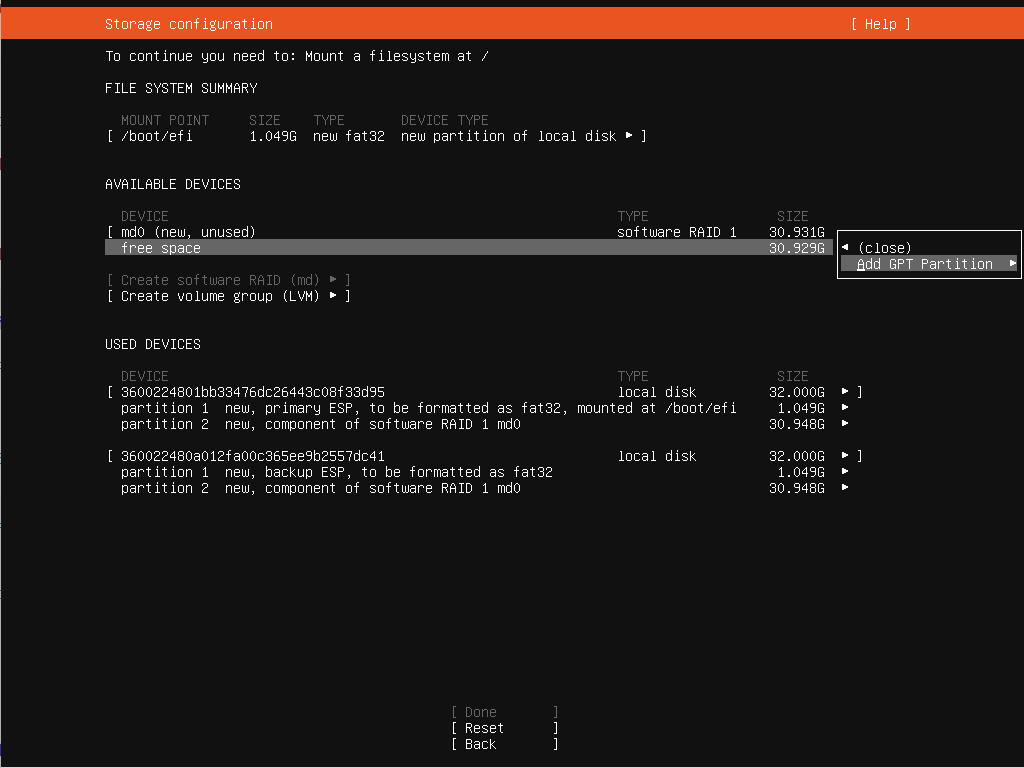
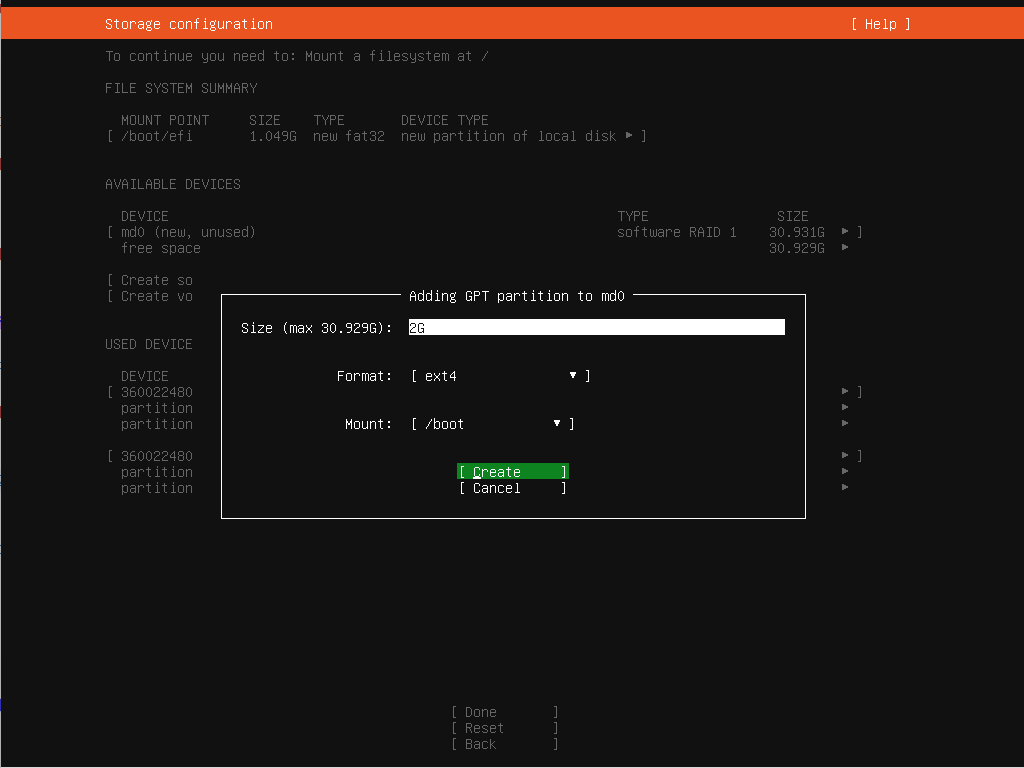
9.1.4. Create Storage Partition for md0
Select md0 free space -> Add GPT Partition. Do this twice (each for different partition)
First partition (boot) : Size=2G, Format=ext4, Mount=/boot
Second partition (root) : Size=blank (use max size available), Format=ext4, Mount=/
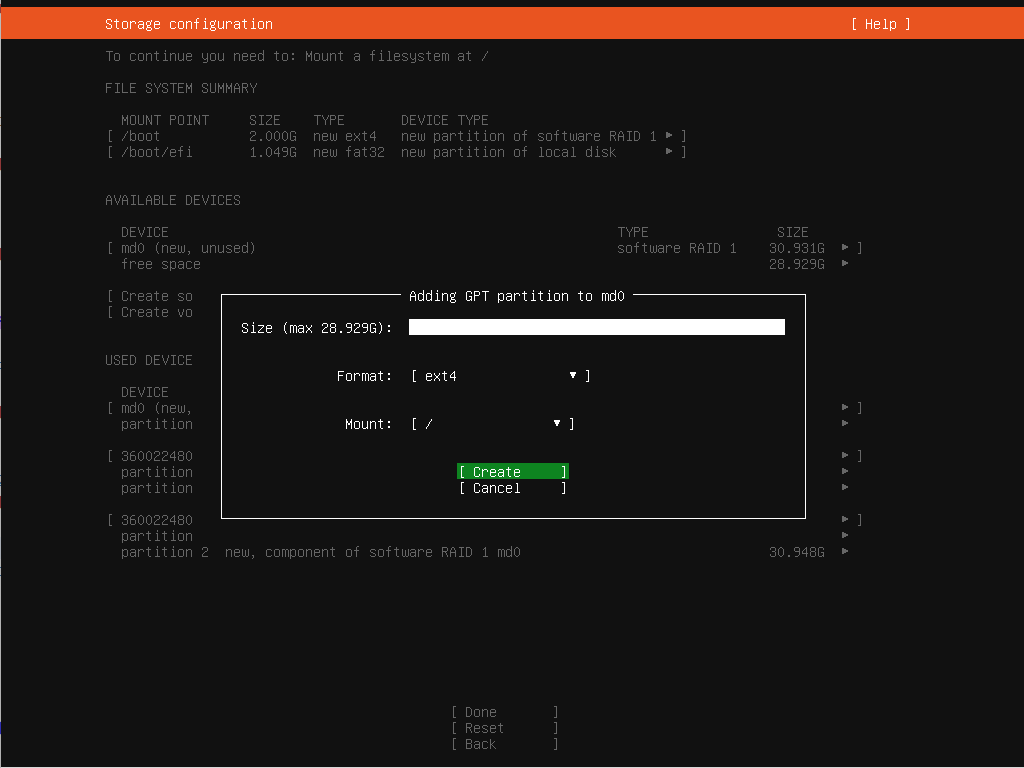
Storage Summary
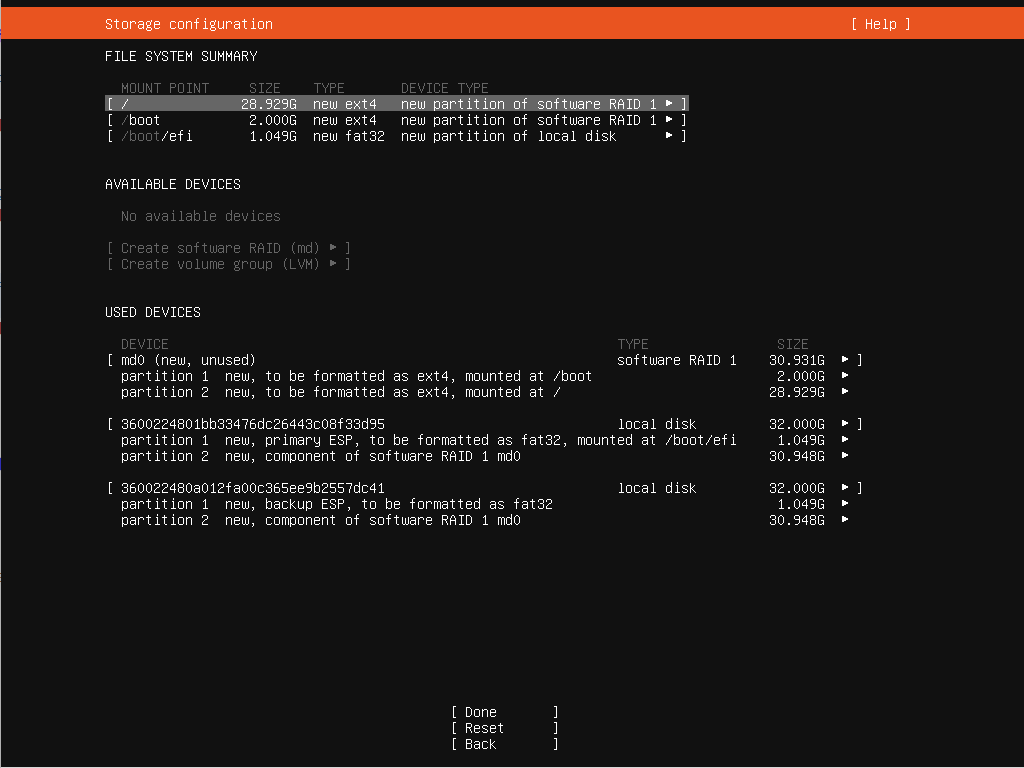
9.2. Final Storage Partition Tree
Click
Done
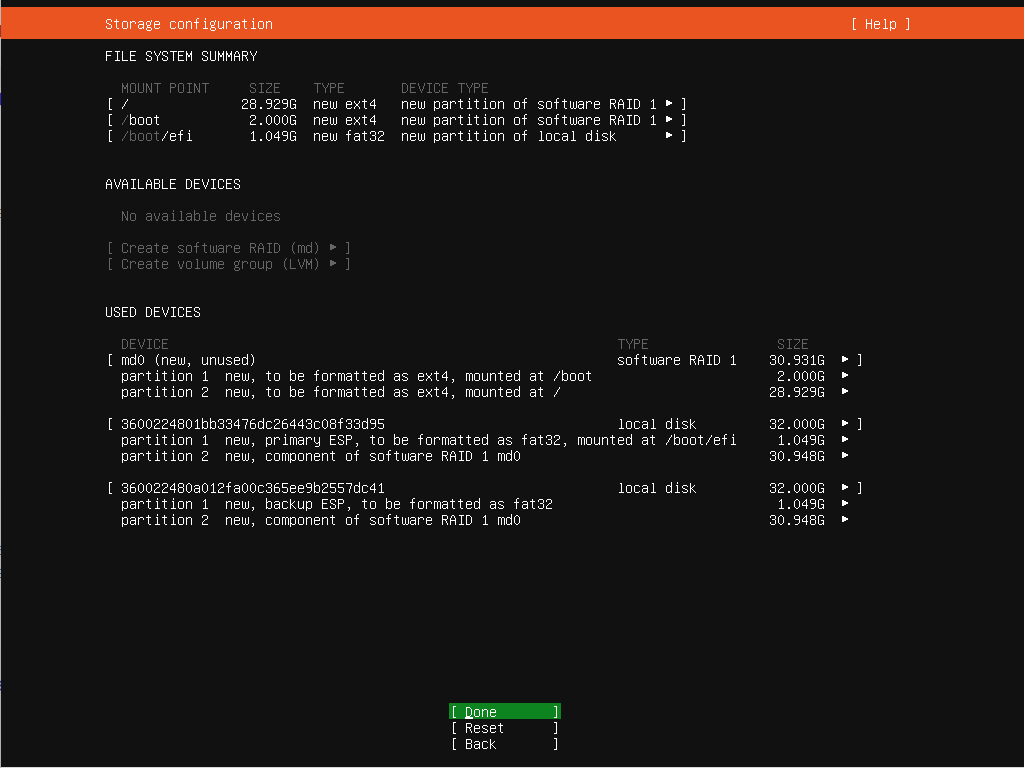
Click
ContinuetoConfirm Destructive Action

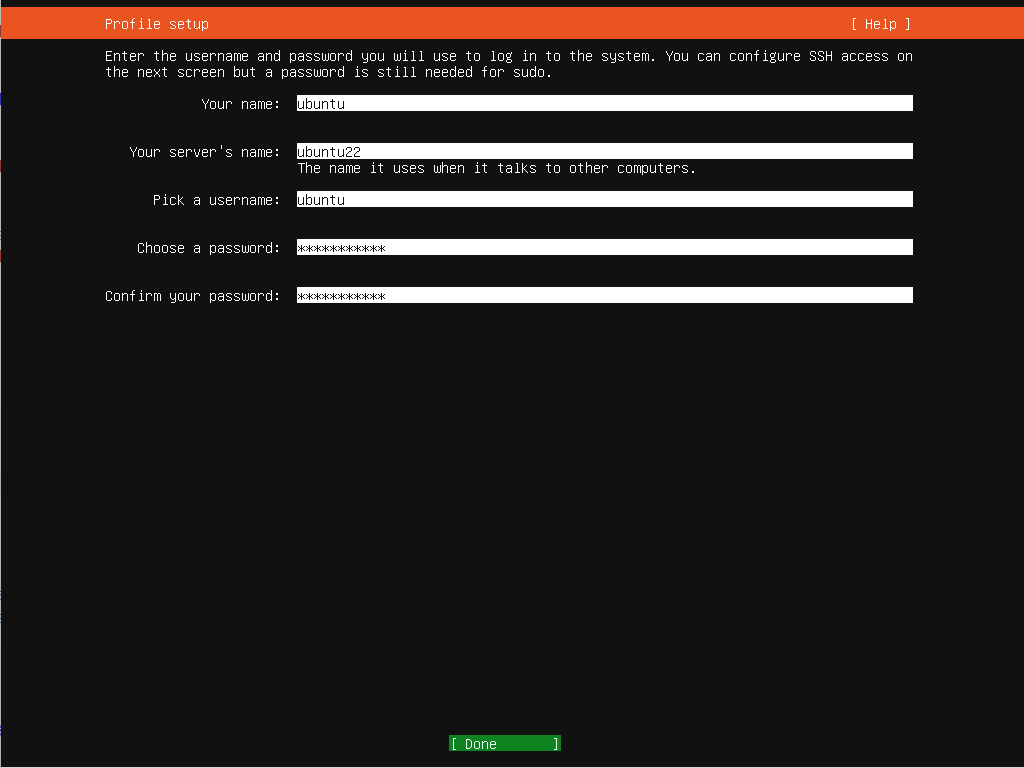
10. Setup User Profile
- Name : ubuntu
- Hostname : ubuntu22
- Username : ubuntu
- Password : password123
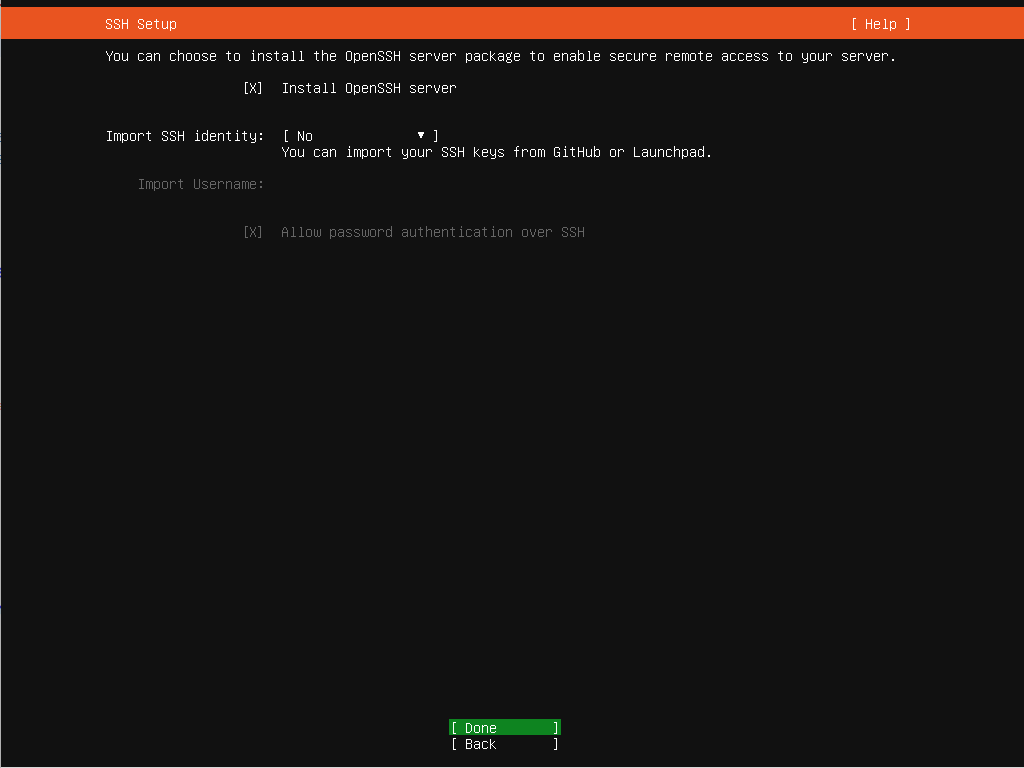
11. Install OpenSSH Server
- Check Install OpenSSH server
- Set Import SSH identity to No
- Enable Allow password authentication over SSH
- We will import the SSH key and set only public key authentication later after installation completed
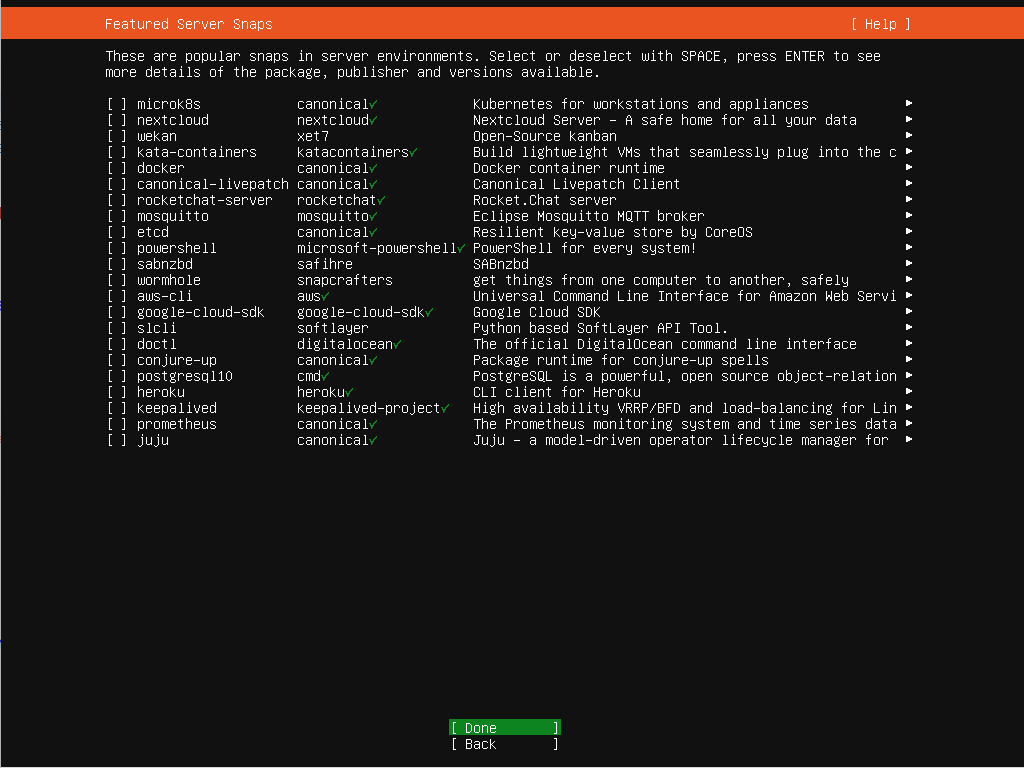
12. Featured Server Snaps
Select any snap application we want to use. In this case, we won’t install anything so uncheck all application:
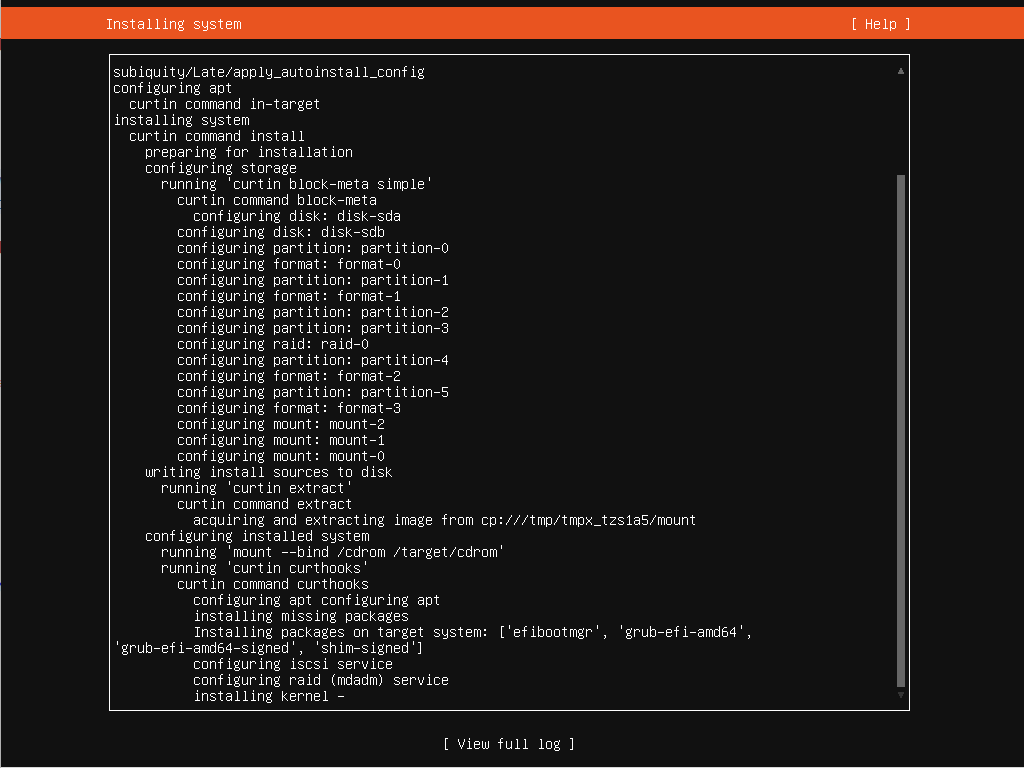
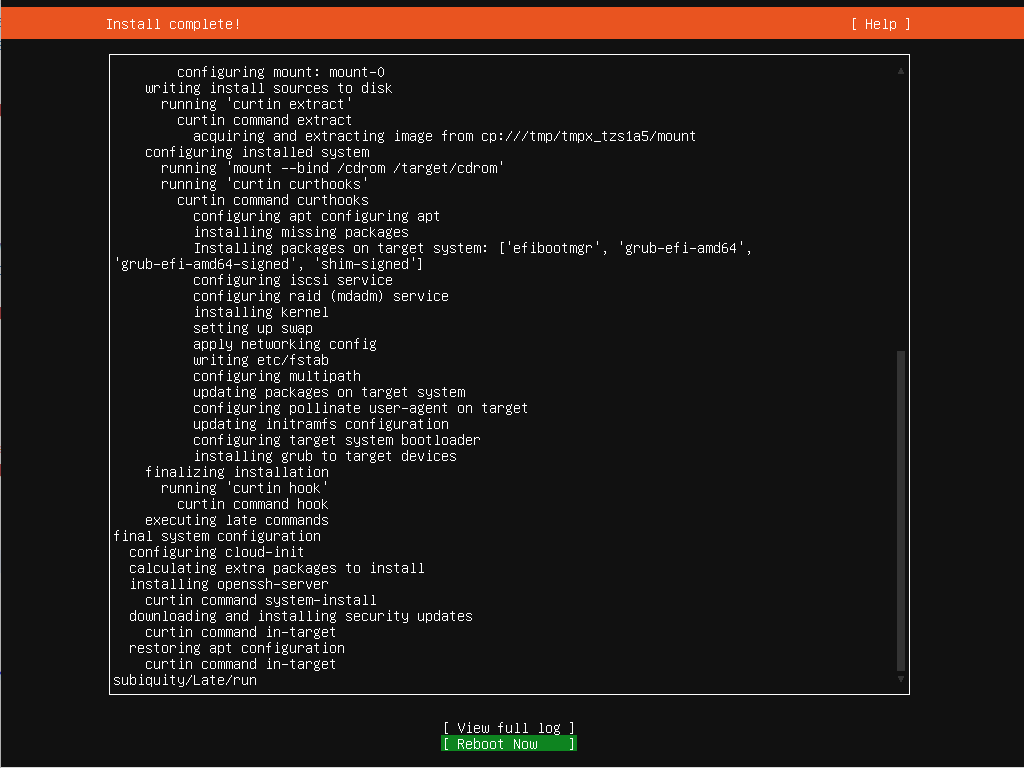
13. Wait for Installation
Wait for Installation process
Reboot Now
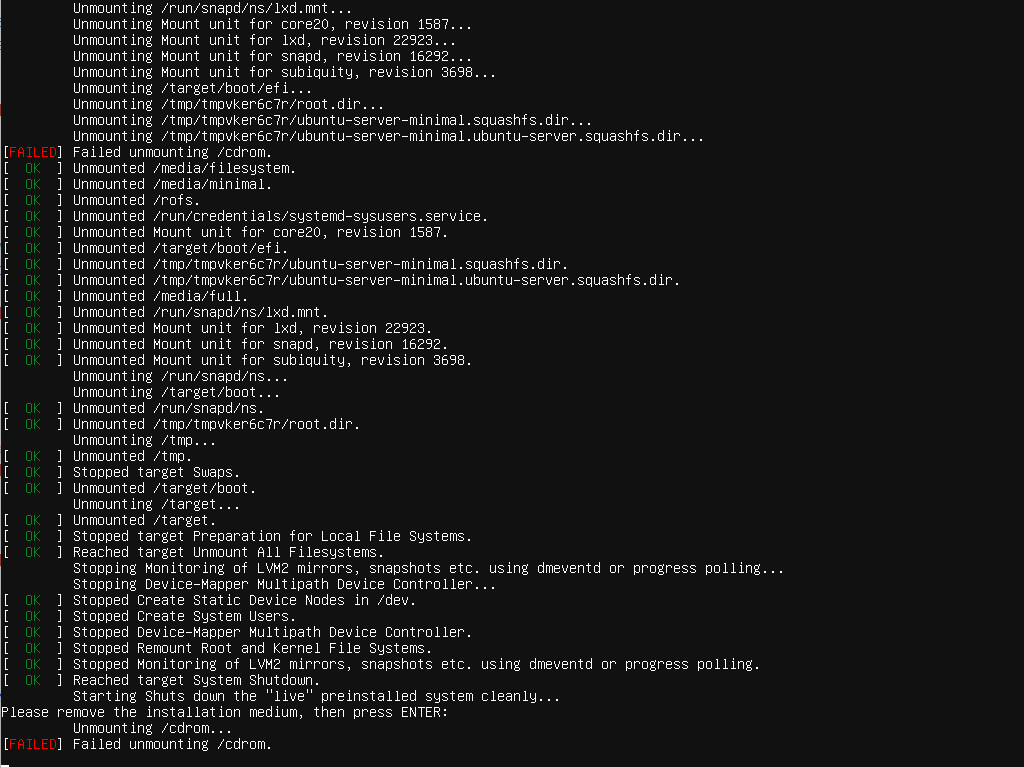
Eject/Unmount Ubuntu ISO image and press ENTER
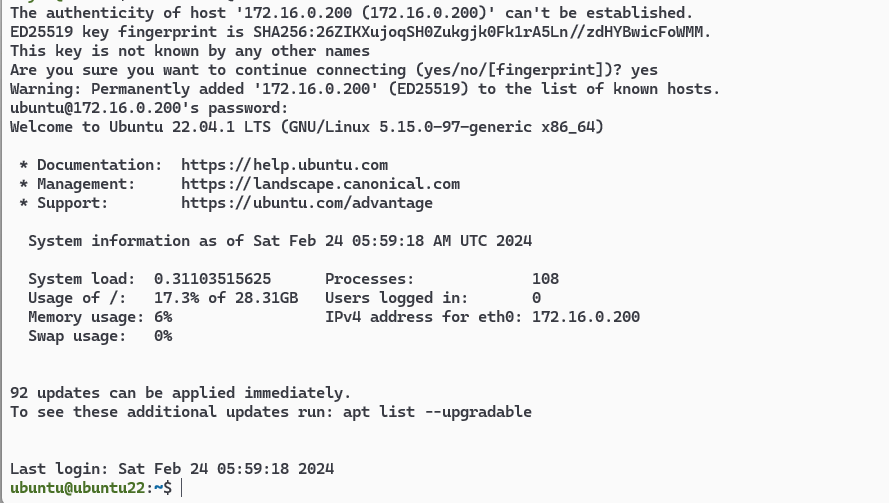
14. Login and Verify RAID 1 Disk Partition
Access via SSH
fdisk -l

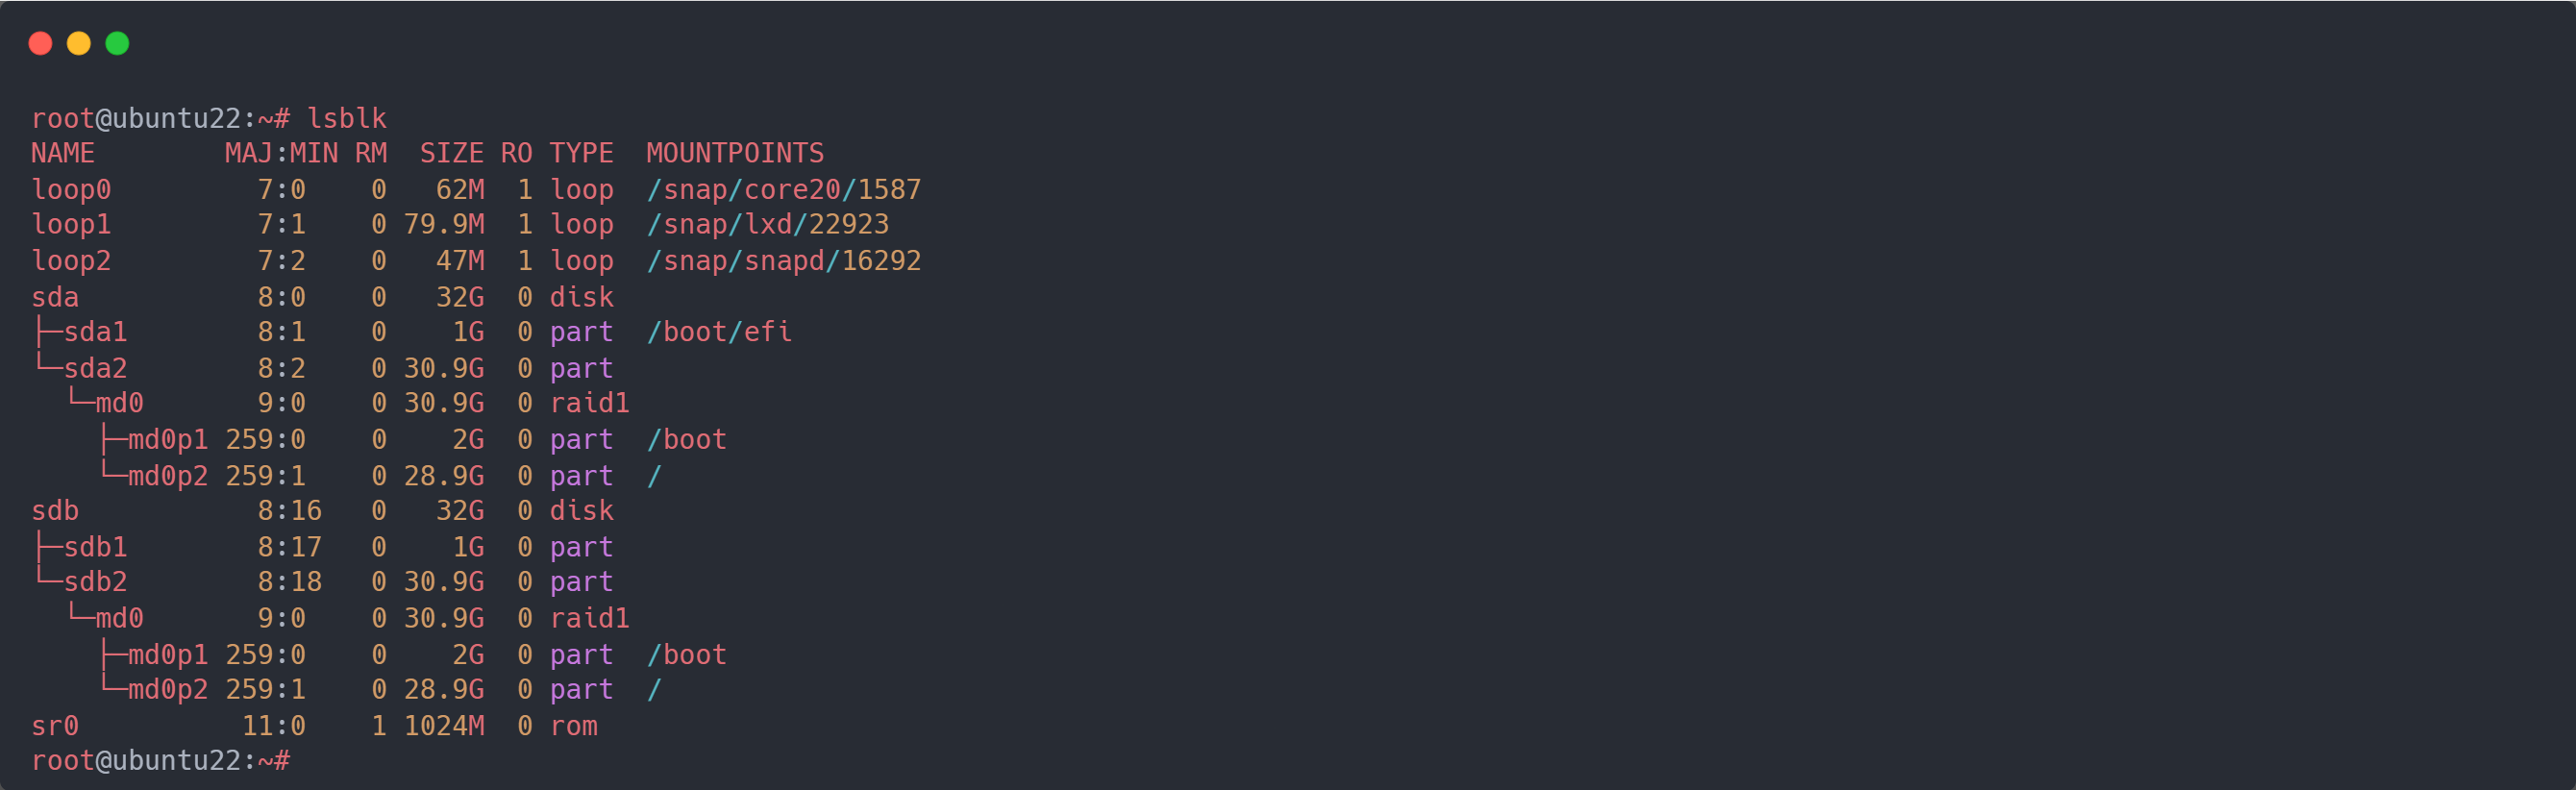
lsblk
df -hT

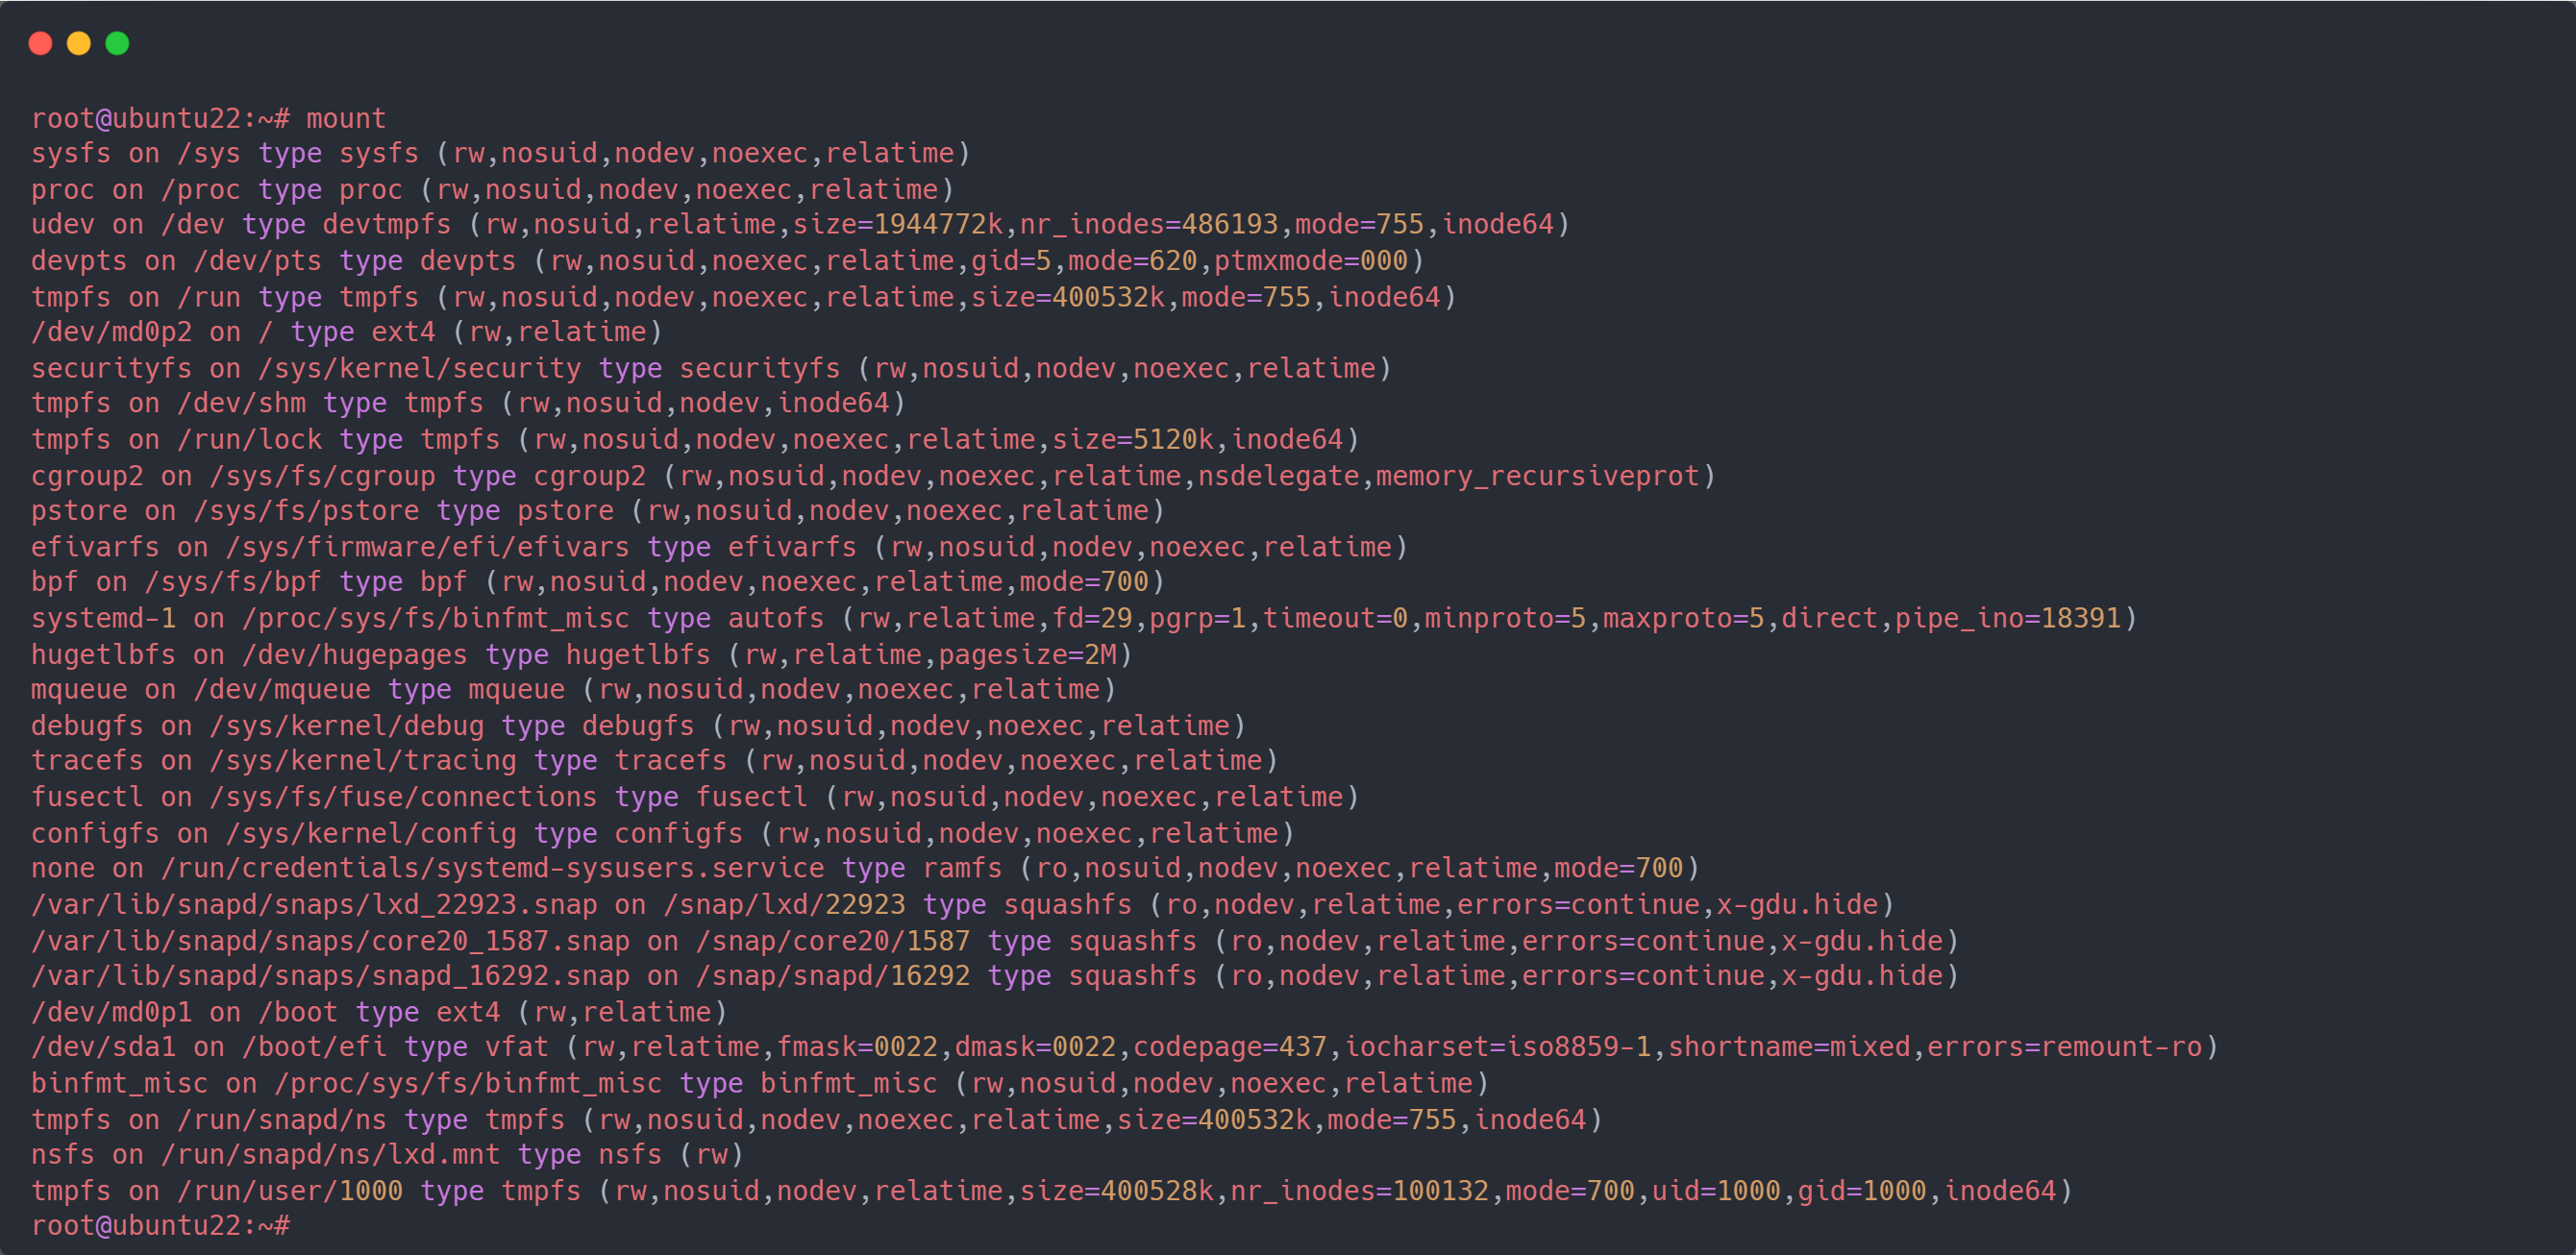
mount
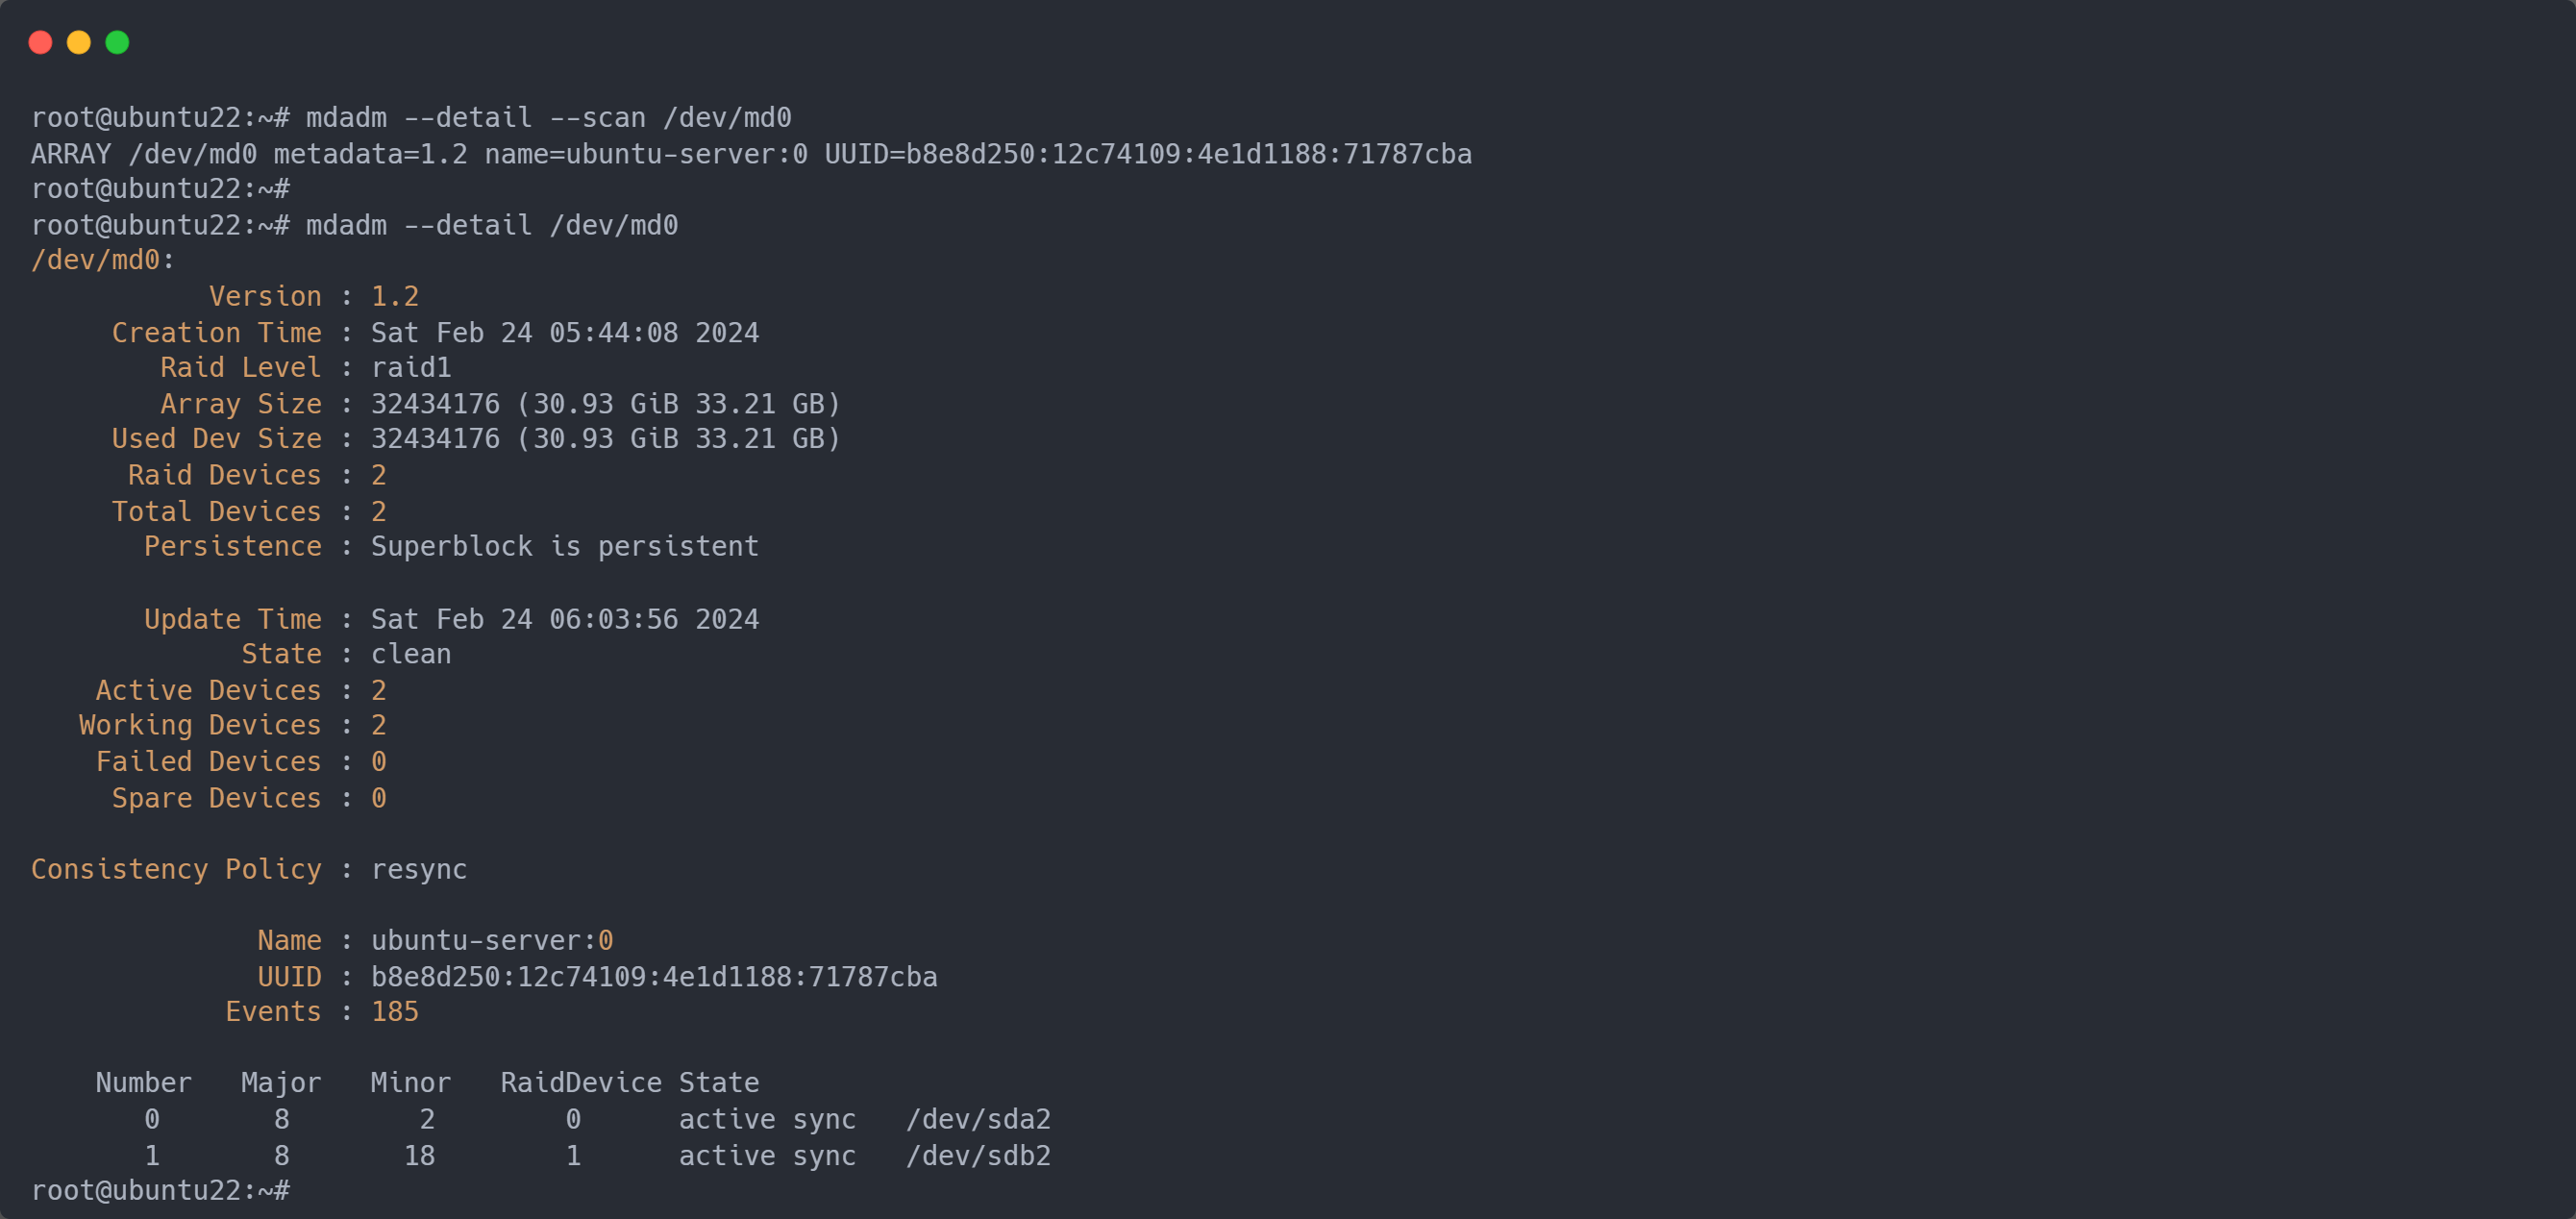
mdadm --detail --scan /dev/md0 && mdadm --detail /dev/md0
cat /etc/mdadm/mdadm.conf

cat /proc/mdstat

References
- https://www.digitalocean.com/community/tutorials/how-to-create-raid-arrays-with-mdadm-on-ubuntu-22-04#creating-a-raid-1-array
- https://www.muchtall.com/2023/03/10/setting-up-and-ubuntu-22-04-server-with-raid1-and-lvm/
- https://gist.github.com/fevangelou/2f7aa0d9b5cb42d783302727665bf80a
- https://raid.wiki.kernel.org/index.php/Linux_Raid
Comments powered by Disqus.