Setup RAID 1 OS Disk on CentOS Stream 8
Environment
| Component | Value |
|---|---|
| Hostname | centosstream8 |
| OS | CentOS Stream 8 |
| Specification | 2 vCPU / 4 GB RAM |
| Boot Disk | 2 x 32 GB |
| IP Address | DHCP |
| UEFI/Secure Boot | Supported |
| User/Pass | centos/password123 |
- All is done in Hyper-V virtual machine on Windows 11, any configuration setup is the same as baremetal installation with some name changes.
- Using Hyper-V Generation 2 Virtual Machine to enable UEFI and Secure Boot support
Setup
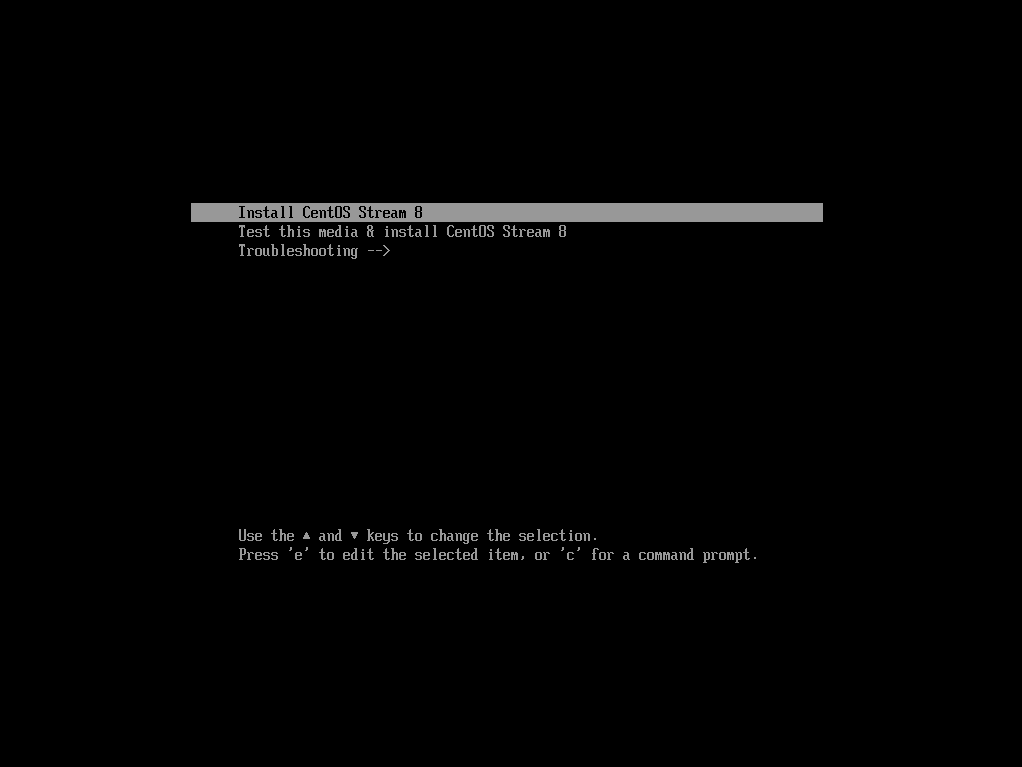
Choose Install CentOS Stream 8.
We can also choose Test this media & install CentOS Stream 8 if you want to check all the disks first, but it will takes time.
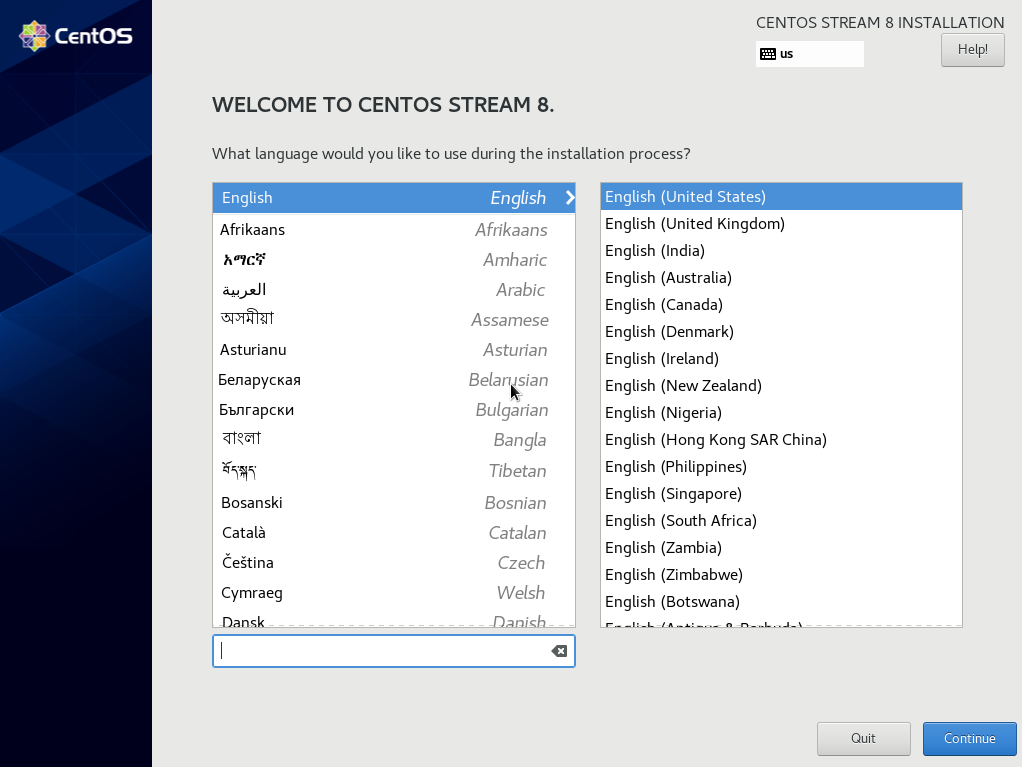
1. Select Language
Choose your desired installation language:
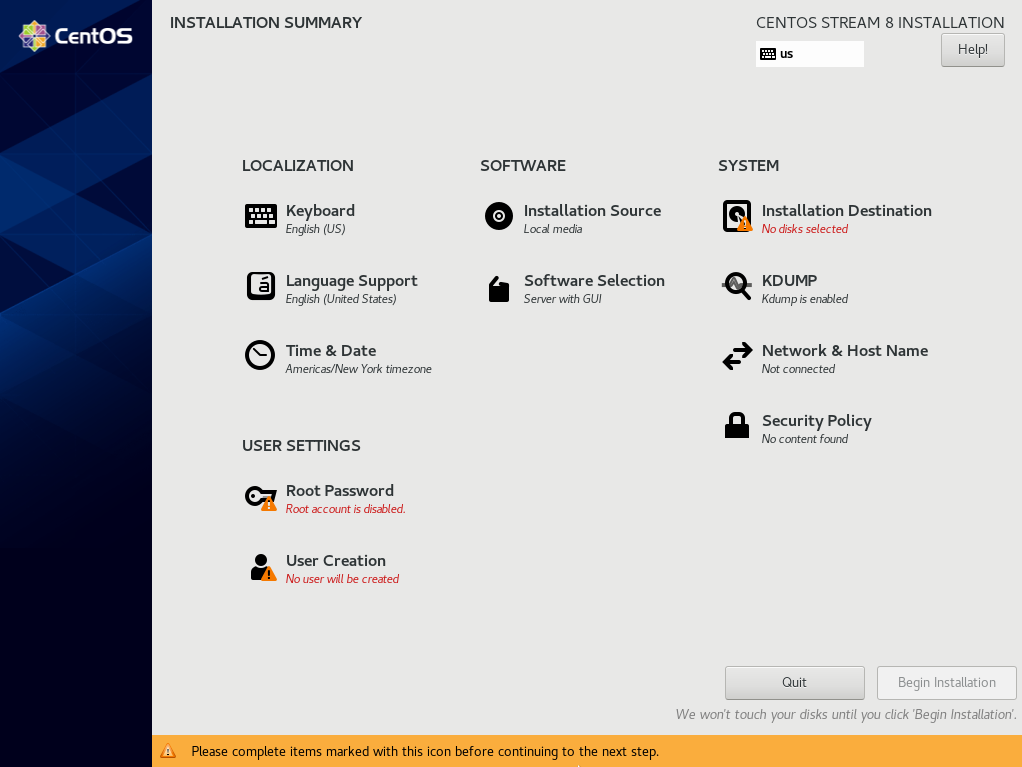
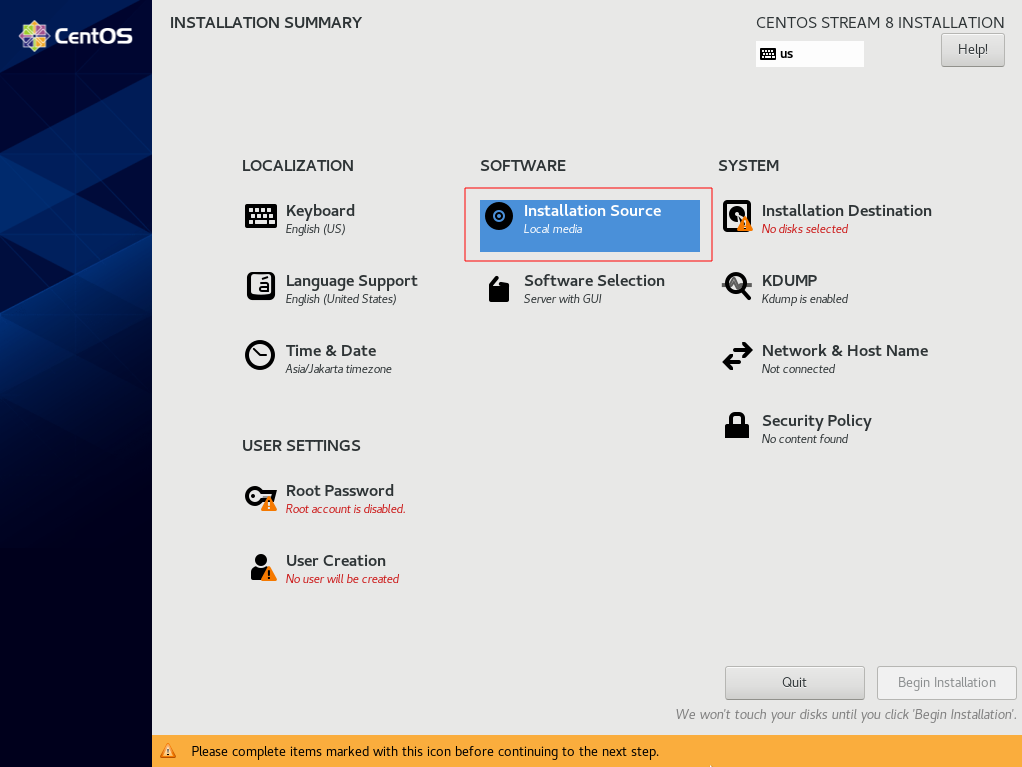
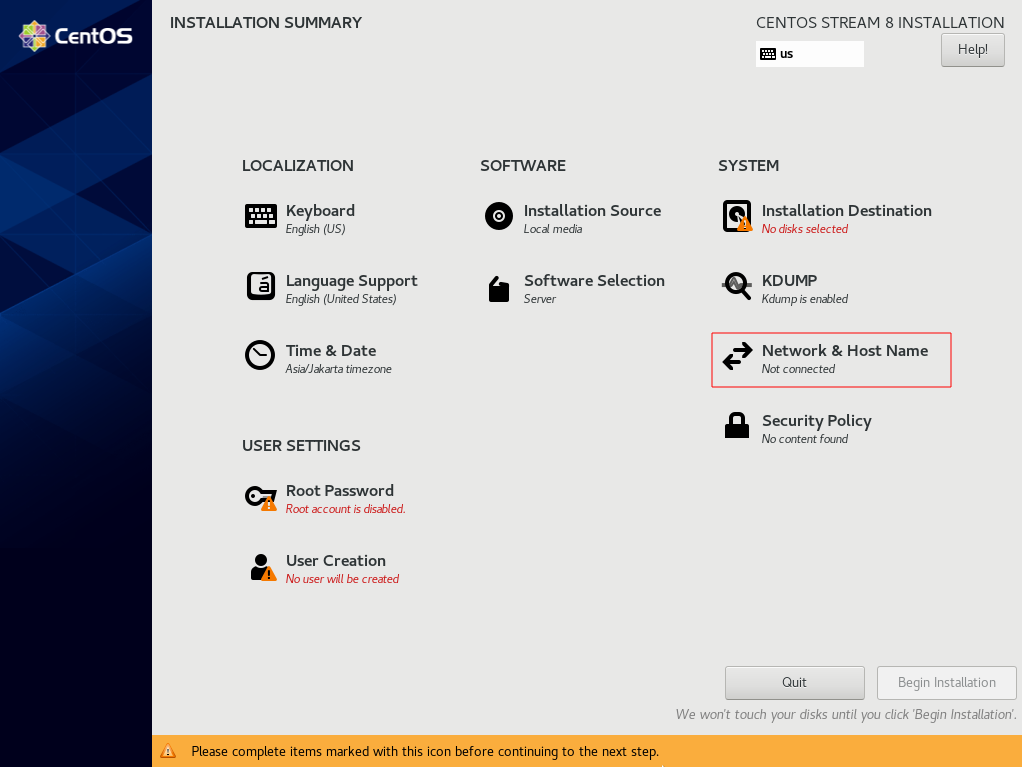
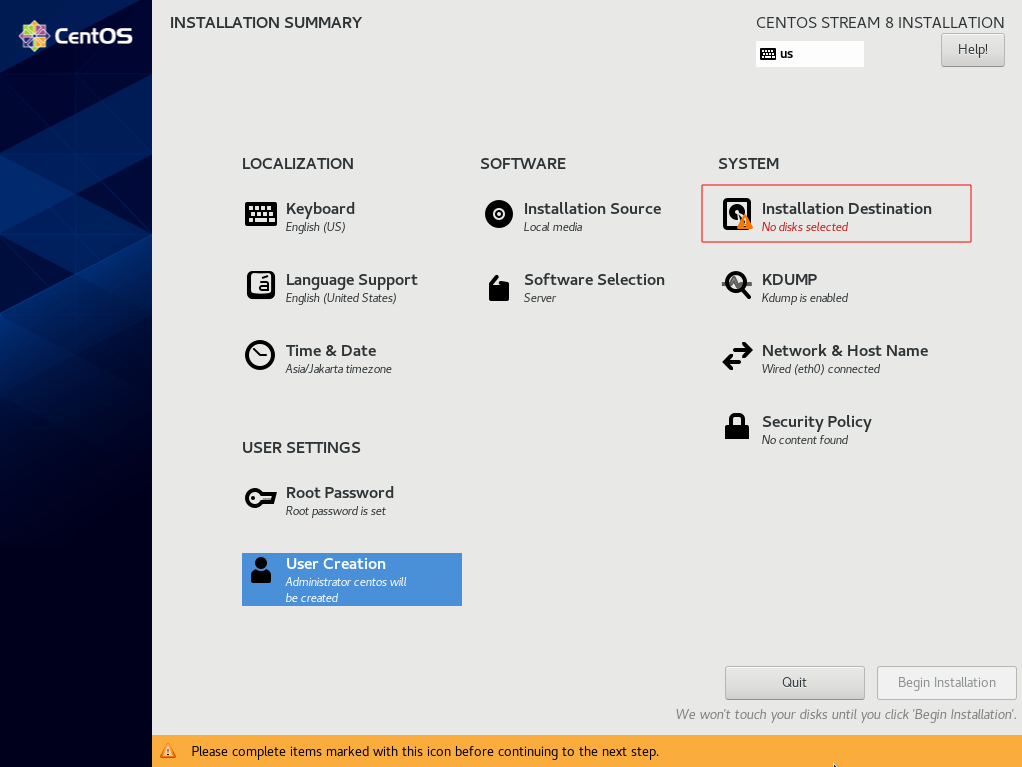
2. Installation Summary
This is the installation summary, we can choose what we will configure first before setting up other things:
3. Keyboard Layout & Variant
Select desired keyboard layout for installation:

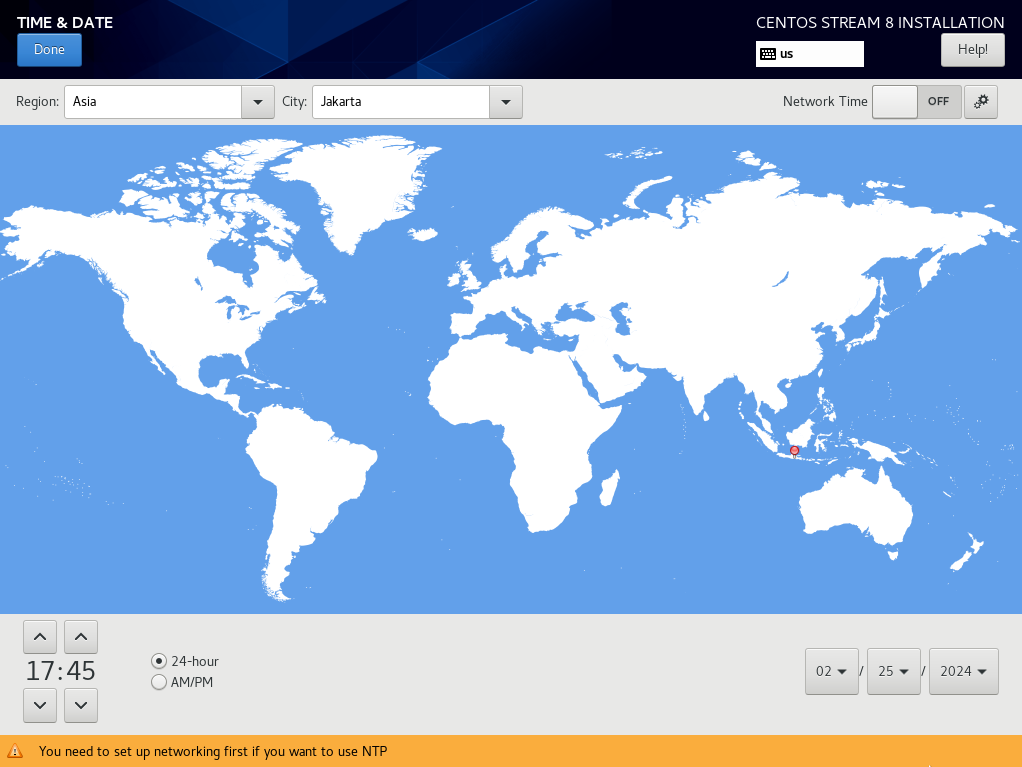
4. Time and Date
Click Time and Date menu

Choose timezone location, then click Done
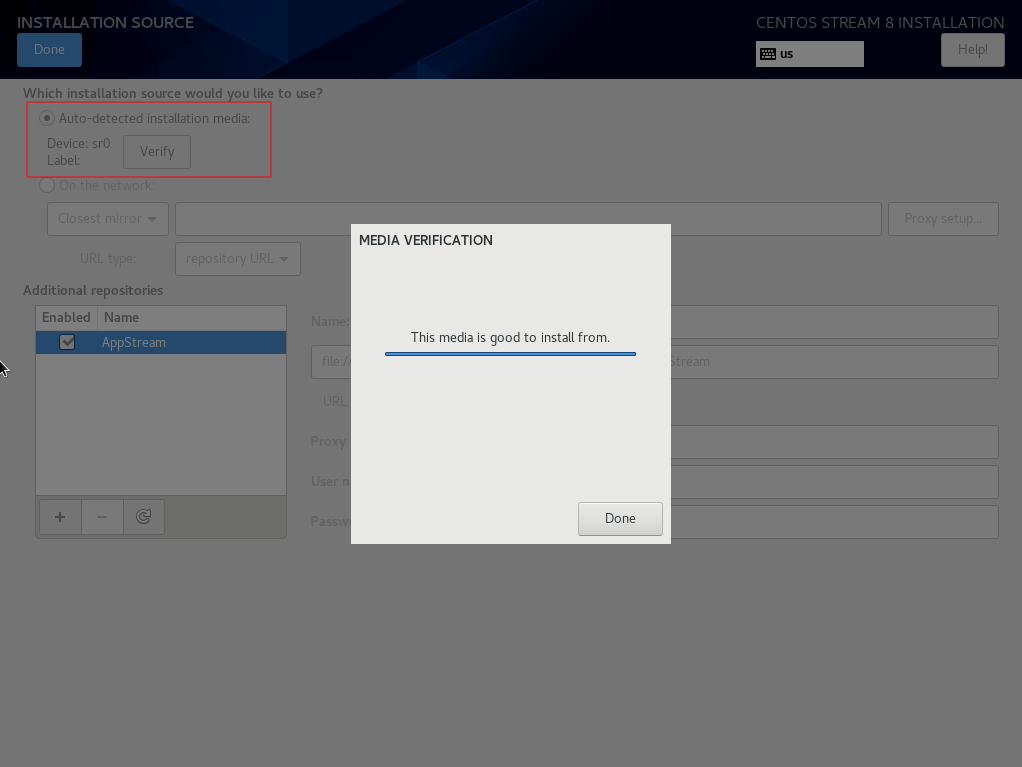
5. Installation Source
Select Installation Source
Because we use full size DVD1 ISO file, we can use Local Media as Installation Source. Select auto detect installation source and click verify to make sure sr0 (DVD drive) is listed and can be used
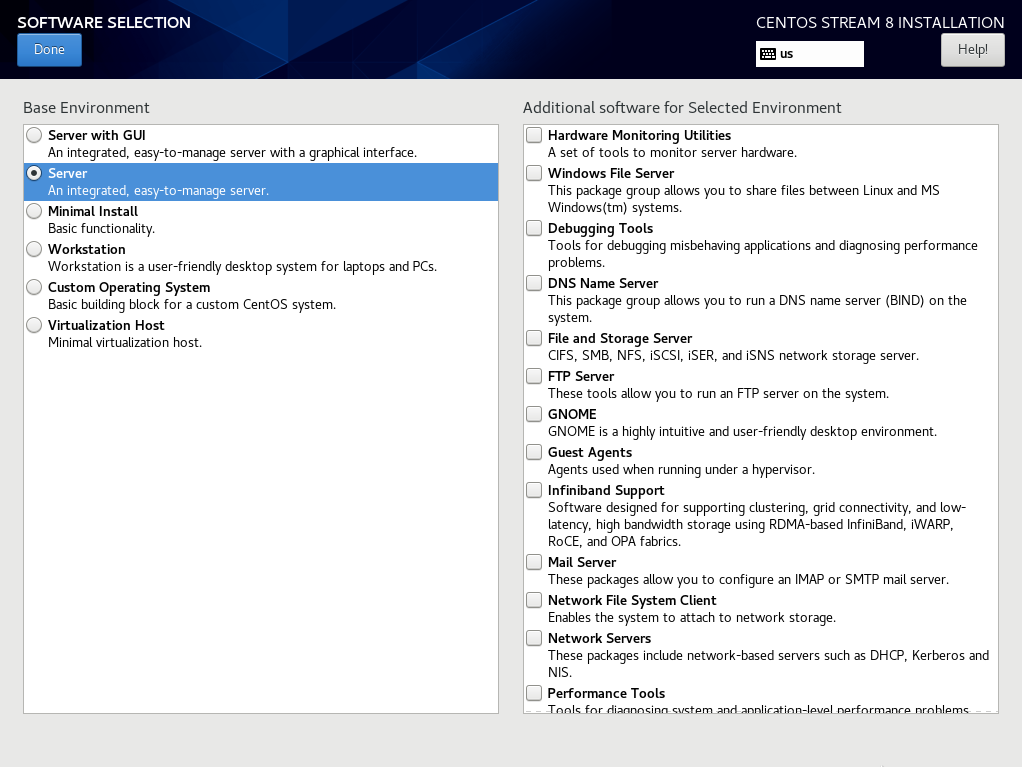
6. Software Selection
Select Software Selection
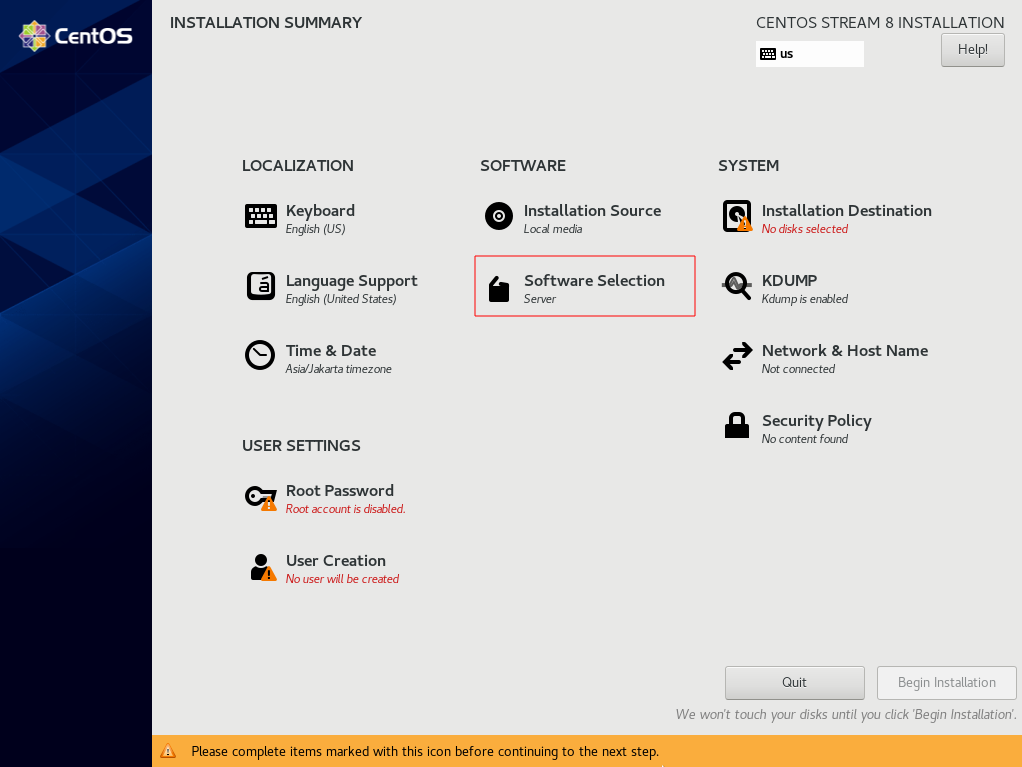
Because we will use this computer as a server without GUI, select Server. If you want to install additional software, we can choose them by the right menu
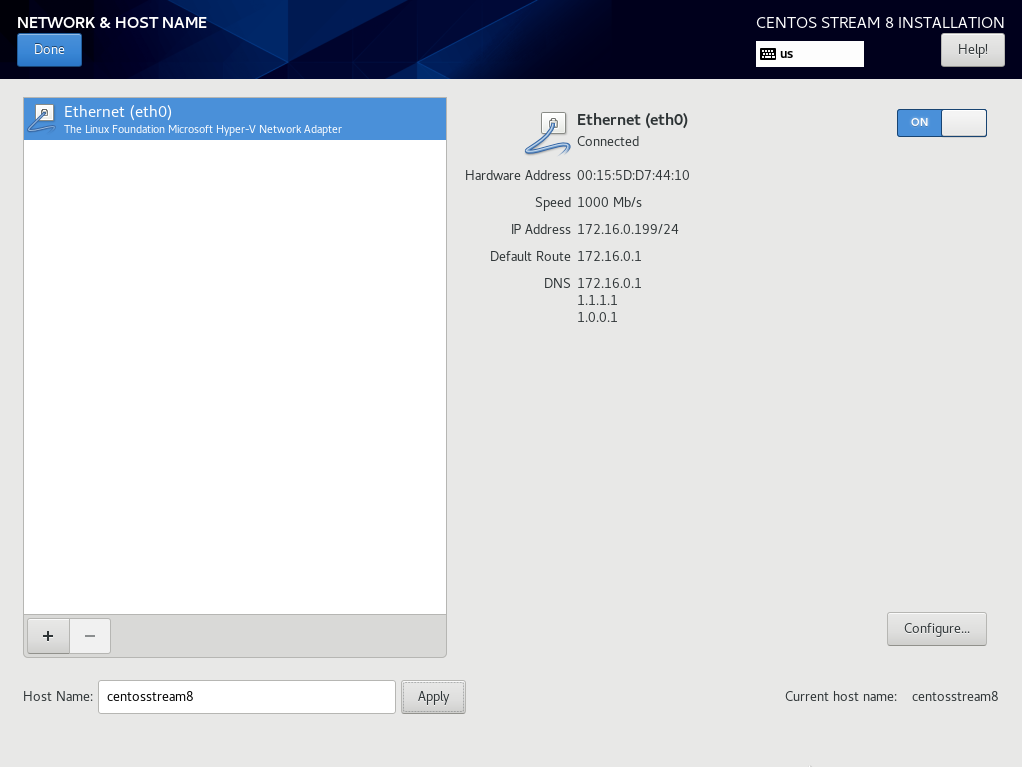
7. Network and Hostname
Select Network and Hostname
Enable eth0 NIC to get IP Address from DHCP. Type our hostname in the textbox and click Apply to apply hostname
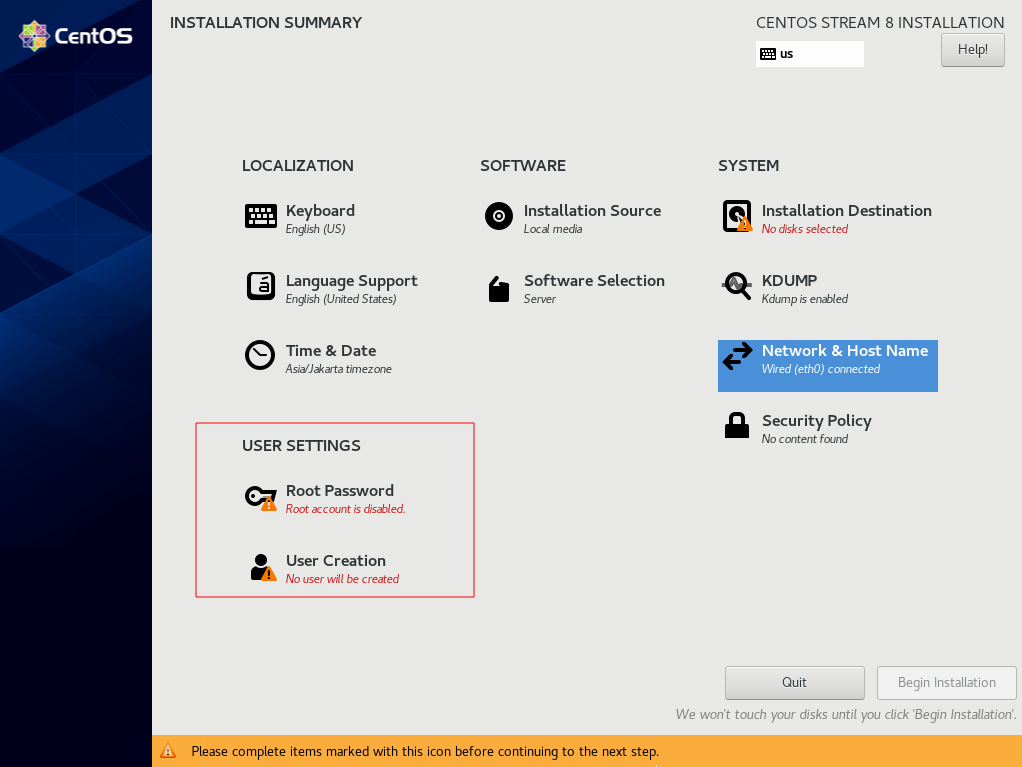
8. User Settings
Select menu on User Settings to configure Root password and create a user
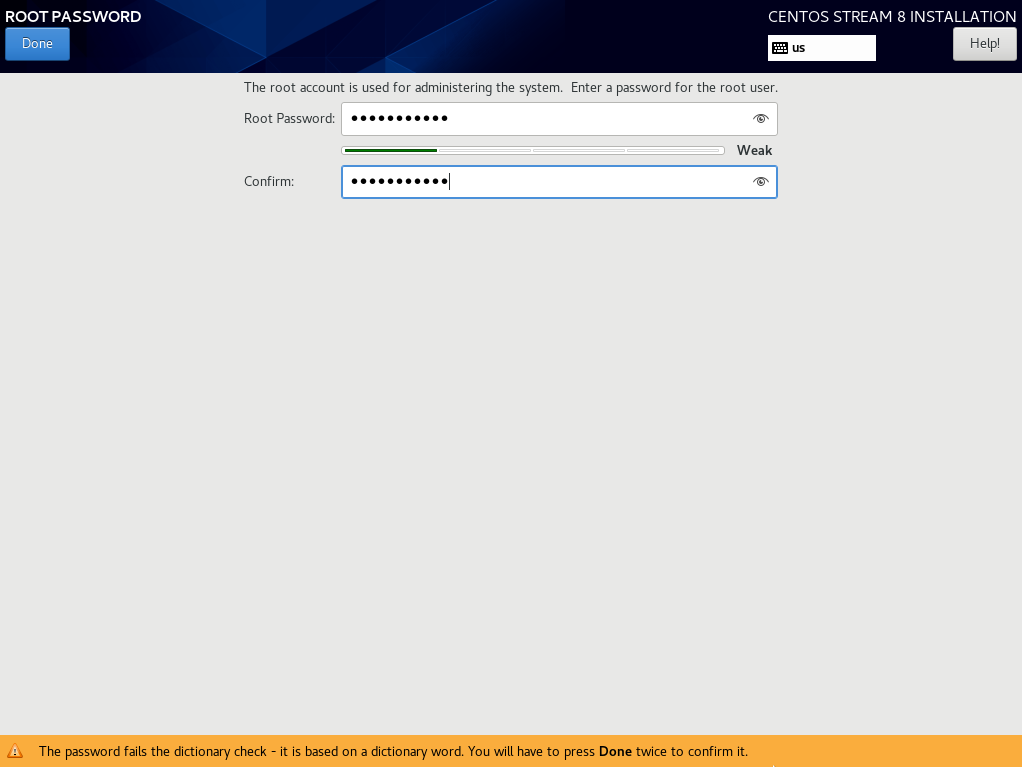
8.1. Root Password
Type the password and password confirmation, then click Done twice to confirm it
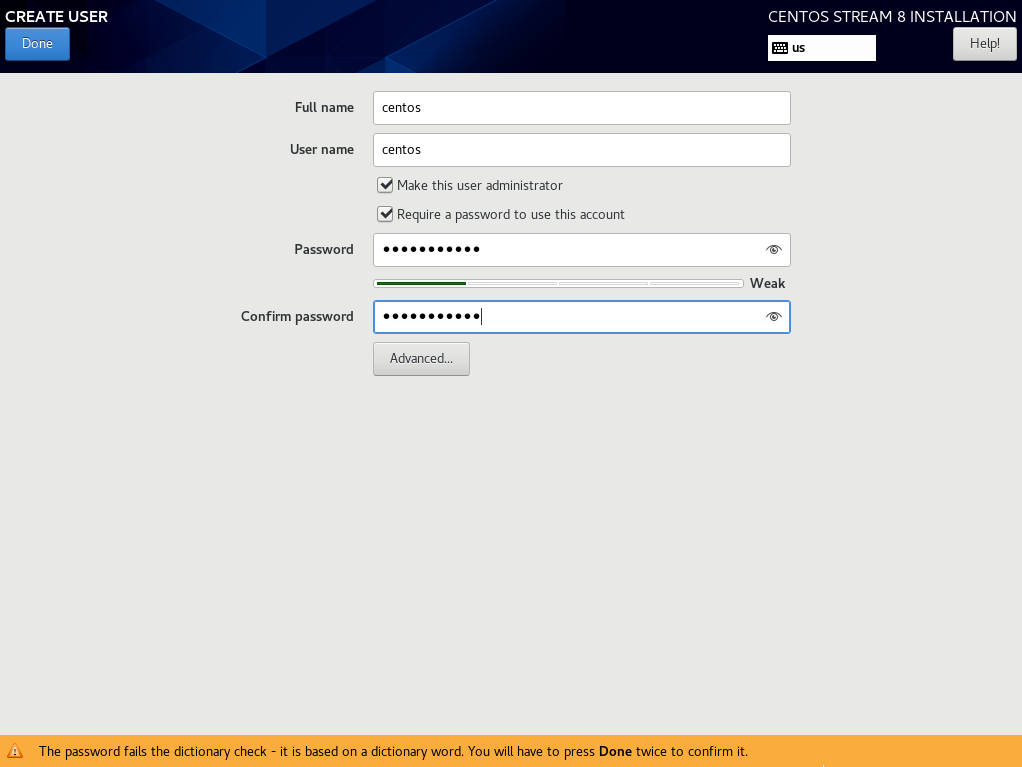
8.2. Create User
Fill in information about user:
- Full name: centos
- User name: centos
- Check make this user administrator to add sudo access
- Check Require a password to use this account
- Password and password confirmation
Click Done twice to confirm user creation
9. Installation Destination
Now we will configure our disks setup for OS boot drive. Select Installation Destination
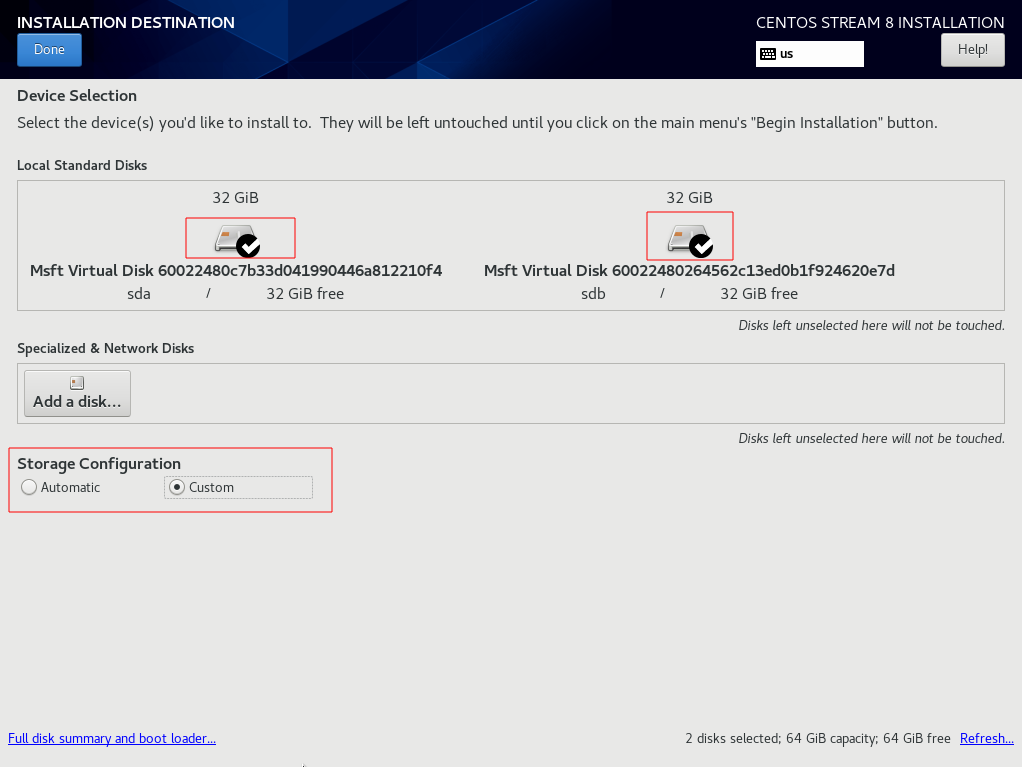
9.1. Device Selection
- Check both disk to select them as installation destination
- Set Storage configuration to custom so we can customize our system partition
- Click Done to go to Manual Partitioning menu
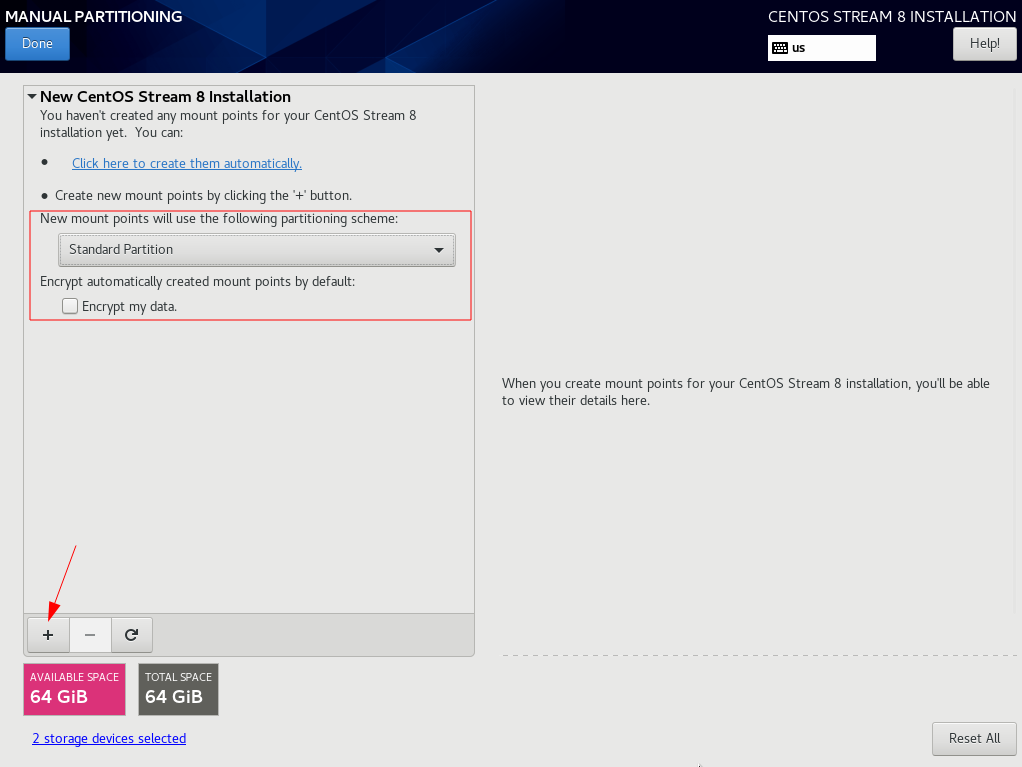
9.2. Disk Partition Menu
- Select Standard Partition as our disk scheme and click Plus (+) icon to add new partition
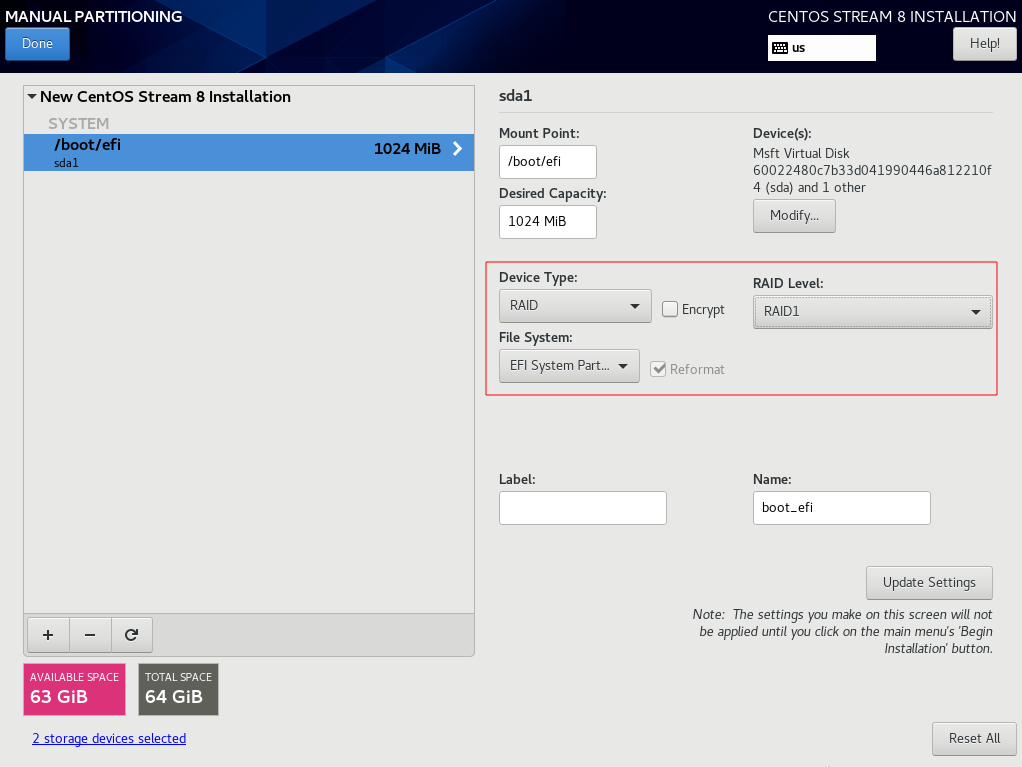
9.3. EFI Partition
Add new mount point. Mount point:
/boot/efi, Desired Capacity:1G
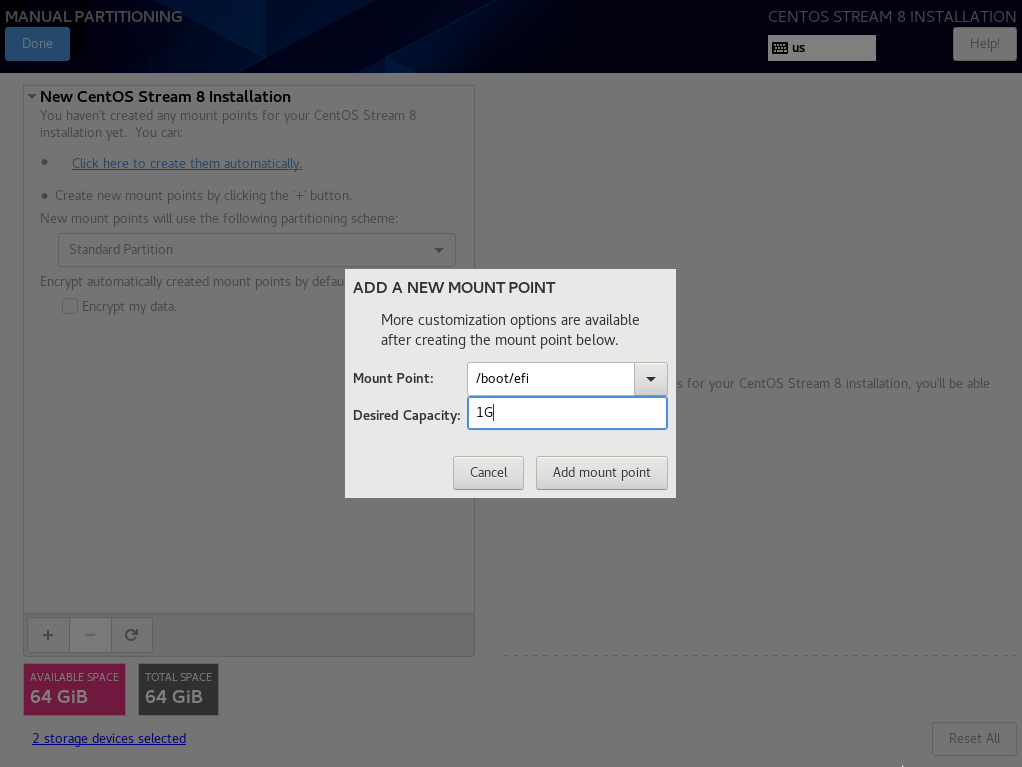
Set Device Type:
RAIDand RAID Level:1. Make sure File System isEFI System Partitionwith correct Mount Point and Desired Capacity
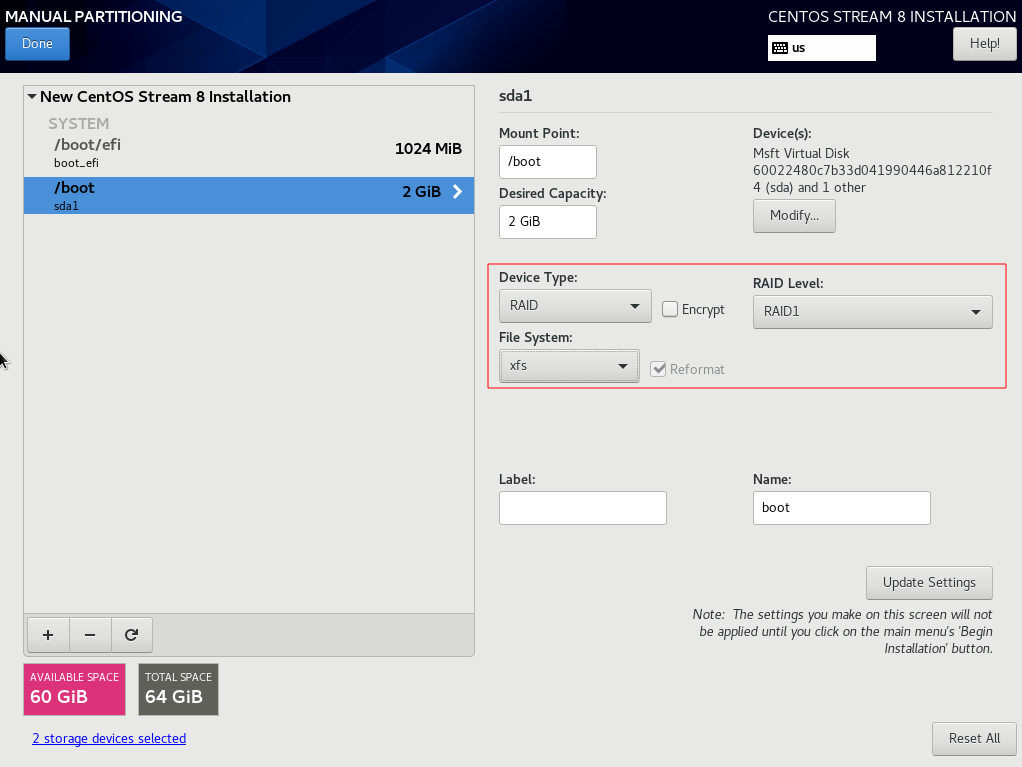
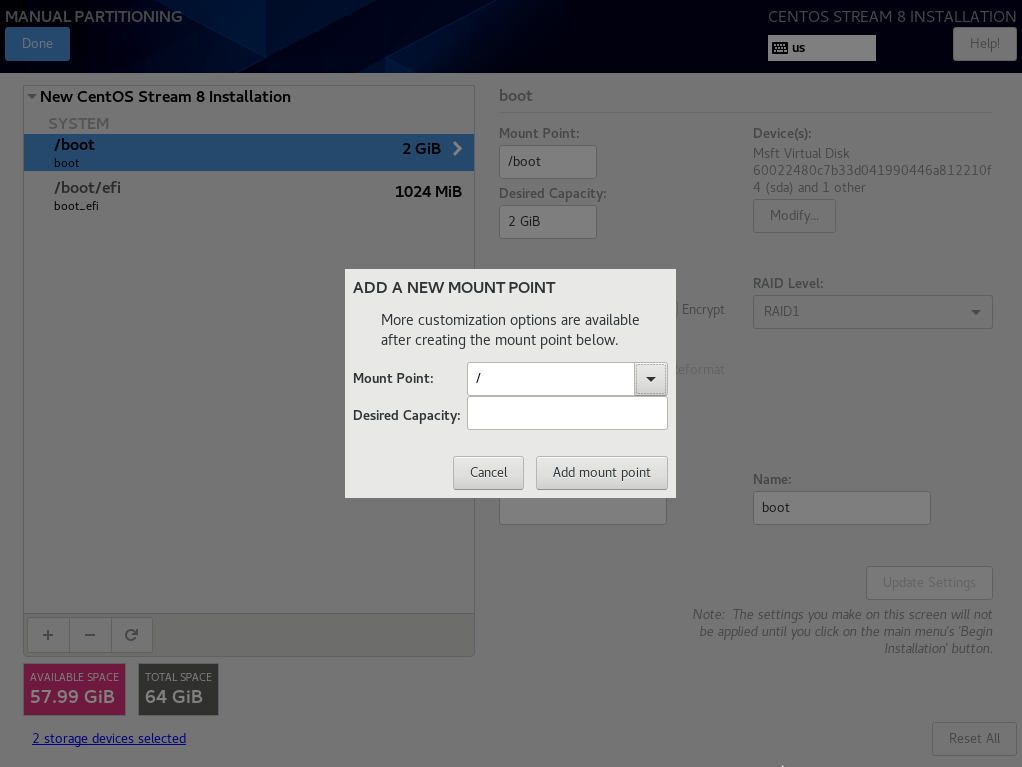
9.4. Boot Partition
Add new mount point. Mount point:
/boot, Desired Capacity:2G
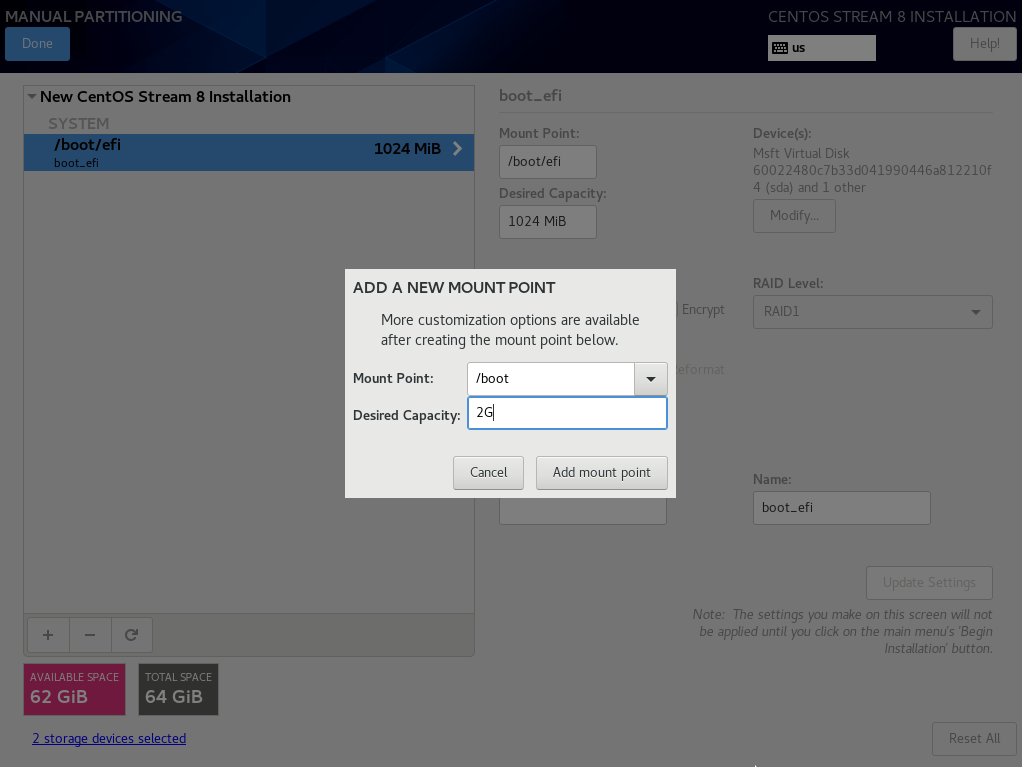
Set Device Type:
RAIDand RAID Level:1. Make sure File System isxfswith correct Mount Point and Desired Capacity
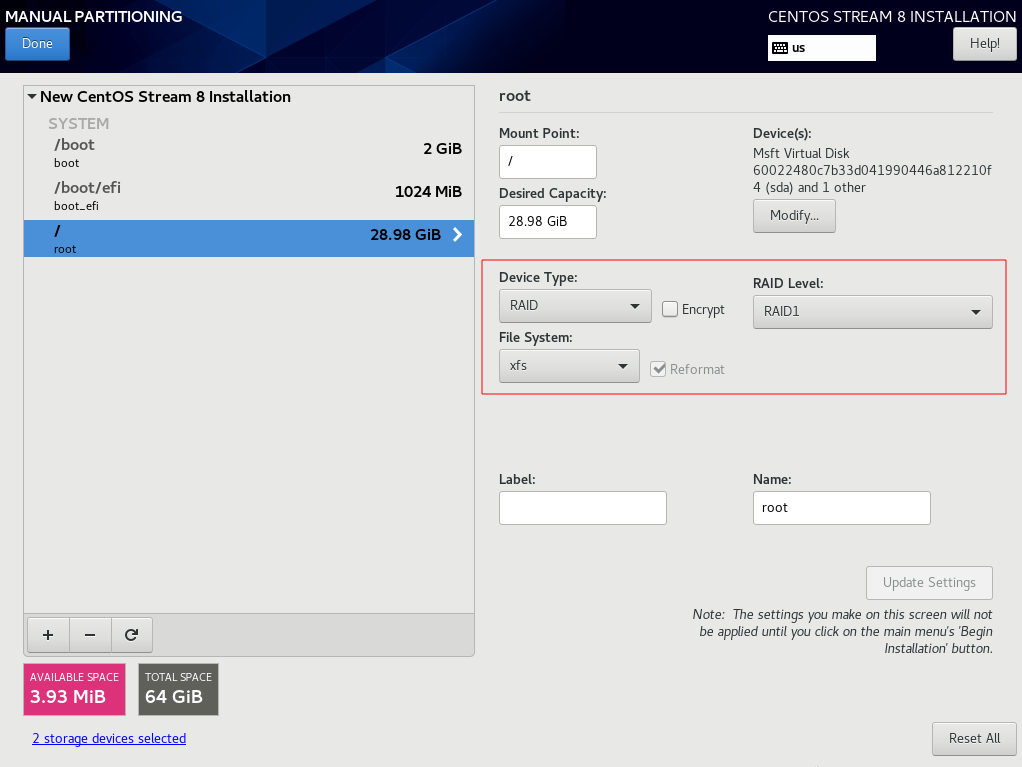
9.5. System Partition
Add new mount point. Mount point:
/, Desired Capacity: blank (use max available)
Set Device Type:
RAIDand RAID Level:1. Make sure File System isxfswith correct Mount Point and Desired Capacity
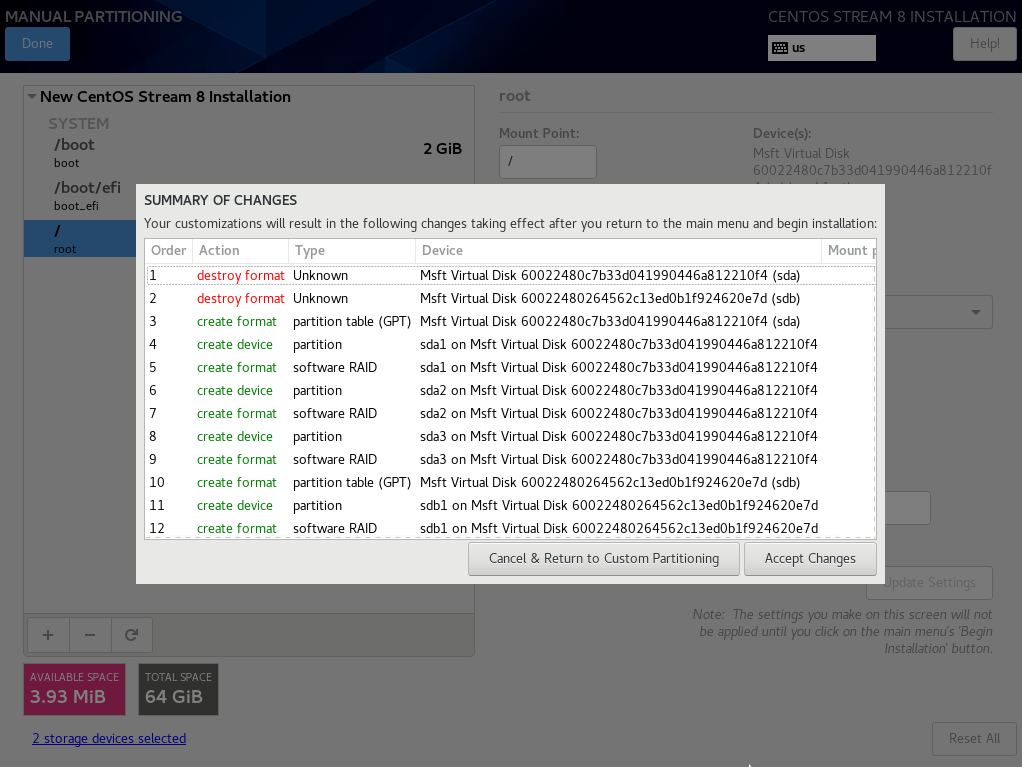
Click Done after finishing setup disk partitioning. You may need to click it twice. Then accept changes
CAUTION: All disk used here will be formatted when installation begin, so make sure you don’t have any important data in it
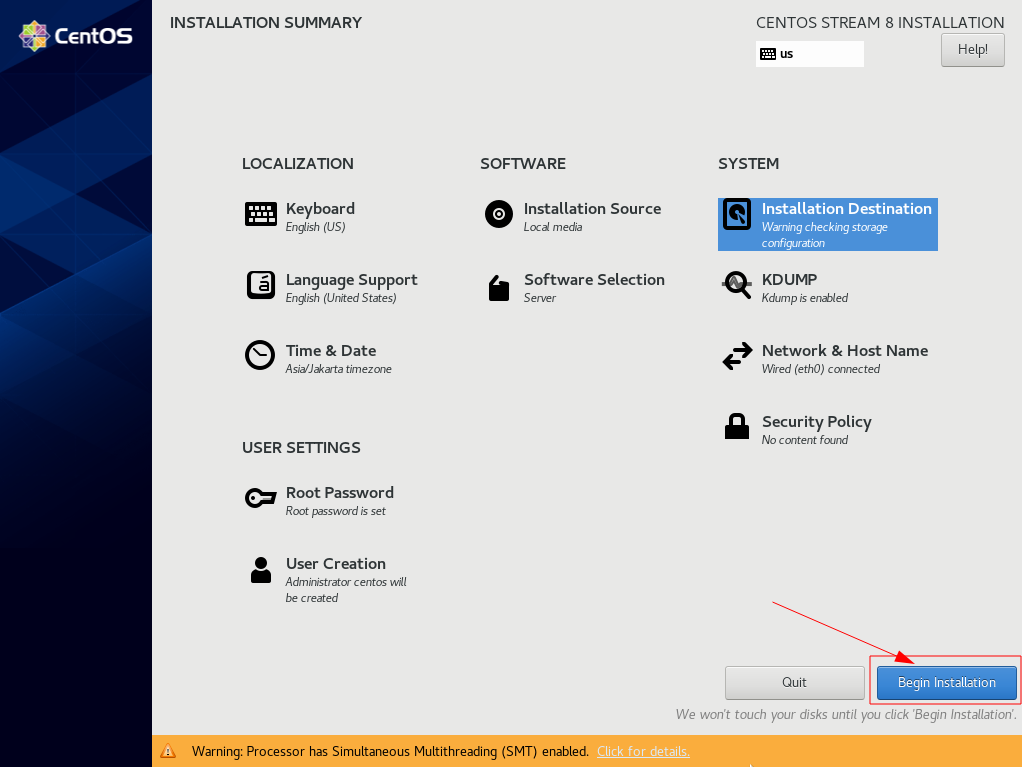
10. Begin Installation
After we click begin installation, all process can’t reverted. Make sure to double checking everything
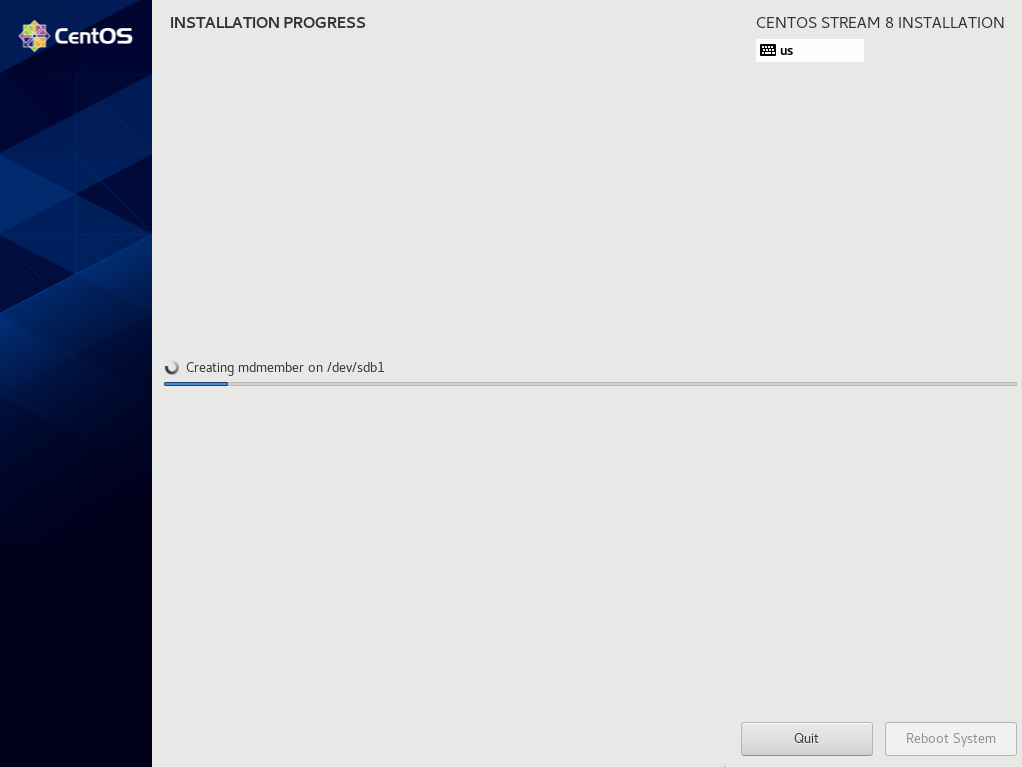
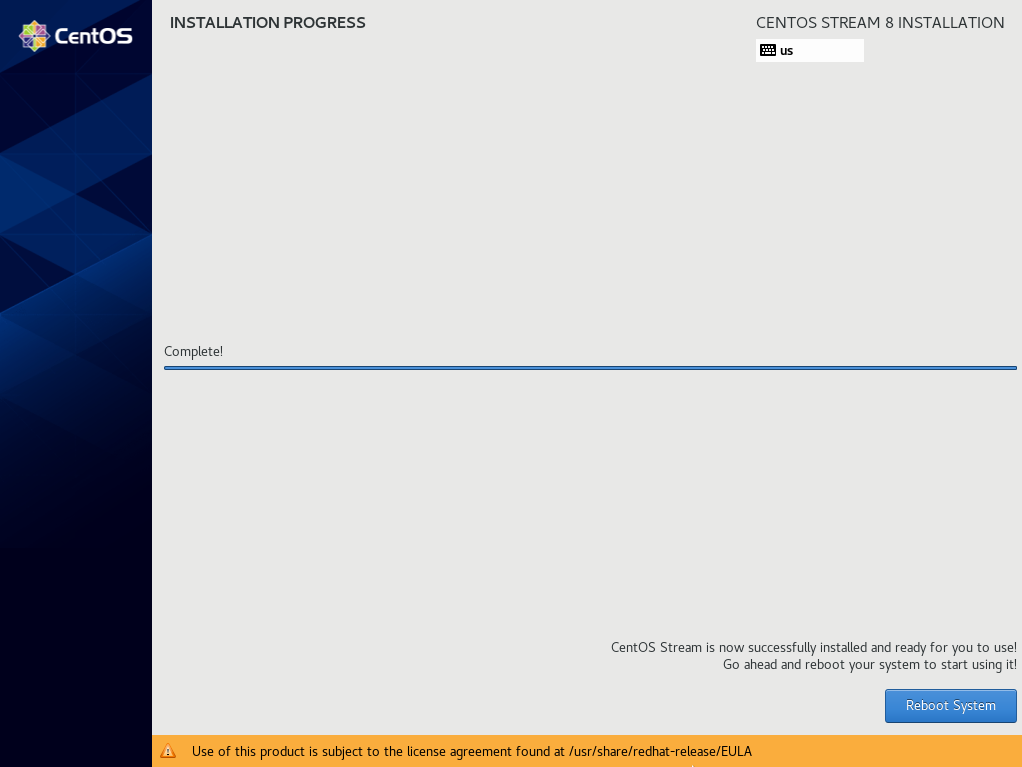
Installation Progress
After installation is finished, click Reboot
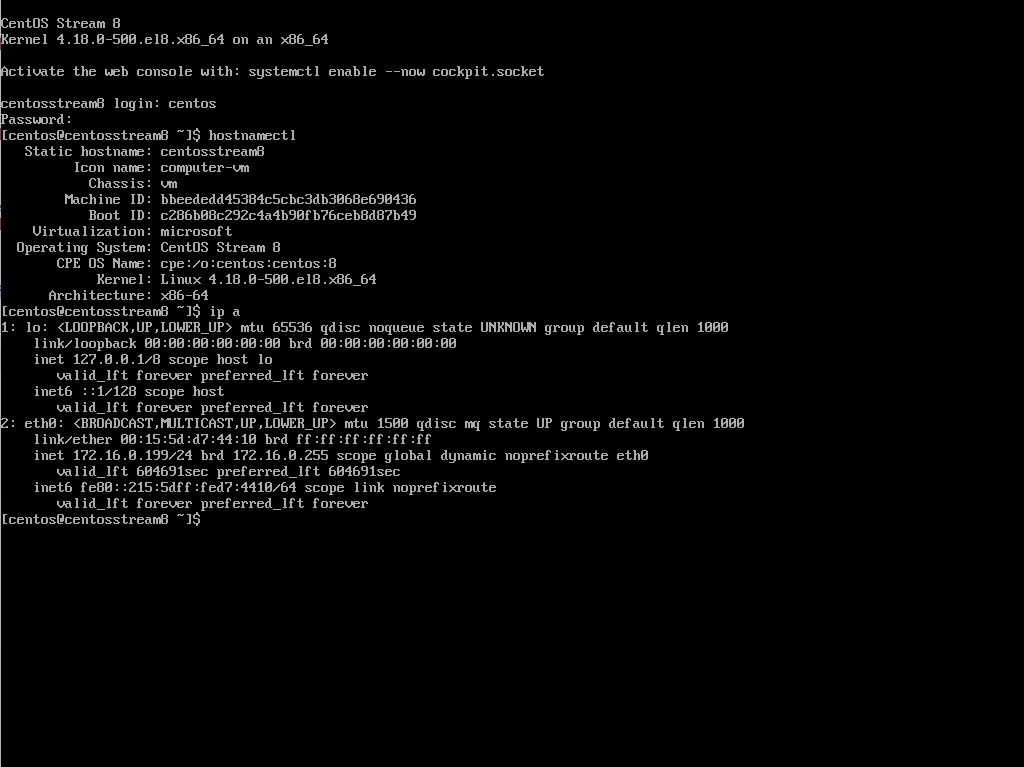
11. Login and Verify RAID 1 Disk Partition
Access via Console
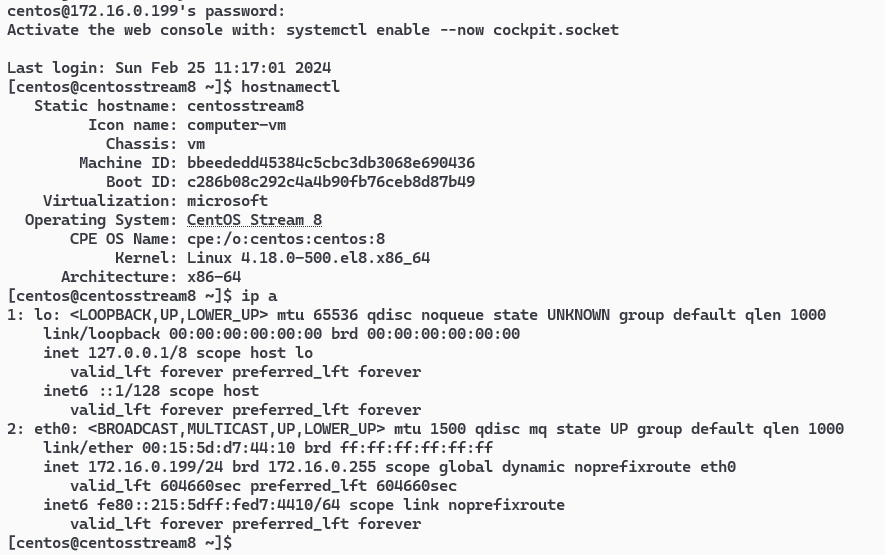
Access via SSH
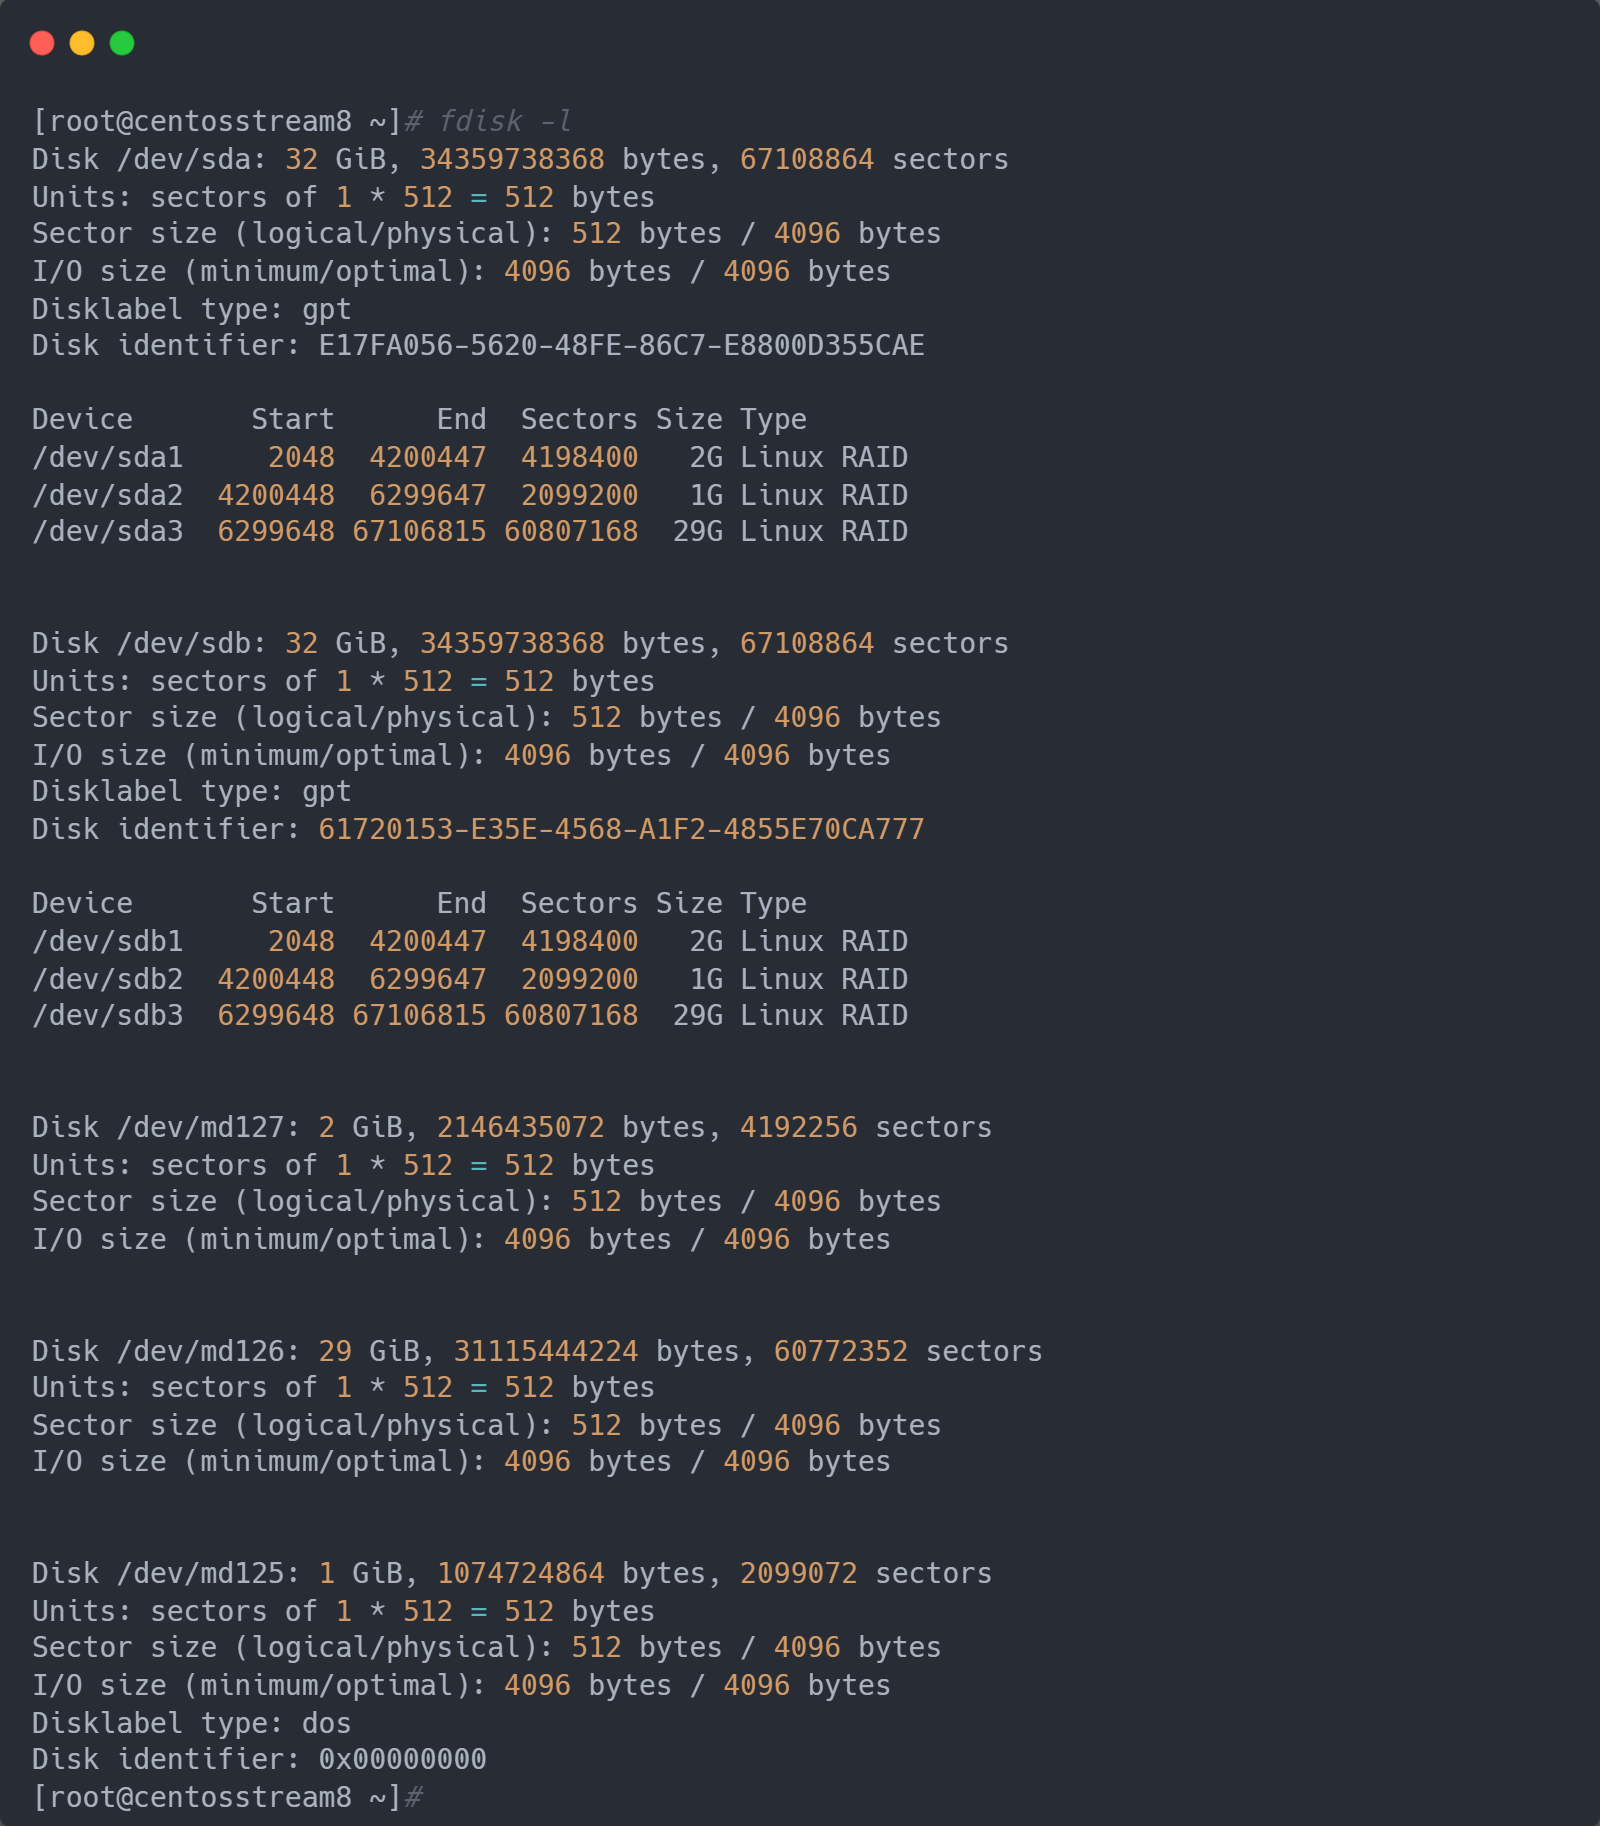
fdisk -l
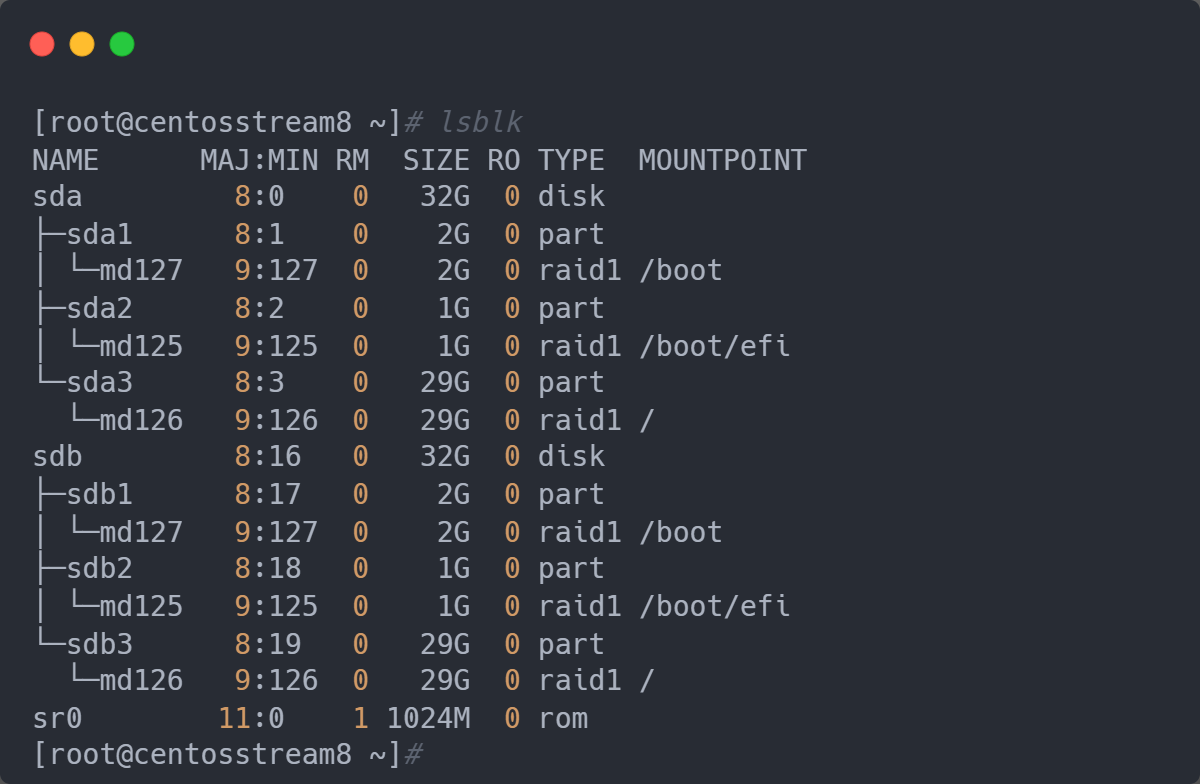
lsblk
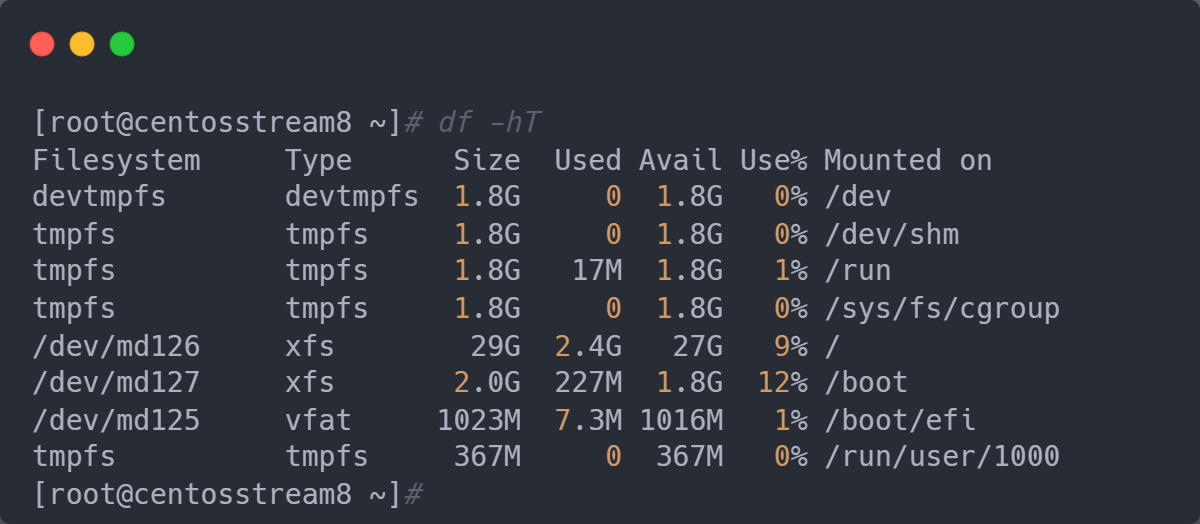
df -hT
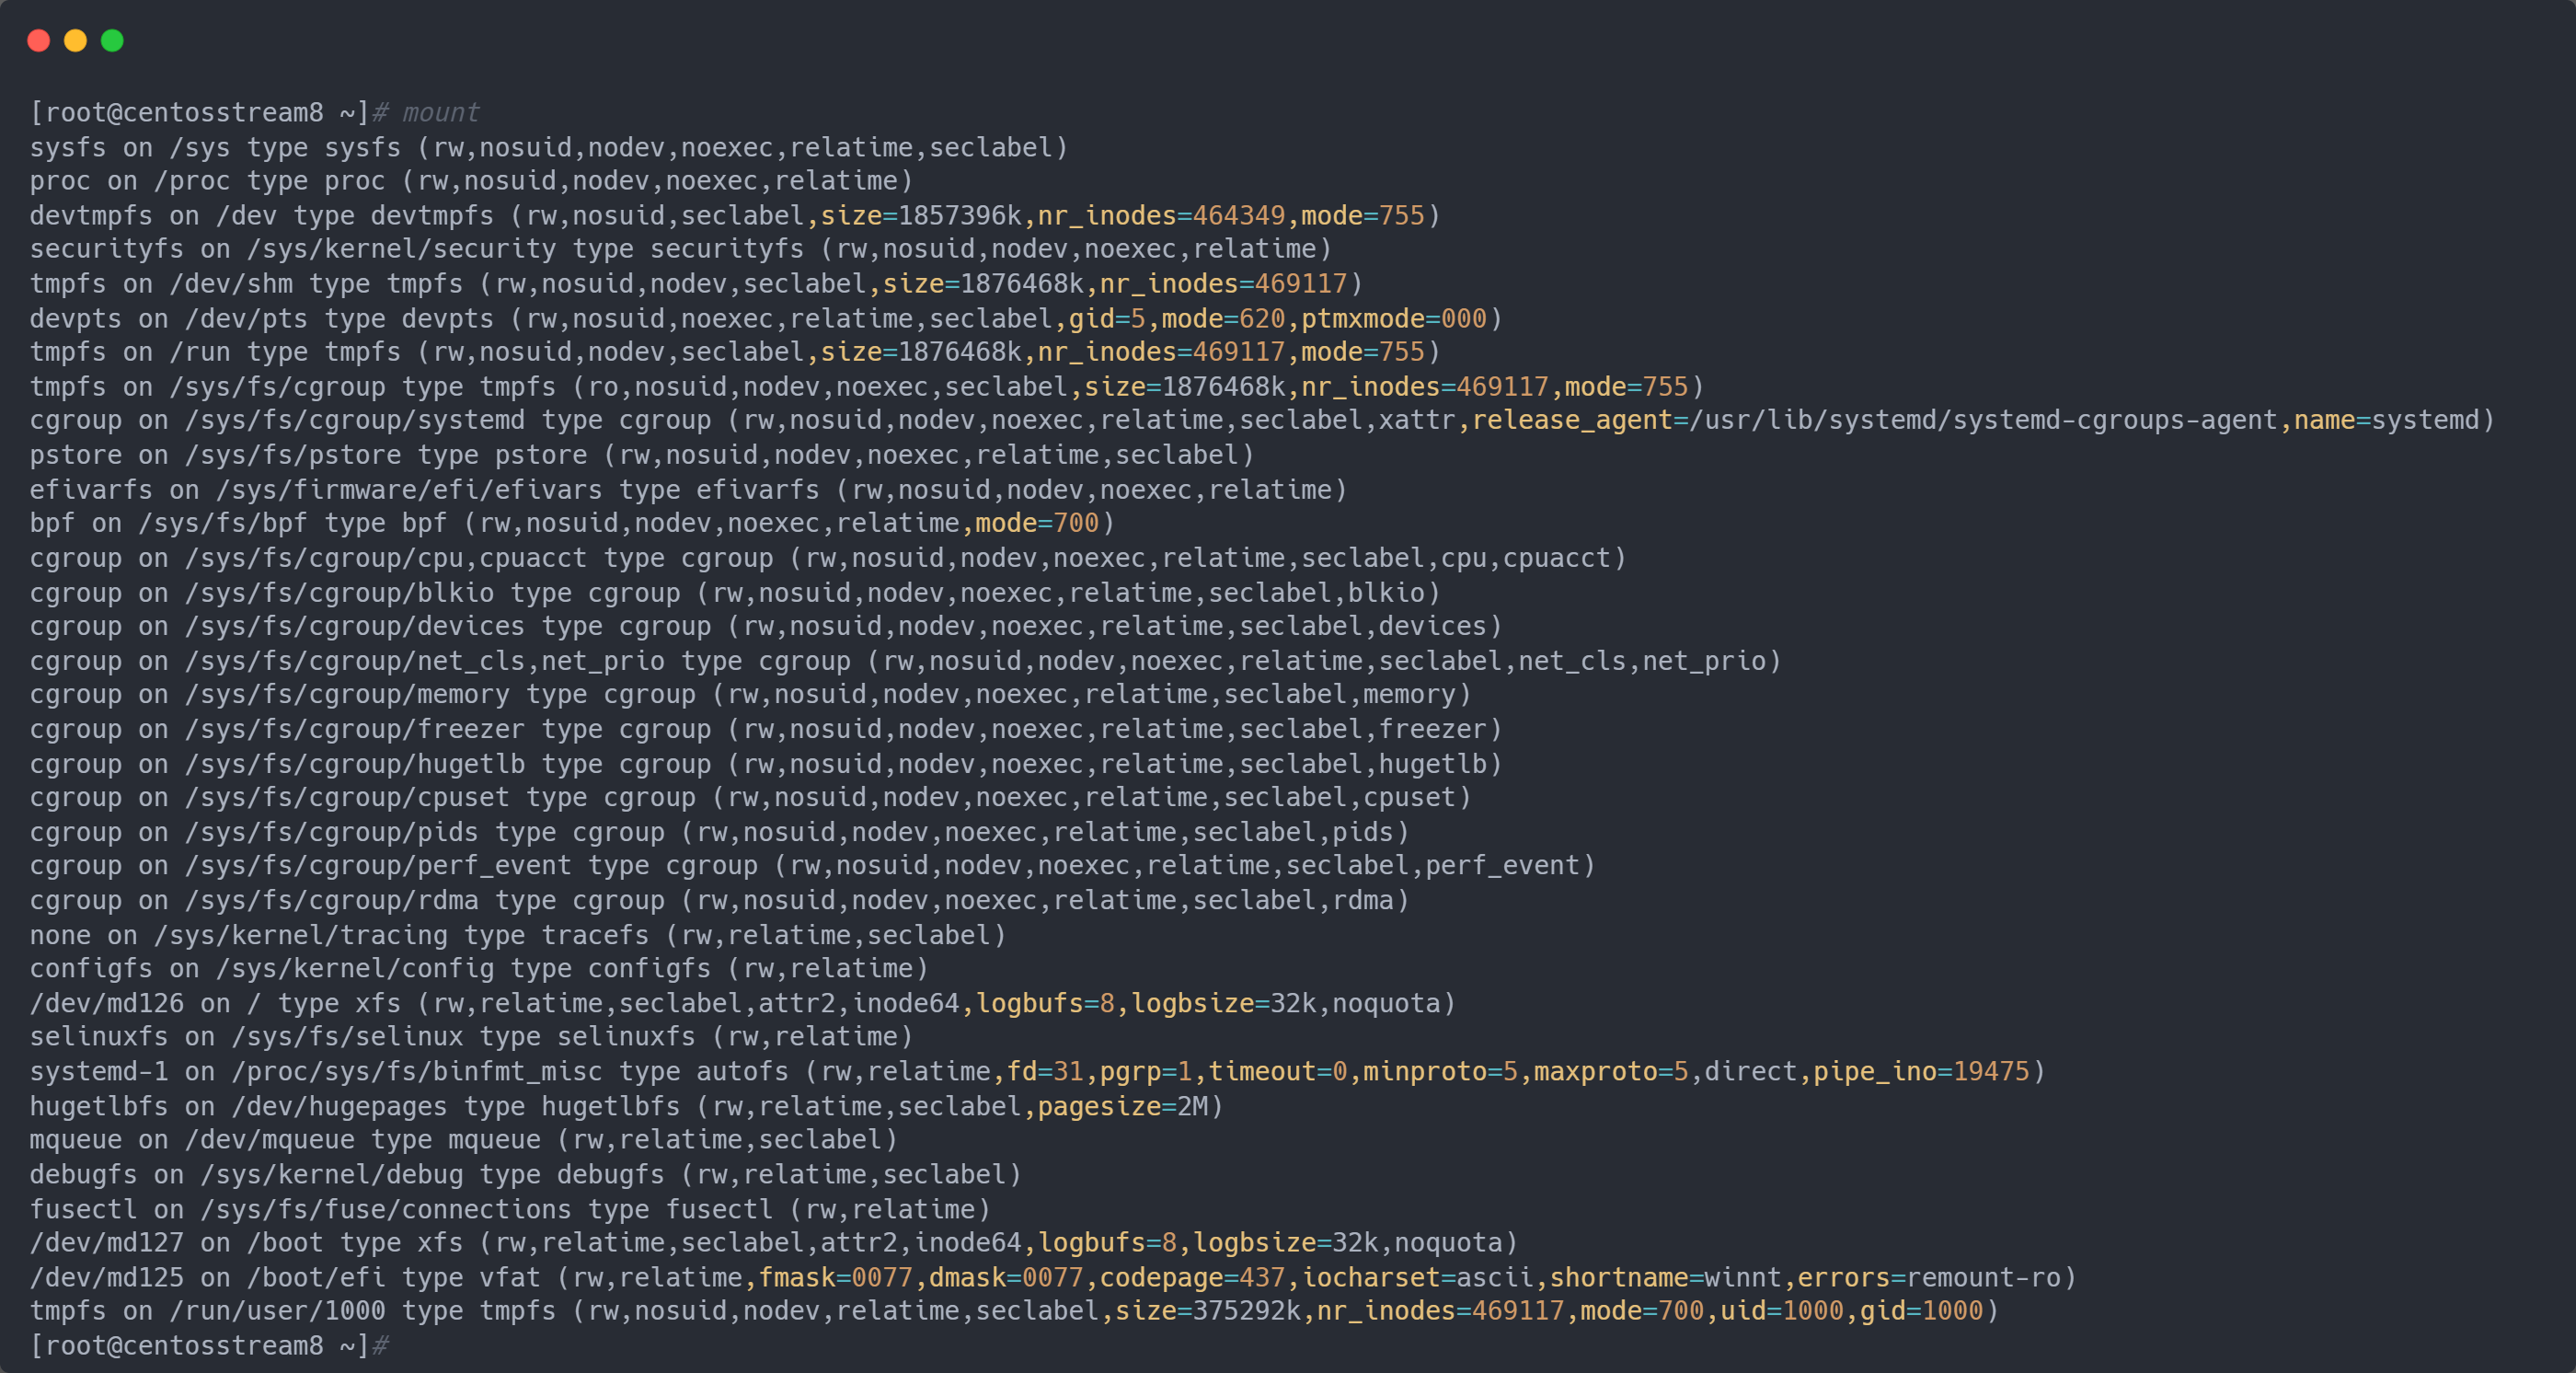
mount
mdadm --detail --scan /dev/md*

mdadm --detail /dev/md*

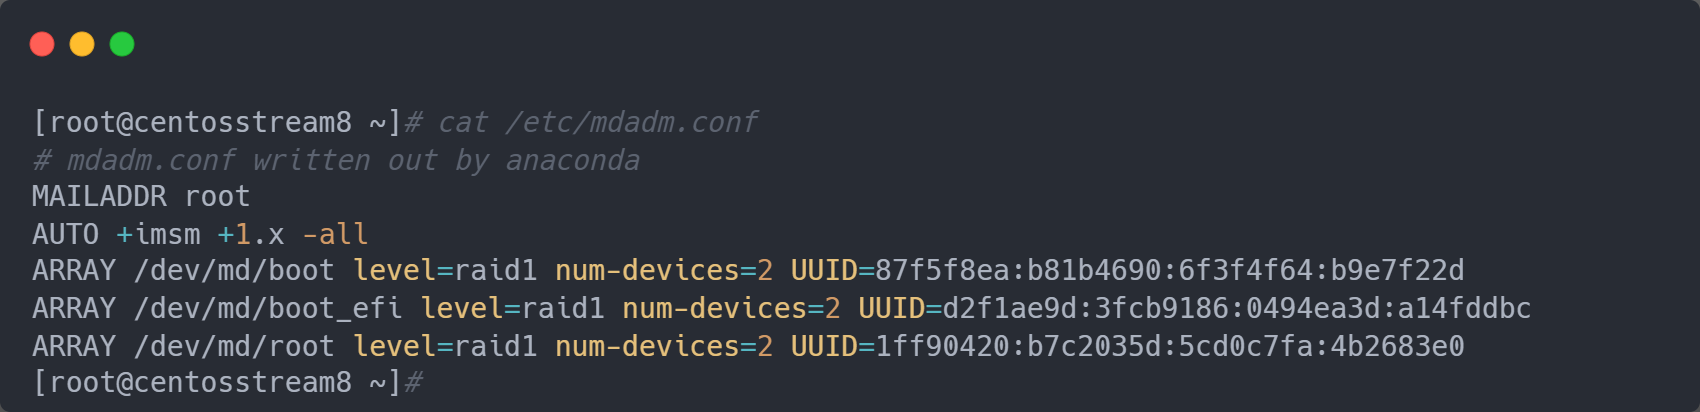
cat /etc/mdadm.conf
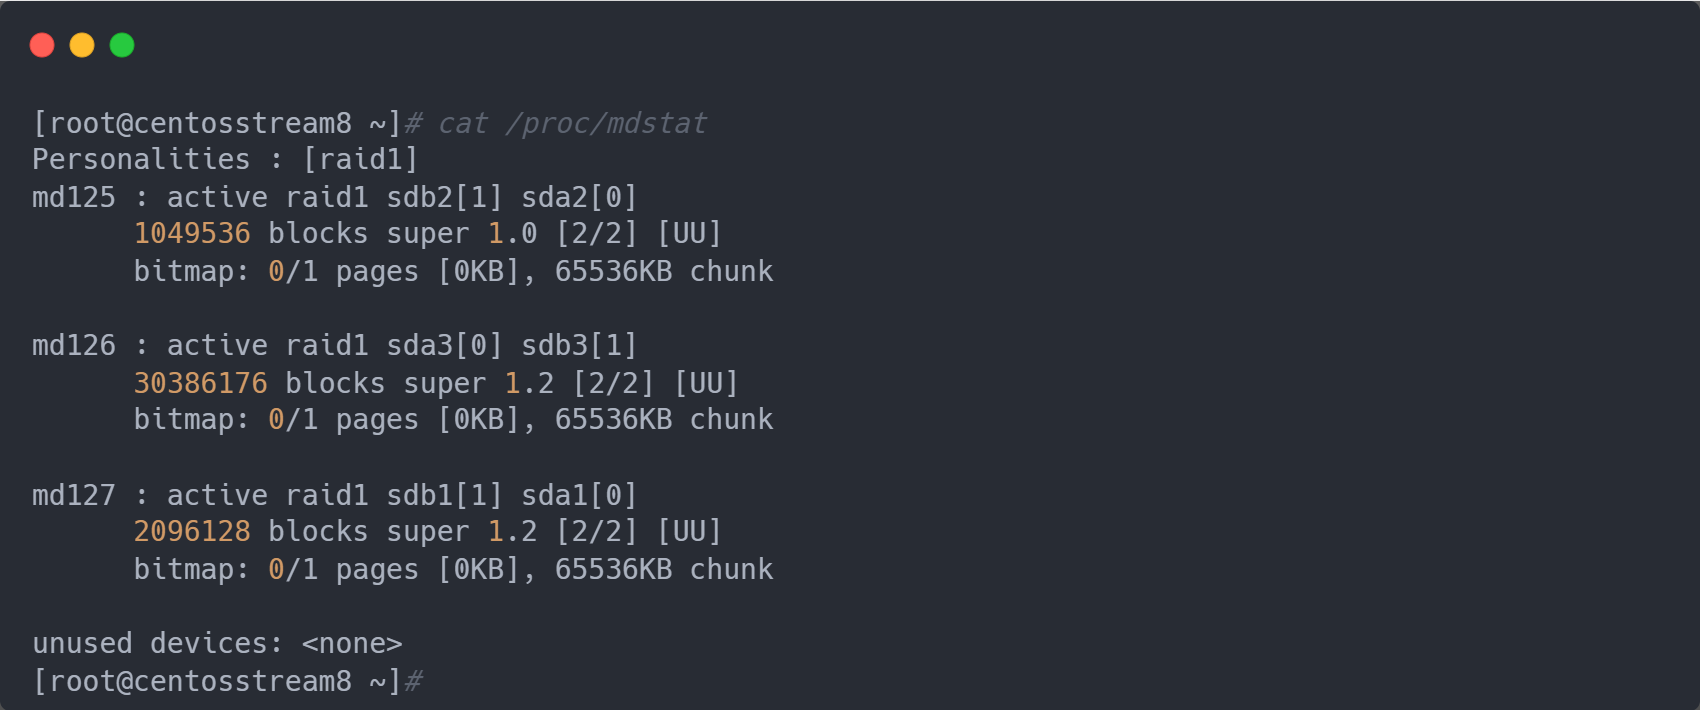
cat /proc/mdstat
Comments powered by Disqus.