Proxmox 101: Create LXC (Linux Container) Instance and Template
Proxmox VE have the containerization capability, but they doesn’t use Docker container. Instead they use LXC (Linux Container) which is a bit less scalable and not as small as Docker container, but more flexible, simpler, and faster. LXC is basically a OS-level virtual machine but on container.
In this guide, we will go through how to get LXC container template, how to create and start using LXC on Proxmox VE, and how to create a custom template and also backup from existing container with installed packages in it.
A. Get Container Template
Option 1: Import Container Template From Proxmox
The easiest way to get LXC container template in Proxmox VE is by using their provided images which queried from linuxcontainers and TurnKey Linux.
There are 2 option to download container template from Proxmox, either via WebUI or using pveam on command line:
- Using WebUI
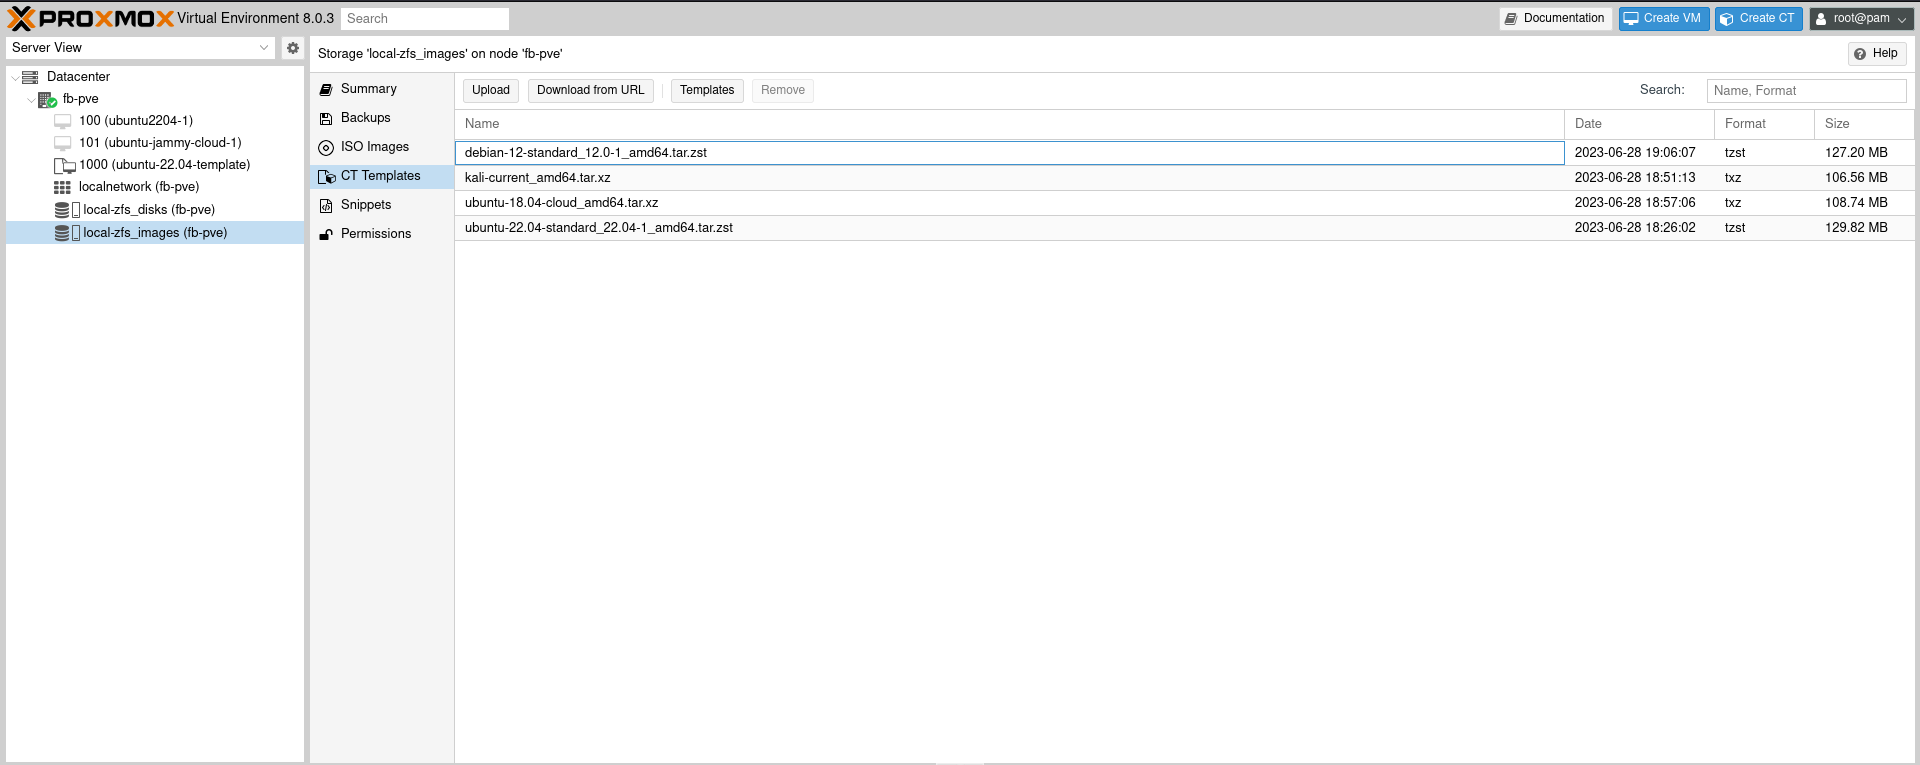
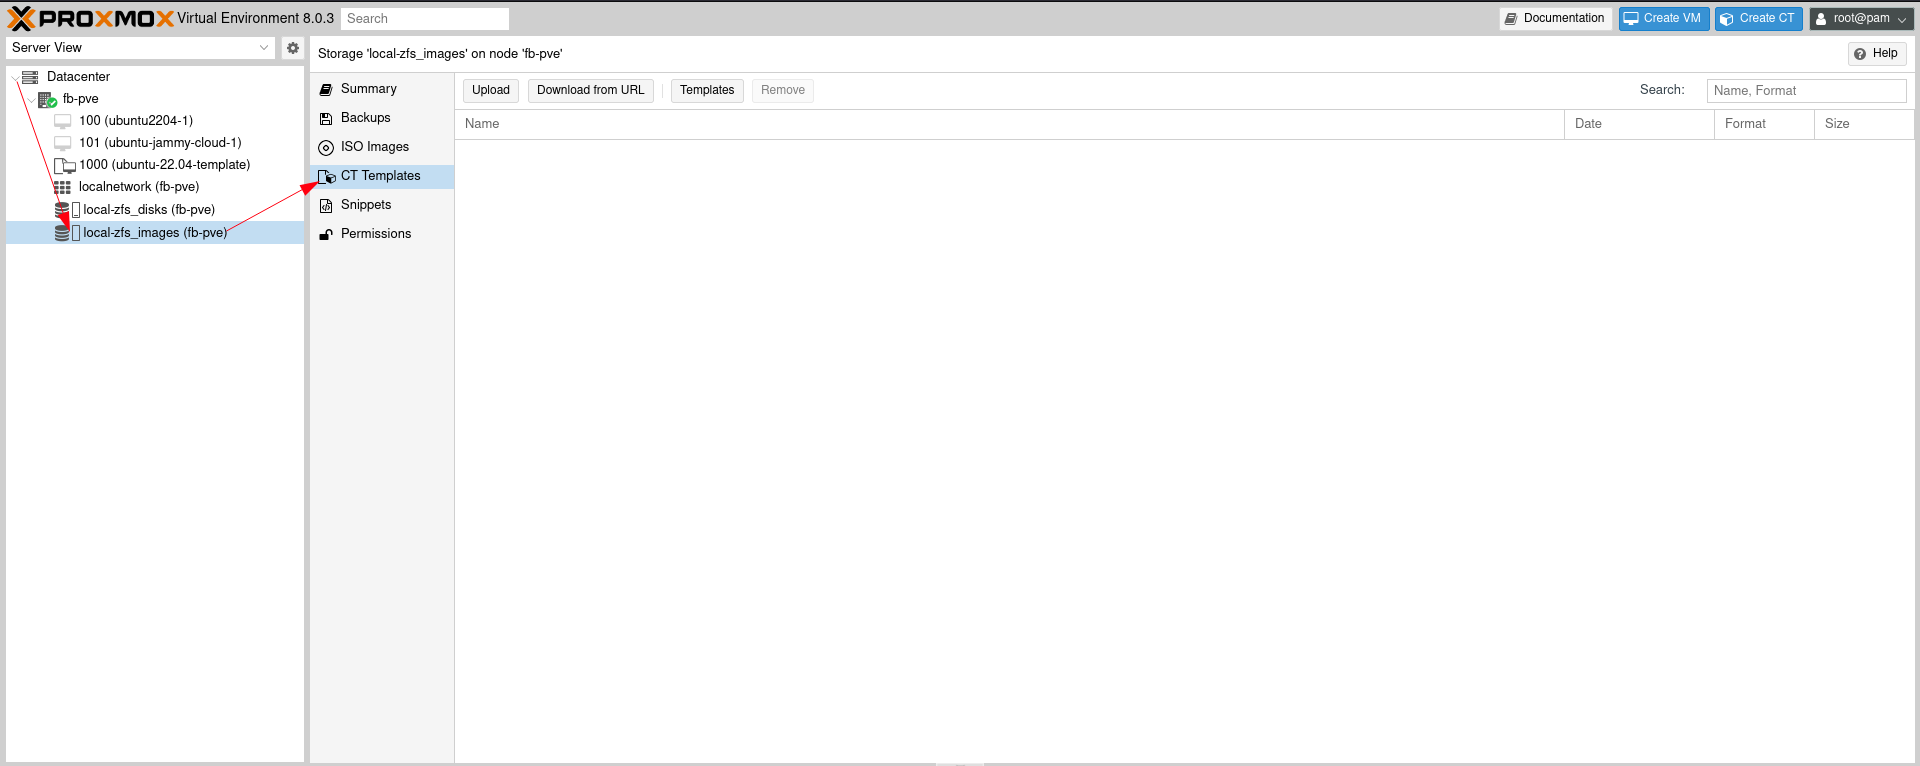
Go to your images storage node (in this case, its on local-zfs_images). Then select CT Template.
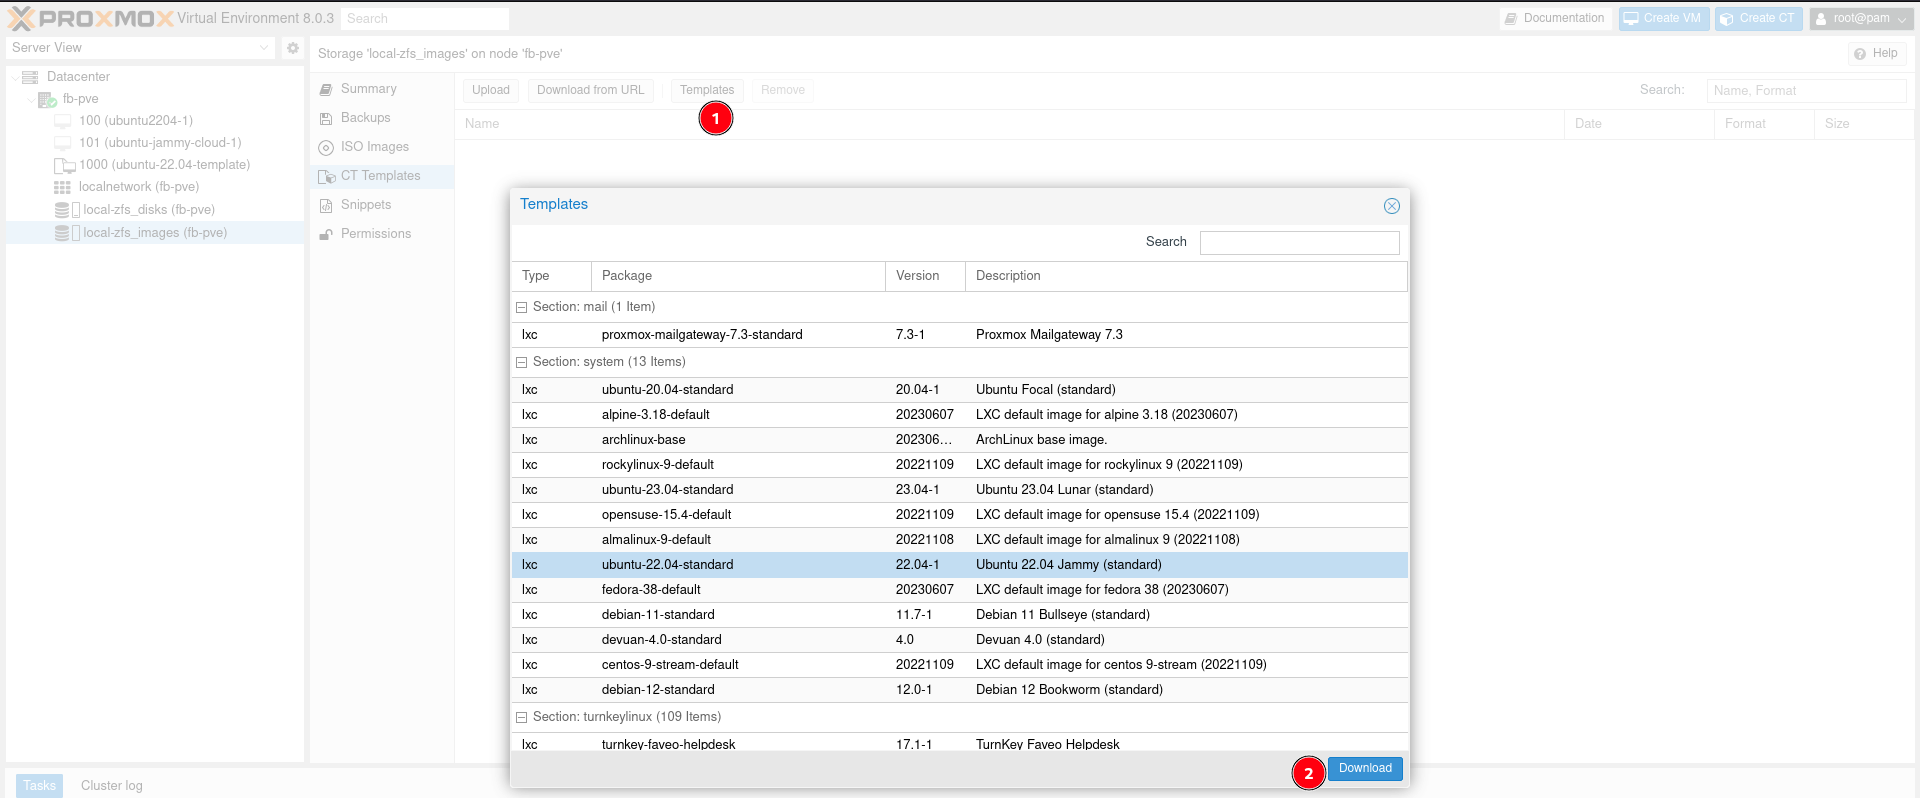
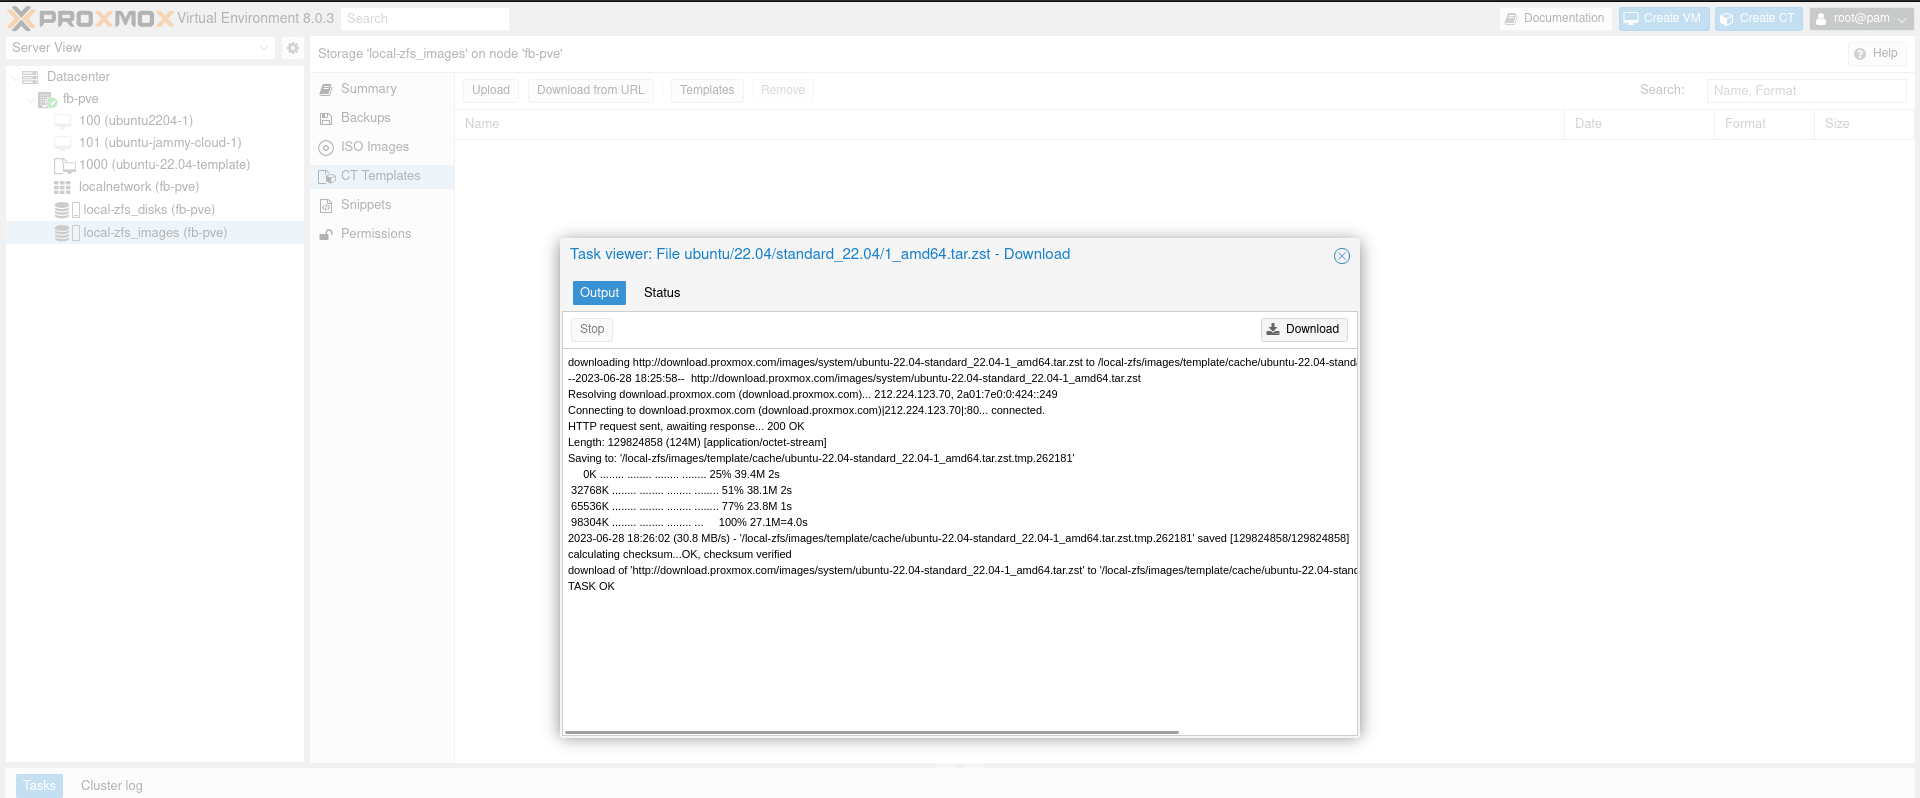
From CT Templates menu, click Templates and choose what container template you want to use then click Download and wait until TASK OK.
- Using Command Line
If you want to get it from command line, we can use pveam command from Proxmox host:
Update list of available template and their version.
1
 pveam update
List available templates.
1
 pveam available
Download container template.
1
2
3
 pveam download <images storage> <container template name>

 pveam download local-zfs_images debian-12-standard_12.0-1_amd64.tar.zst
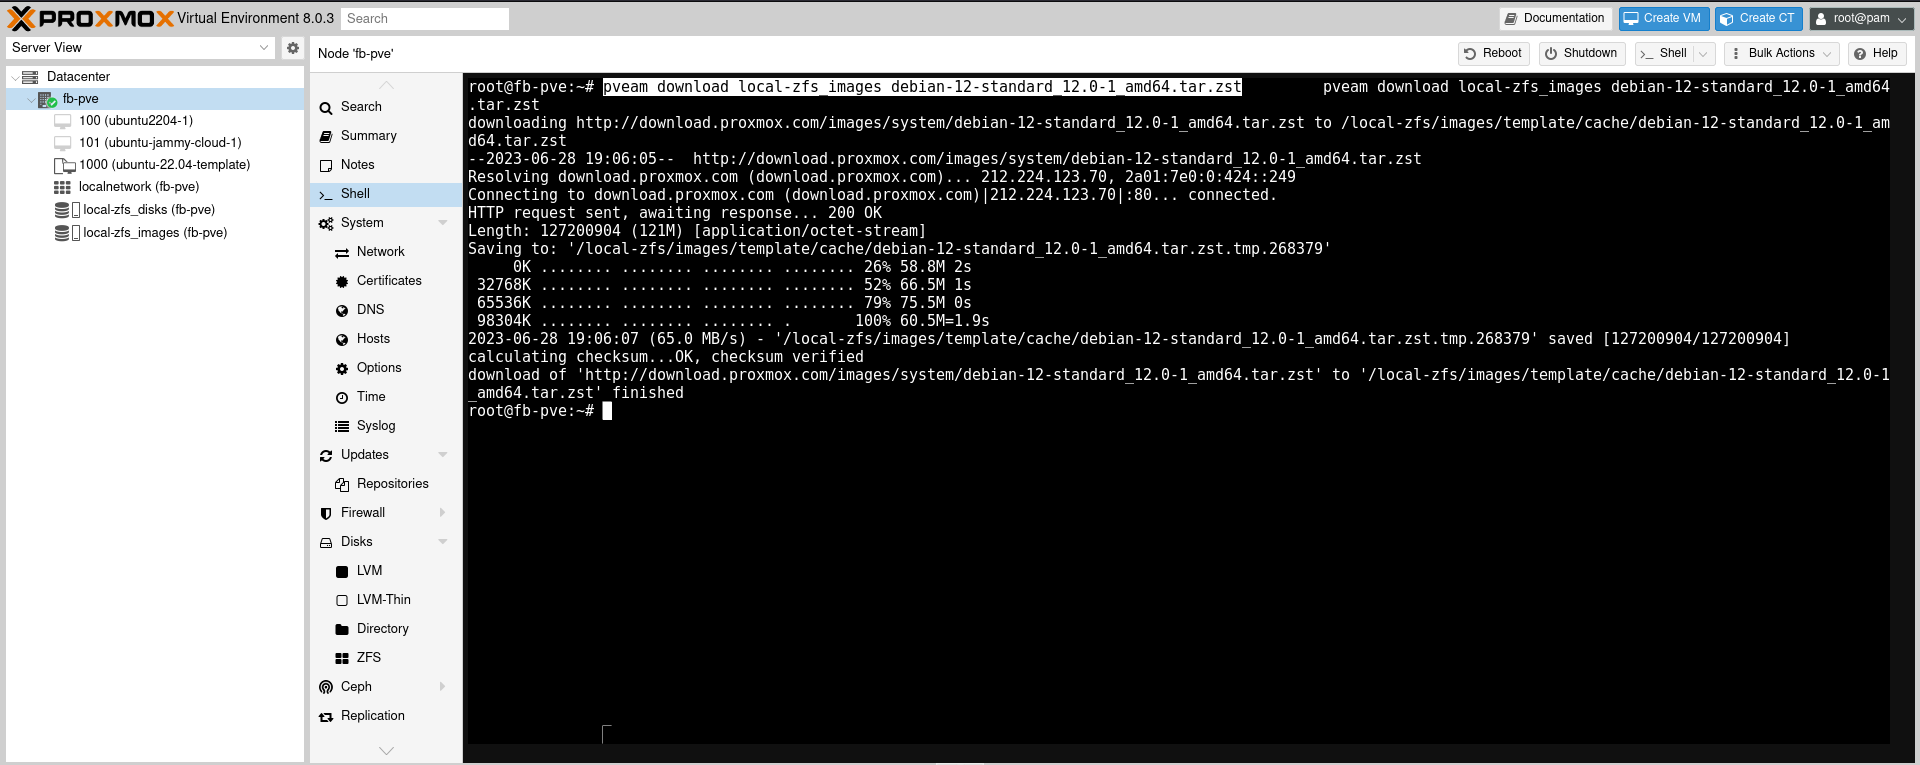
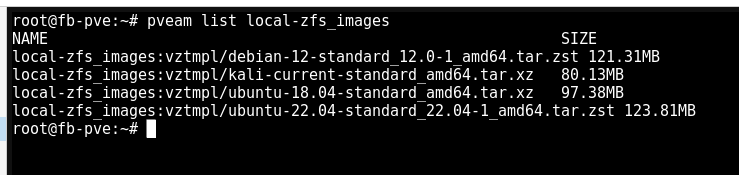
Get list of downloaded templates.
1
2
3
 pveam list <images storage>

 pveam list local-zfs_images
Proxmox provide many container template from standard basic Operating System to ready-to-use application container from TurnKey Linux. Choose what suit you the best.
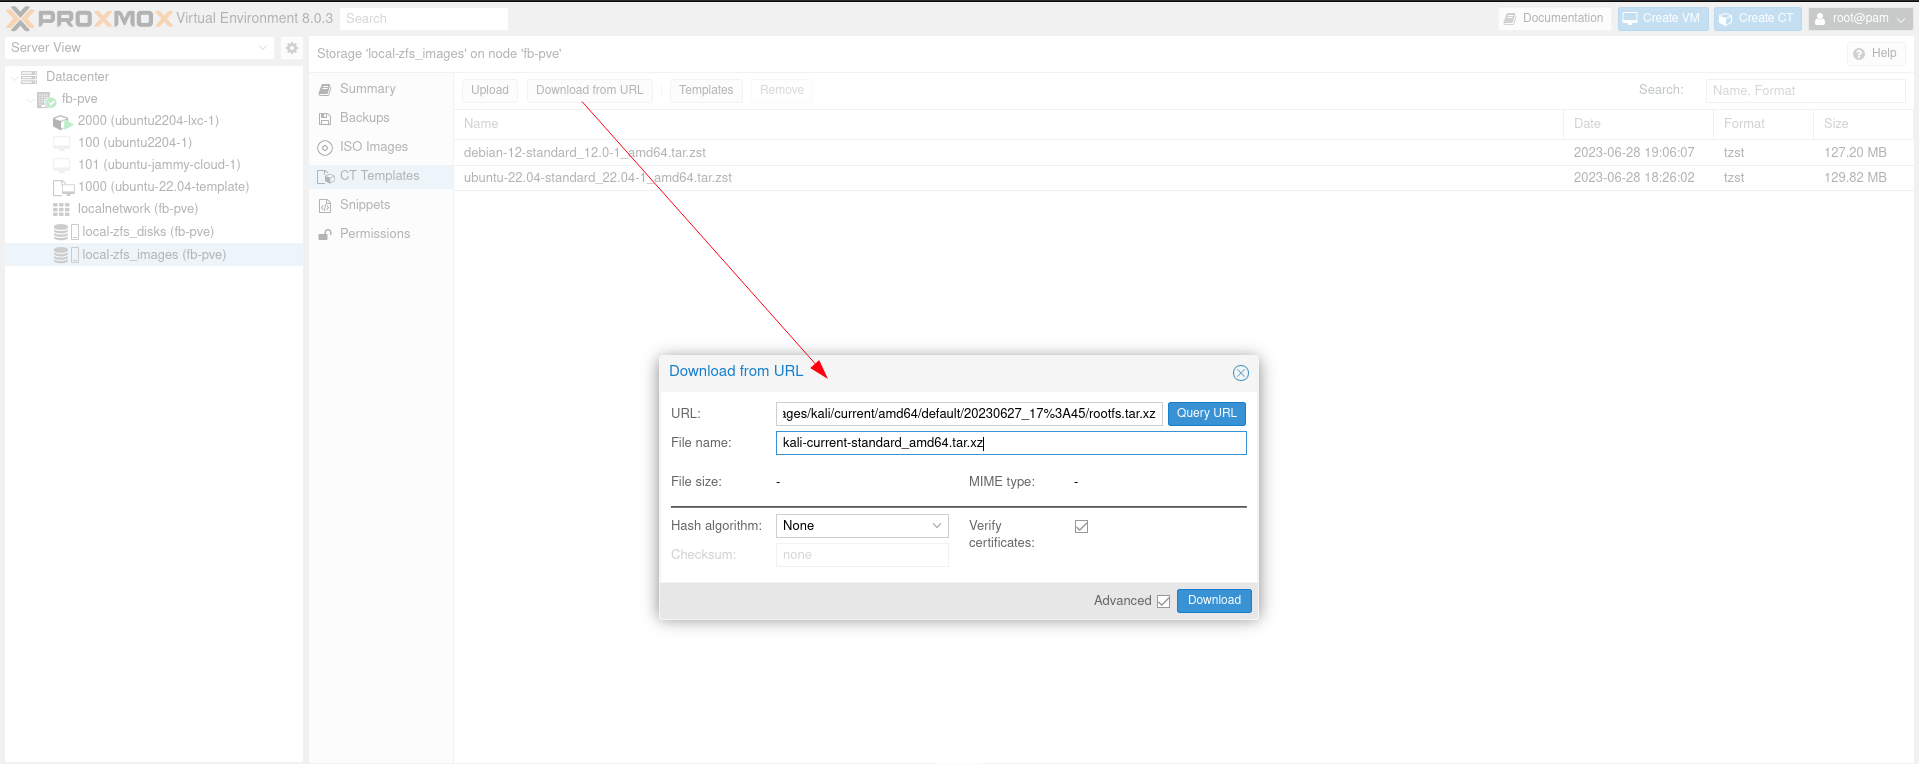
Option 2: Download Container Template From Custom URL
Other way to get LXC container template is by download it from other source via URL.
- From CT Templates menu, select Download from URL then provide the URL. If your source doesn’t have HTTPS or using invalid (self sign) SSL/TLS certificates, enable the Advanced menu and uncheck Verify certificates.
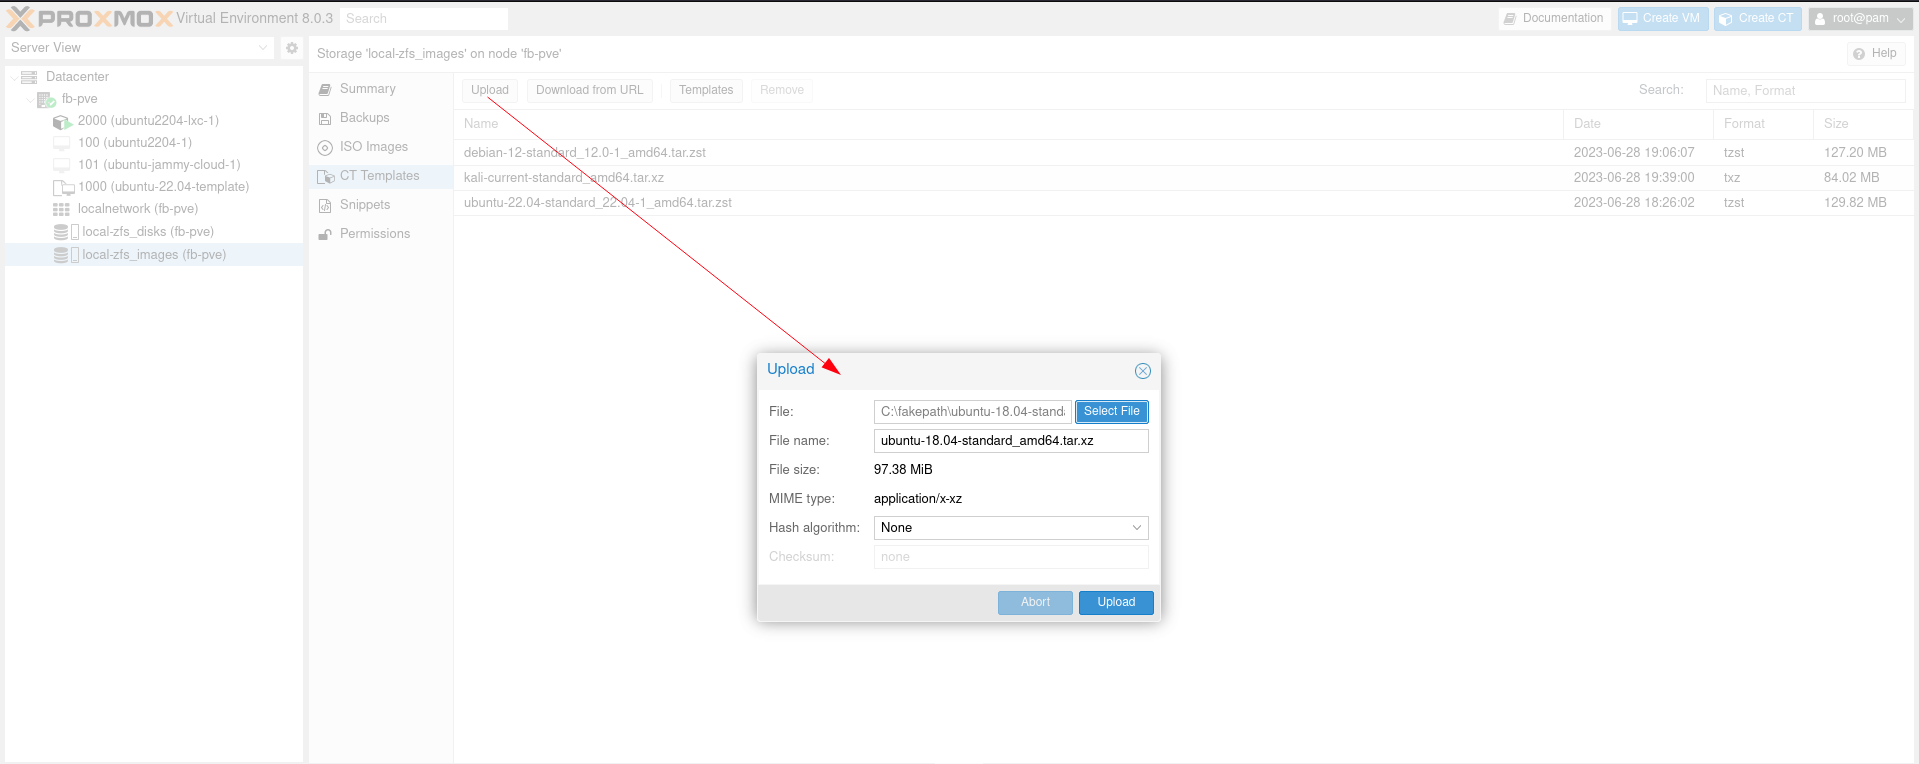
Option 3: Upload Container Template From Local Machine
We can also upload Container Template from our Local Machine to Proxmox VE host.
- From the same CT Templates menu, select Upload and choose the container template file from your local machine. Then click upload.
B. Create LXC Instance
Create Container Instance
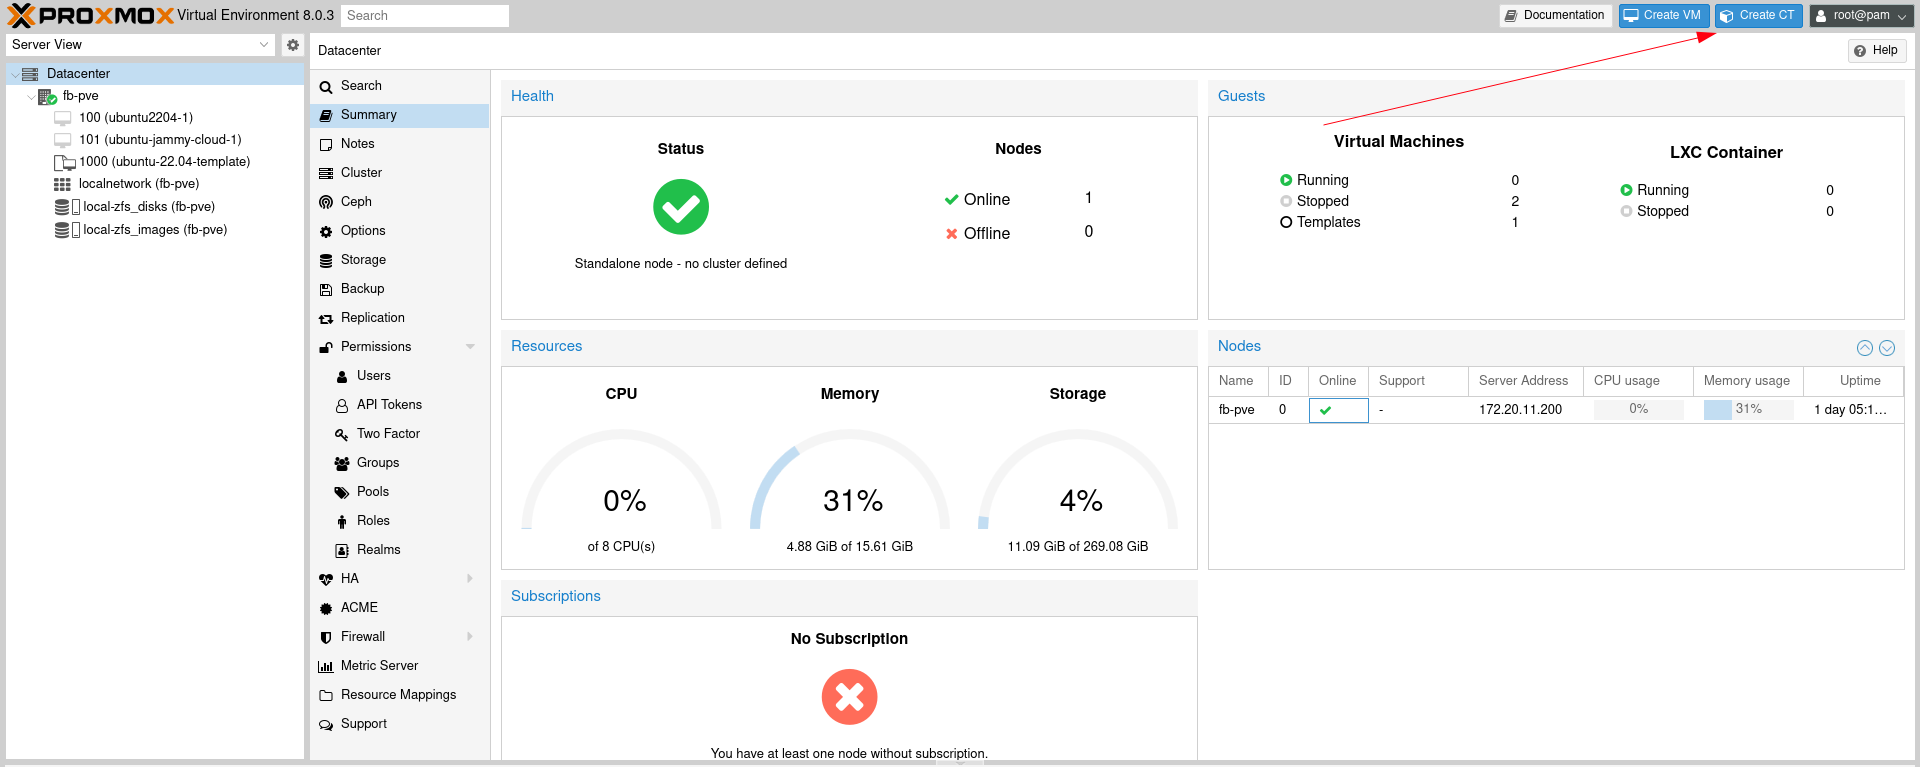
Select Create CT from top right dashboard bar.
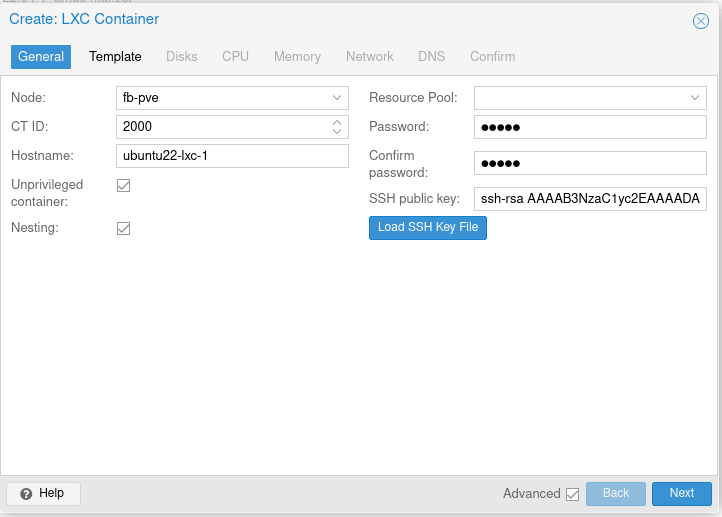
Insert Hostname, Container ID, password, and SSH public key for container.
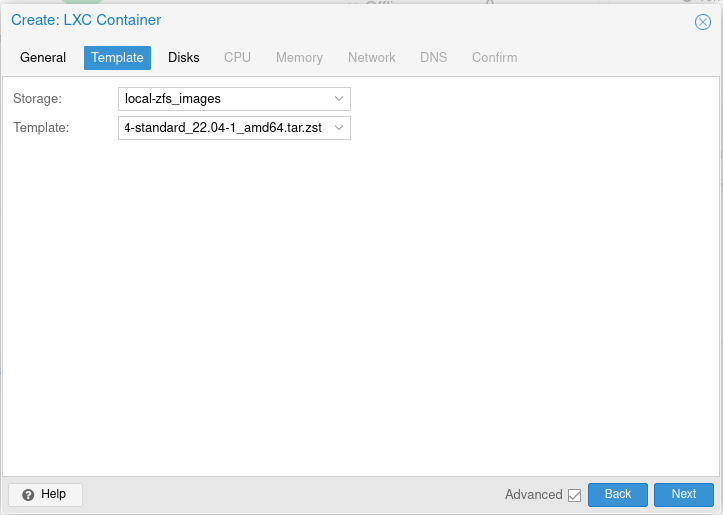
Select Container Template we want to use.
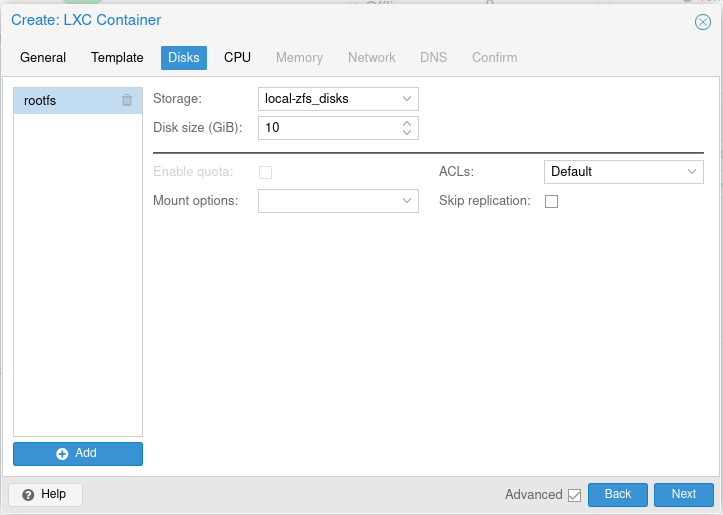
Change disk size for the container.
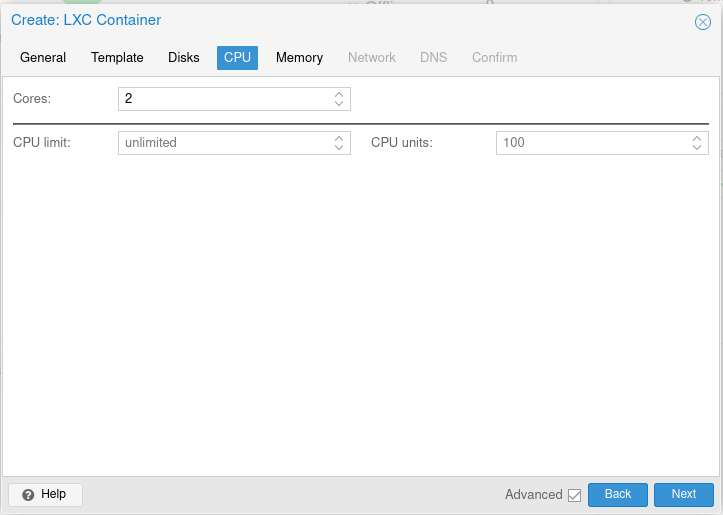
Change how much CPU allocated for the container.
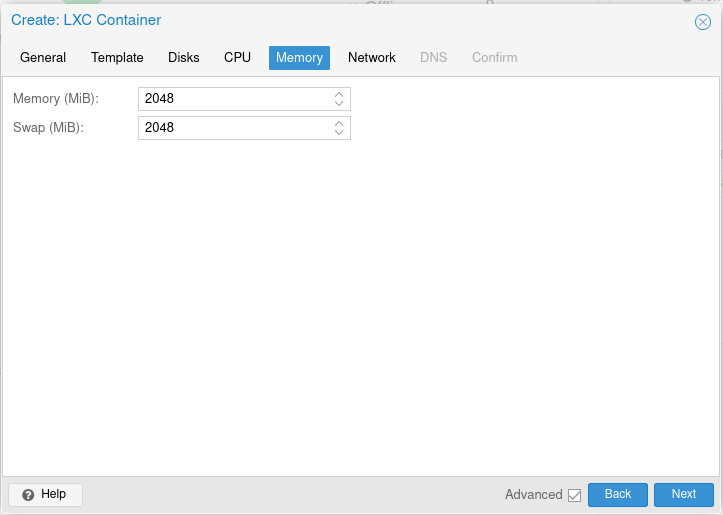
Change how much RAM allocated for the container.
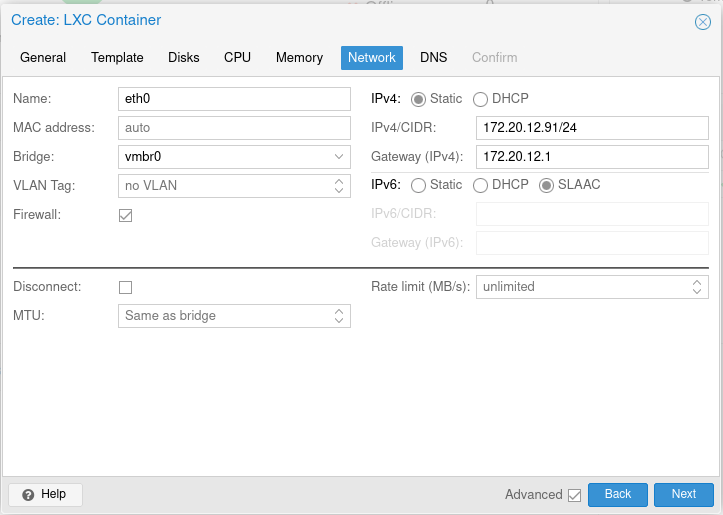
Edit Networking device for container. Choose what bridge NIC we want to use and whether using DHCP or static IP Address.
Change DNS domain and DNS server for the container. If not created, container will use the same value as Proxmox VE host.

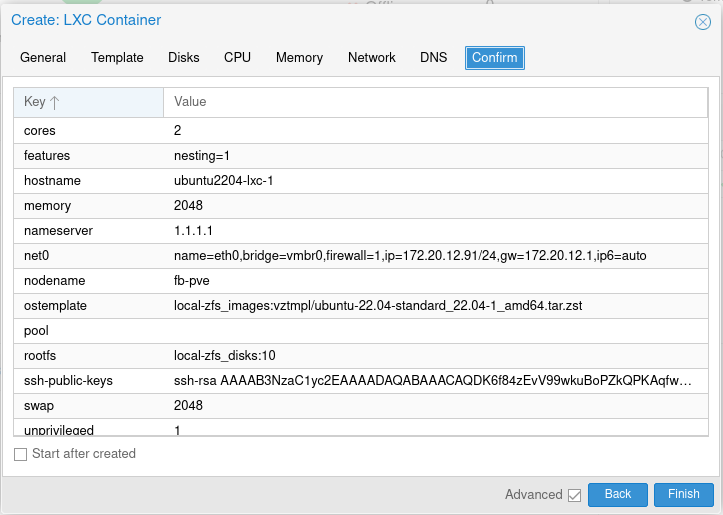
Overview about the container creation. Confirm it by clicking Finish.
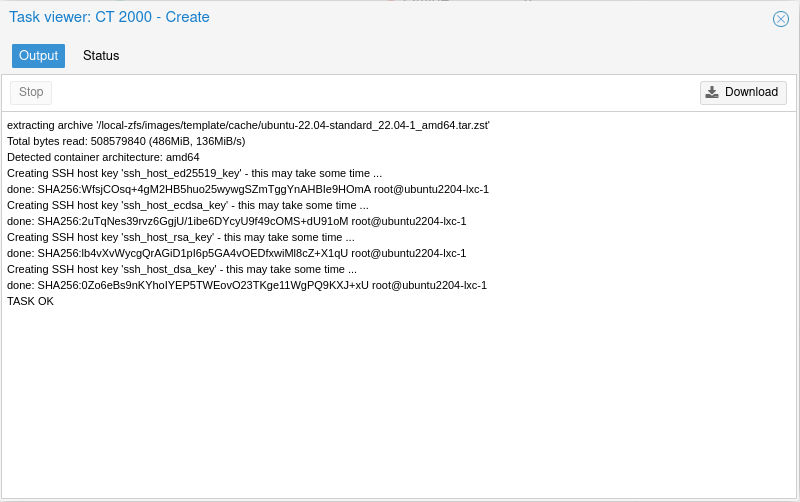
Wait until the following output showing TASK OK.
Start and Access Container
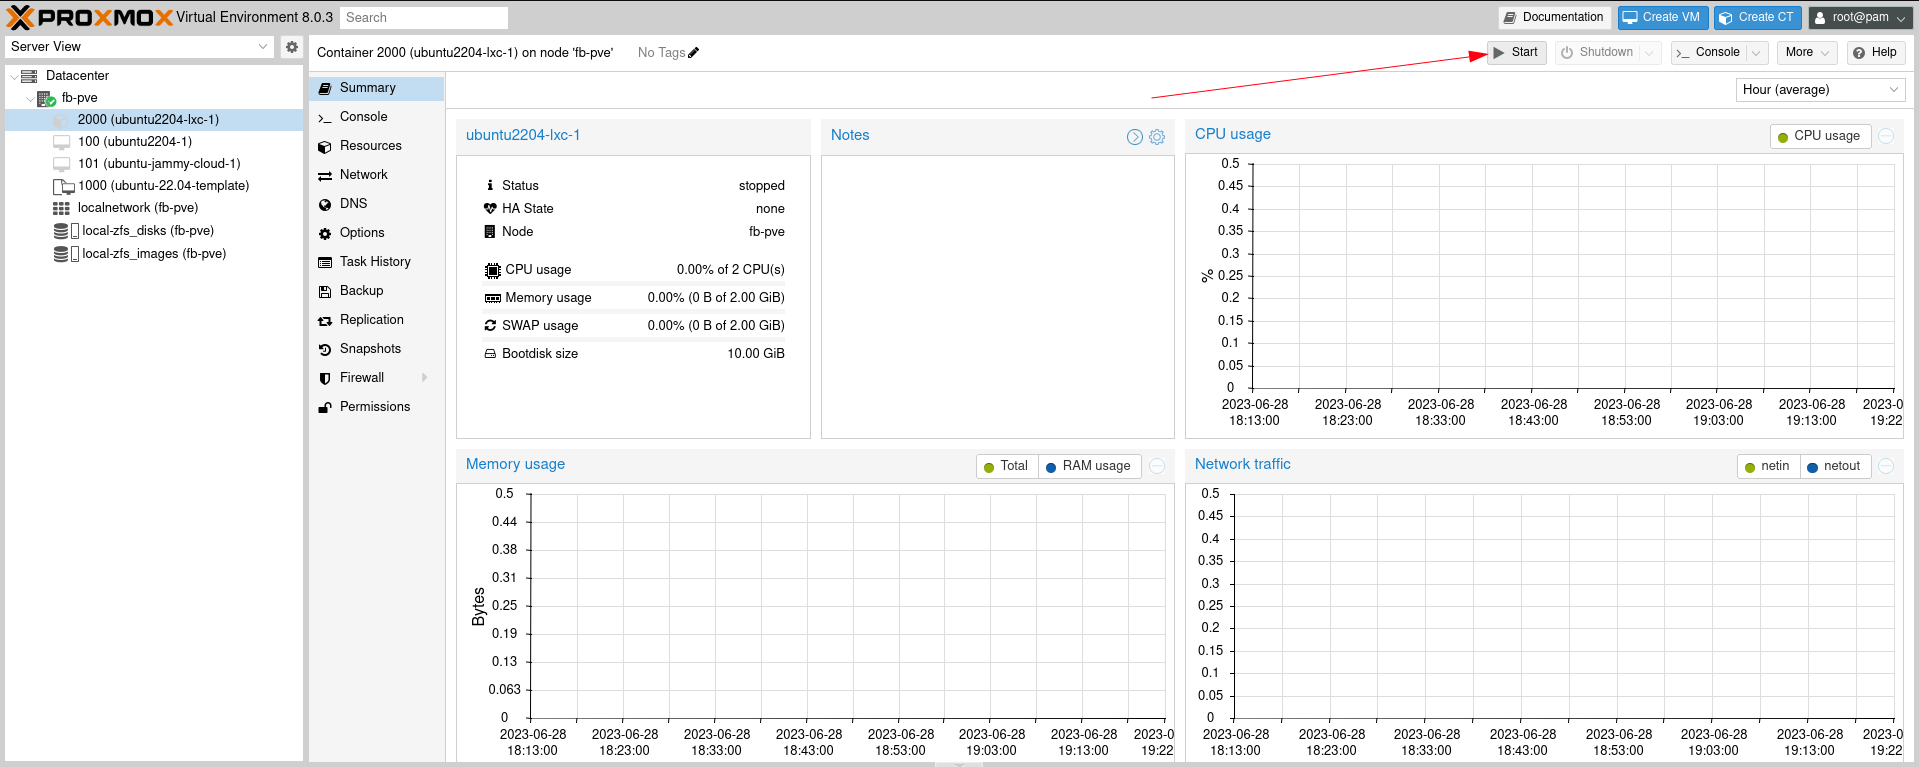
Start container by selecting the CT ID and click Start.
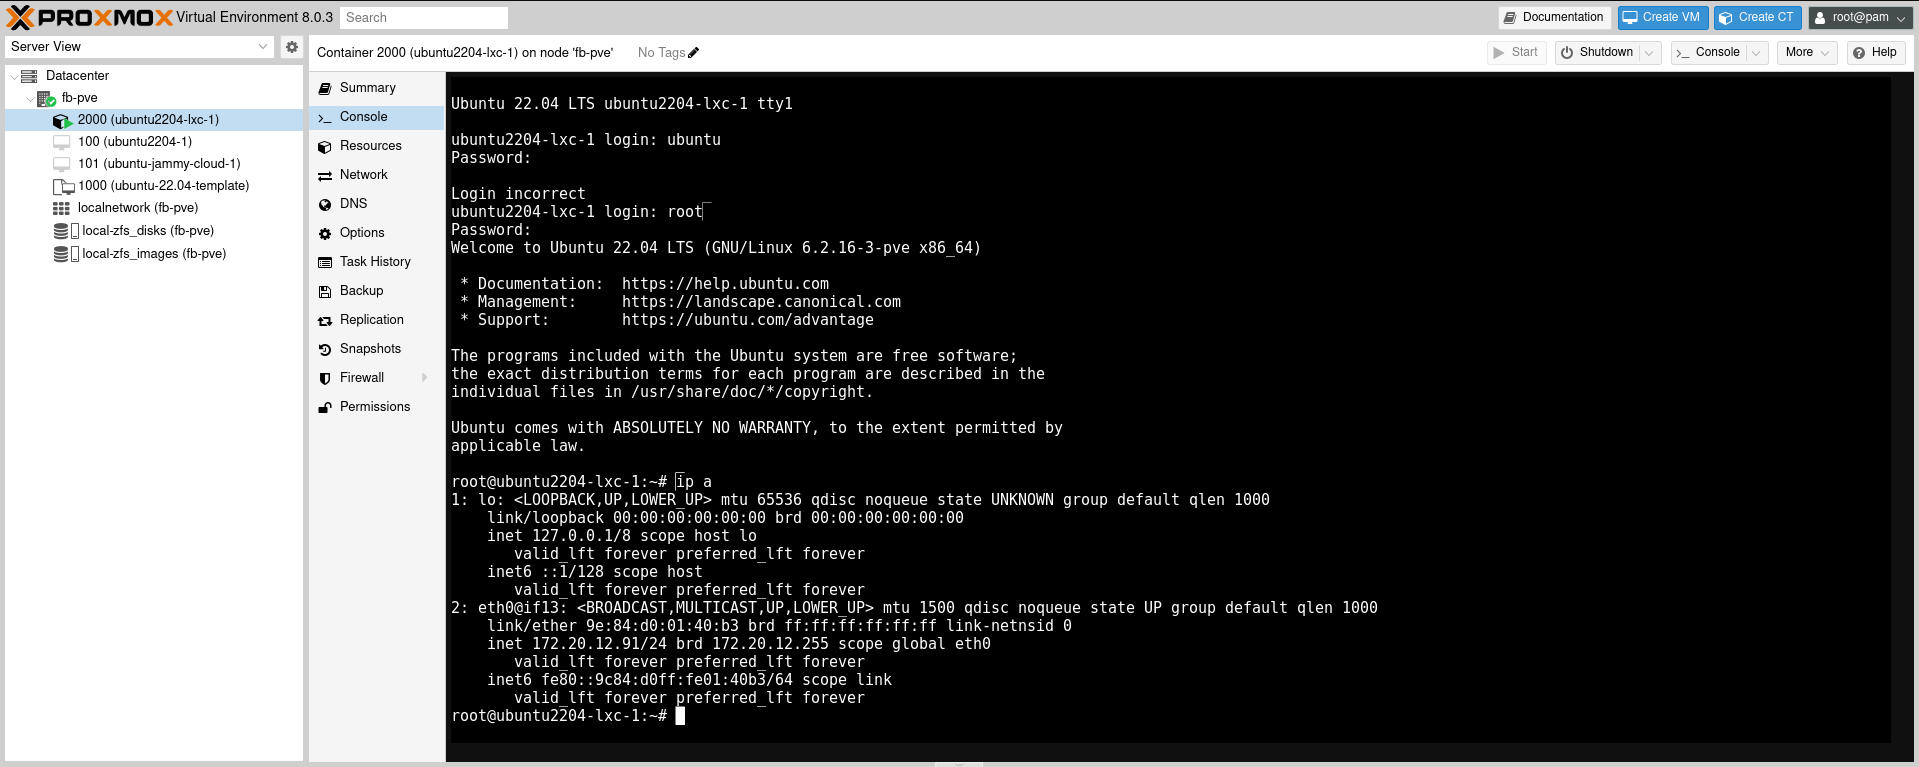
We can login to container from Console or using SSH if provided before. Login as root and use password that we created before.
From Proxmox VE Console
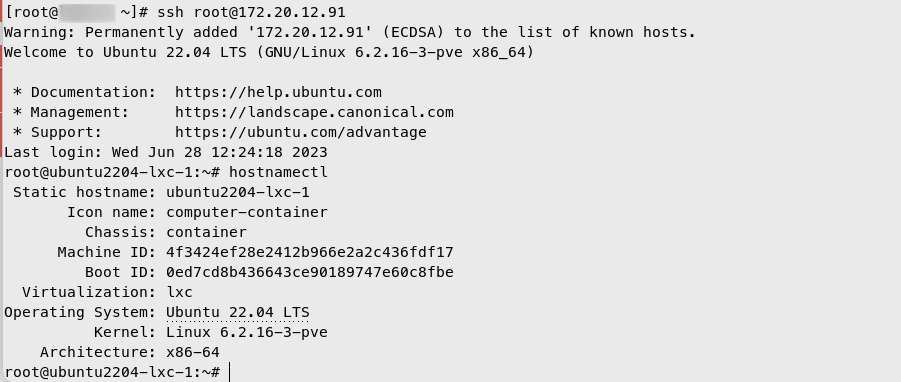
From SSH outside Proxmox VE host
C. Create Custom LXC Template
All of available container template from Proxmox are just a basic, plain operating system without any packages or application. If we need a more complex container template, say for having web server inside it and want to replicate or migrate it to other LXC/LXD host, we need to create a new container template. In this section, we will guide you about how to create custom container template from existing container with some installed packages.
Customize Existing Container and Convert To Template
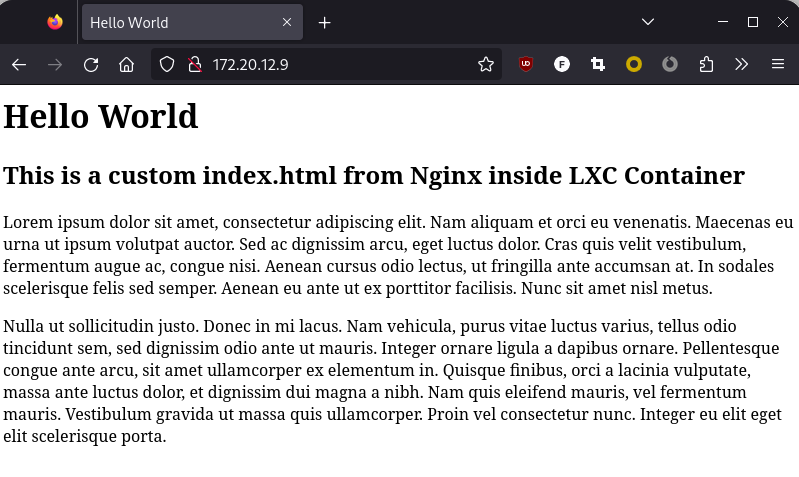
Install web server and custom index.html on existing container.
1
2
3
4
5
6
7
8
9
10
11
12
13
14
15
16
17
18
19
20
21
22
23
24
25
 apt update && apt upgrade -y
 apt install nginx -y

 cat << EOF > /var/www/html/index.html
 <html>
 <head>
 <title>Hello World</title>
 </head>
 <body>
 <h1>Hello World</h1>
 <h2>This is a custom index.html from Nginx inside LXC Container</h2>

 <p>
 Lorem ipsum dolor sit amet, consectetur adipiscing elit. Nam aliquam et orci eu venenatis. Maecenas eu urna ut ipsum volutpat auctor. Sed ac dignissim arcu, eget luctus dolor. Cras quis velit vestibulum, fermentum augue ac, congue nisi. Aenean cursus odio lectus, ut fringilla ante accumsan at. In sodales scelerisque felis sed semper. Aenean eu ante ut ex porttitor facilisis. Nunc sit amet nisl metus.
 </p>

 <p>
 Nulla ut sollicitudin justo. Donec in mi lacus. Nam vehicula, purus vitae luctus varius, tellus odio tincidunt sem, sed dignissim odio ante ut mauris. Integer ornare ligula a dapibus ornare. Pellentesque congue ante arcu, sit amet ullamcorper ex elementum in. Quisque finibus, orci a lacinia vulputate, massa ante luctus dolor, et dignissim dui magna a nibh. Nam quis eleifend mauris, vel fermentum mauris. Vestibulum gravida ut massa quis ullamcorper. Proin vel consectetur nunc. Integer eu elit eget elit scelerisque porta.
 </p>
 </body>
 </html>
 EOF

 nginx -t
 systemctl reload nginx

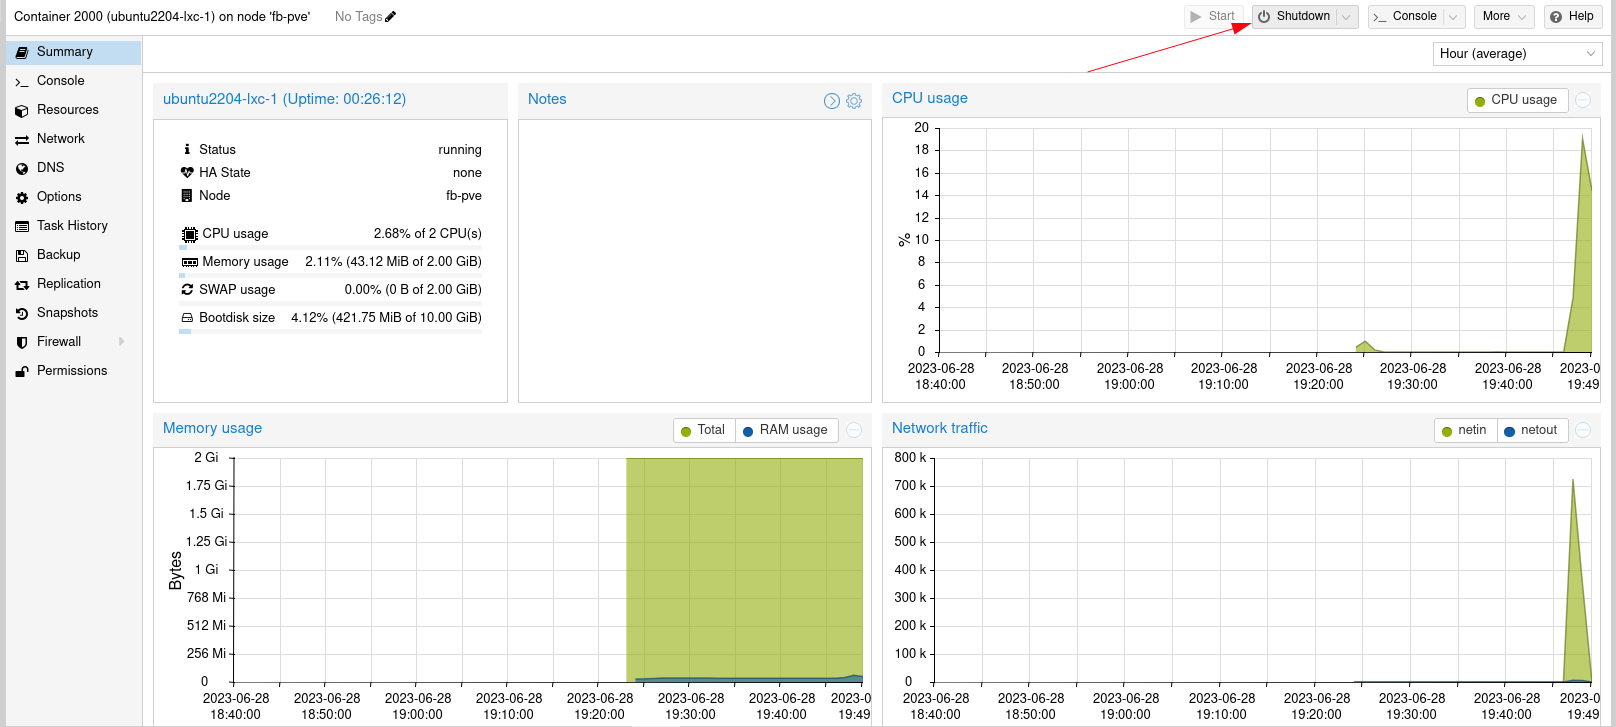
Shutdown container.
From Dashboard
From inside container
1
 poweroff
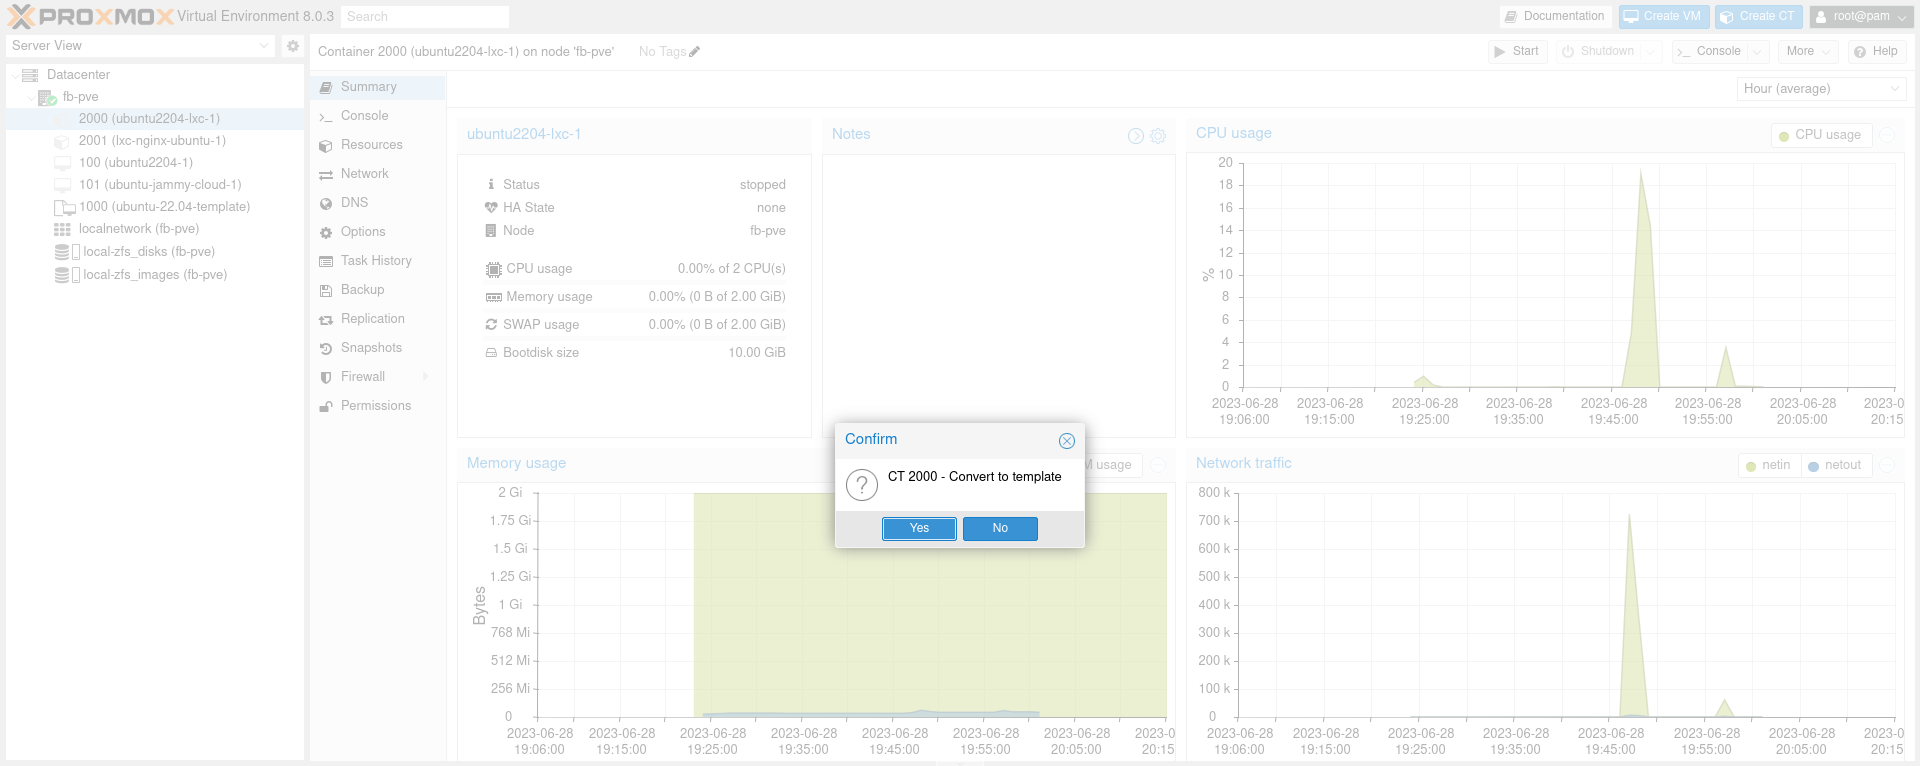
Right click on CT ID and select Convert to template.
This actions are irreversible and cannot be reverted. Be careful!
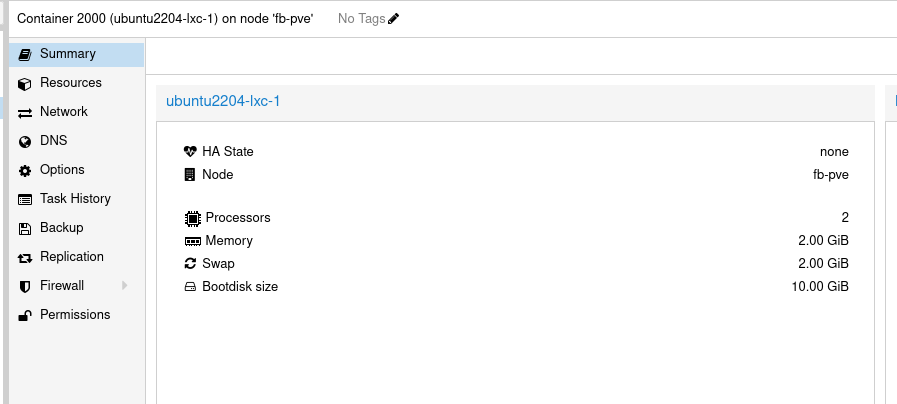
Now our container became a template and cannot be start again.
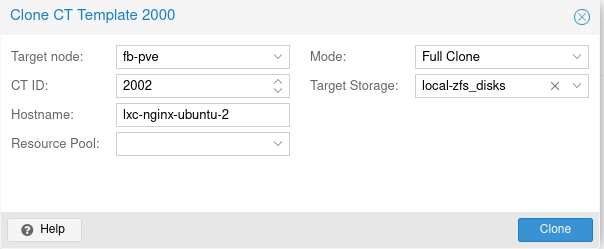
Clone the template into new container. Right click the template and choose Clone. Configure the PVE Node, CT ID, Hostname, Clone mode, and Target storage for new container.
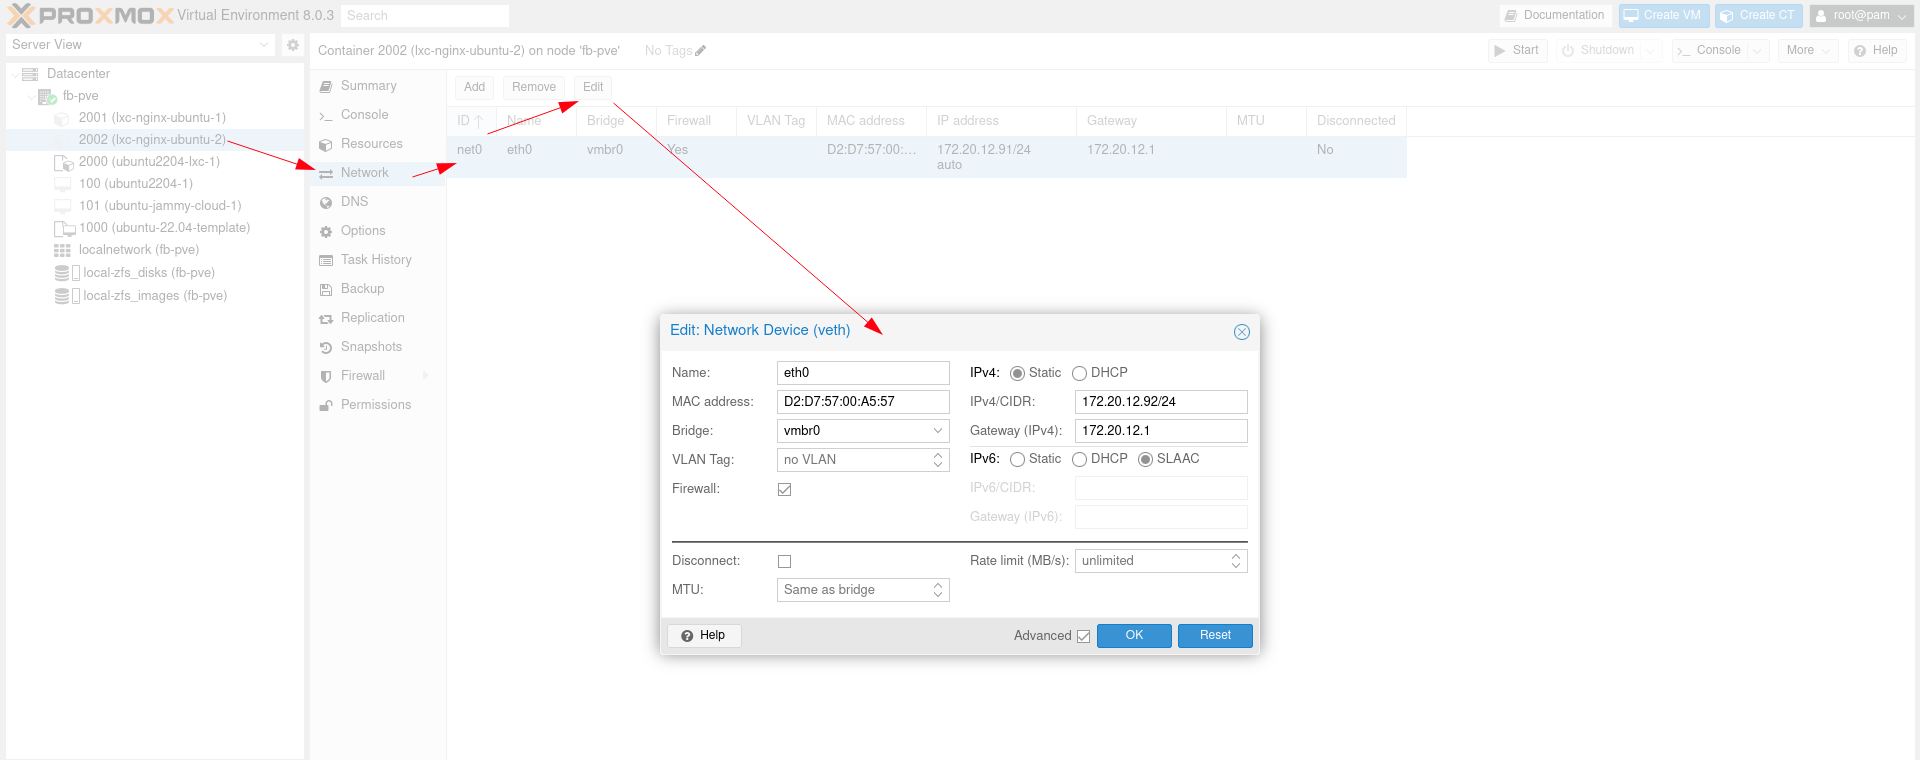
From new container, select Network menu and edit the old Network to use new IP Address.
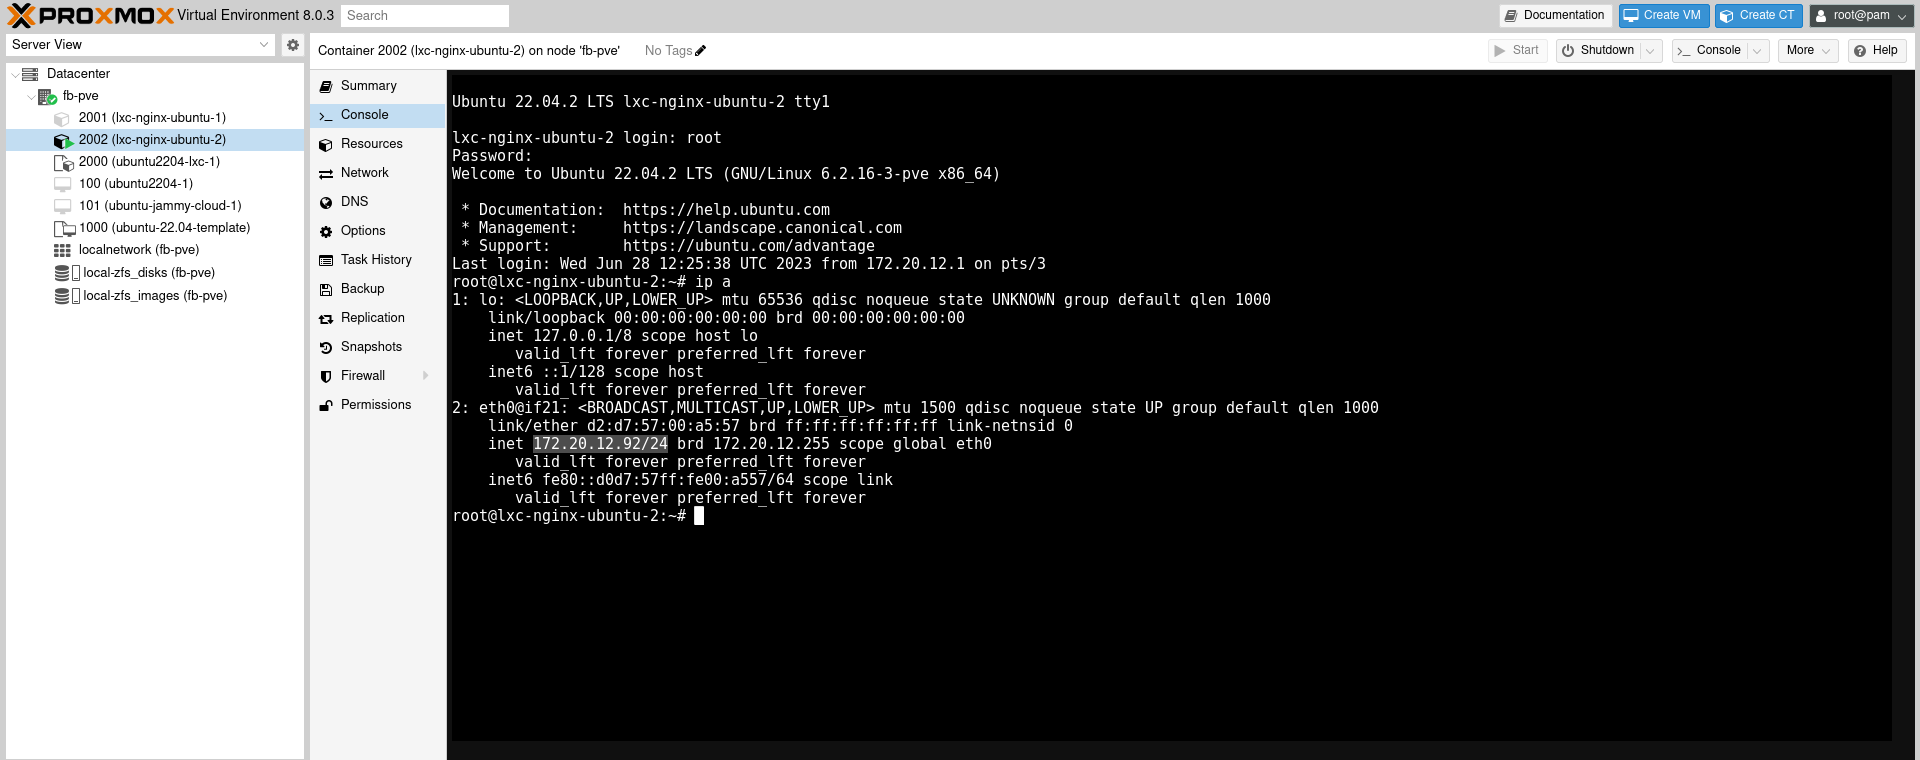
Start container. Use the same user and password from our template container.
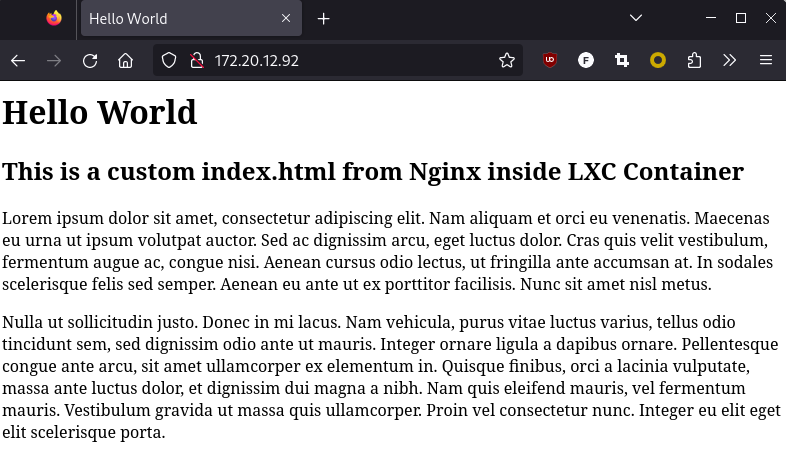
Check if the web server service is running by accessing the URL on browser.
Backup Customize Container and Import Back To CT Templates
Other way to create a custom container template are by creating a backup and import it back to CT Templates
- Shutdown Container.
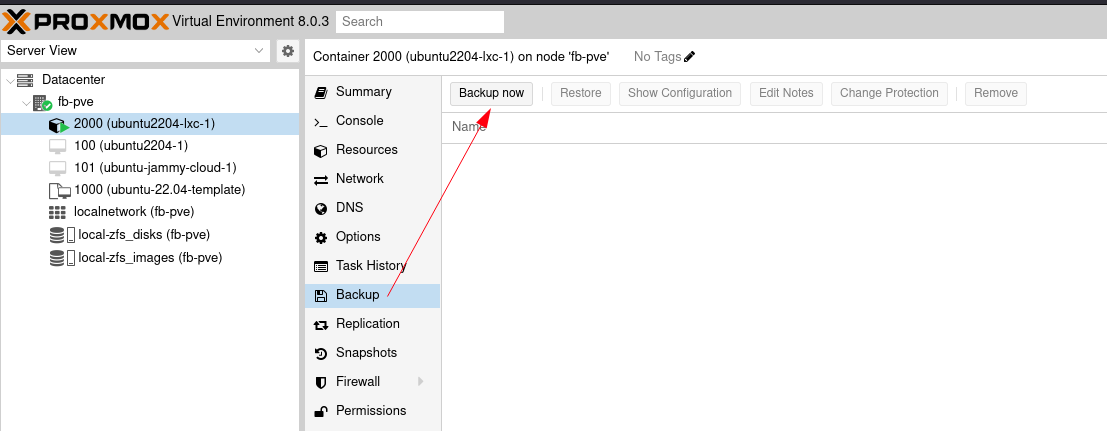
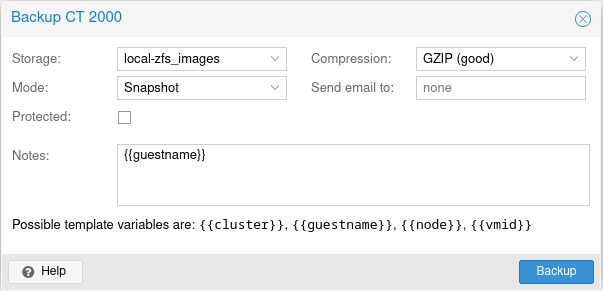
Create Backup with GZIP compression.
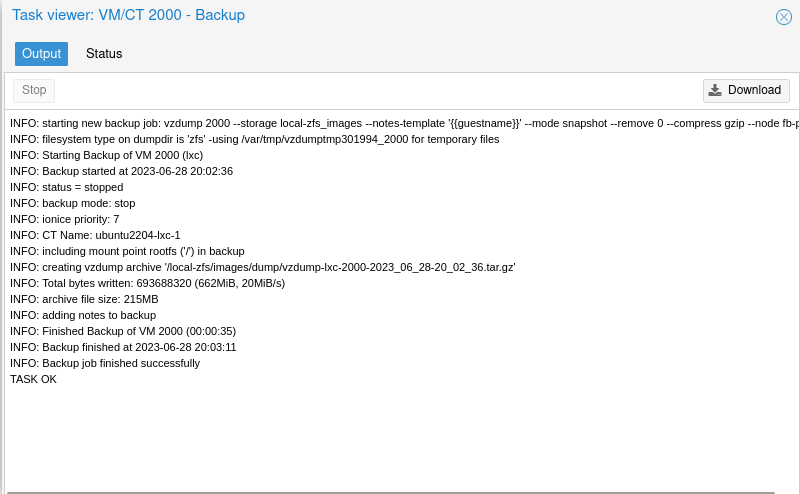
Copy backup file to Proxmox VE container template directory.
1
2
3
 cp <*.tar.gz backup location> <container template location>

 cp /local-zfs/images/dump/vzdump-lxc-2000-2023_06_28-20_02_36.tar.gz /local-zfs/images/template/cache/nginx-ubuntu-custom-22.04_amd64.tar.gz
New template appear on PVE CT Templates menu:

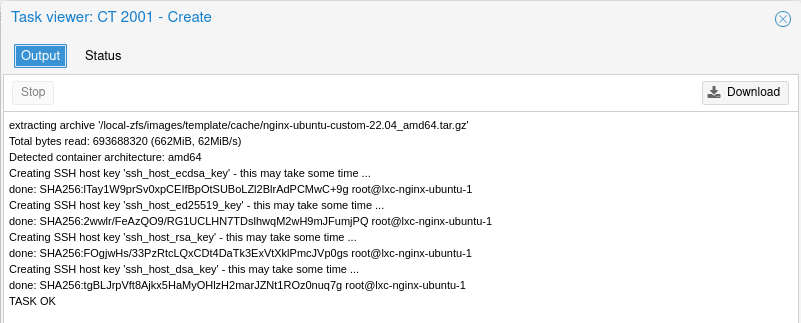
Create new container from backup template.
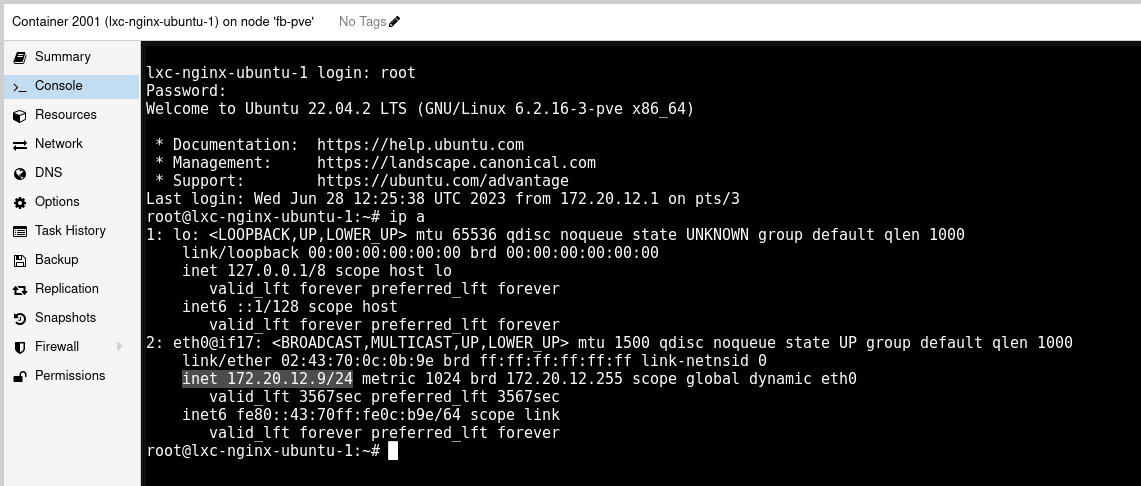
Access the new container from console to get IP Address (if you use DHCP, otherwise move to Network menu to get static IP Address).
- Try to test the web server service by accessing the URL from browser.
Final Words
This is the final section from our guide about Proxmox VE Container. Don’t stop here and keep exploring further advance.
Thank you.
References
- https://forum.proxmox.com/threads/download-templates-lxc-containers.57894/
- https://images.linuxcontainers.org/images
- https://pve.proxmox.com/wiki/Linux_Container
- https://www.reddit.com/r/Proxmox/comments/fklm9c/cant_create_lxc_template_from_container/
- https://www.reddit.com/r/Proxmox/comments/hagkvu/more_lxc_templates/
- https://www.turnkeylinux.org/
Comments powered by Disqus.